
12 DIY Wooden Headboard Ideas for Every Bedroom Style
12 DIY Wooden Headboard Ideas for Every Bedroom Style
These DIY wooden headboard ideas prove that the most expensive-looking part of your bedroom can be the cheapest one to make. A headboard anchors the whole room — it frames the bed, sets the style, and hides the gap between the mattress and the wall. Store-bought wooden headboards easily run $200 to $600, but every idea below costs under $200 in materials, most well under $100, and none of them require professional woodworking skills.
Measure Twice, Mount Once: The Two Headboard Rules
Before you cut a single board, two rules decide whether your DIY wooden headboard looks custom-built or craft-fair. Rule one: the 4-inch rule. Your headboard should be at least 4 inches wider than your mattress (a queen mattress is 60 inches wide, so aim for 64 inches or more). A headboard narrower than the bed always looks like a mistake. Rule two: mount into studs, never drywall alone. Wood is heavy — a plank headboard can weigh 40 to 60 pounds. Use a stud finder and drive long wood screws into at least two studs, or mount the headboard on a French cleat rated for double the weight. Drywall anchors alone will fail eventually, usually at 2 a.m.
12 DIY Wooden Headboard Ideas That Look Custom-Built
1. The Classic: Horizontal Reclaimed Planks
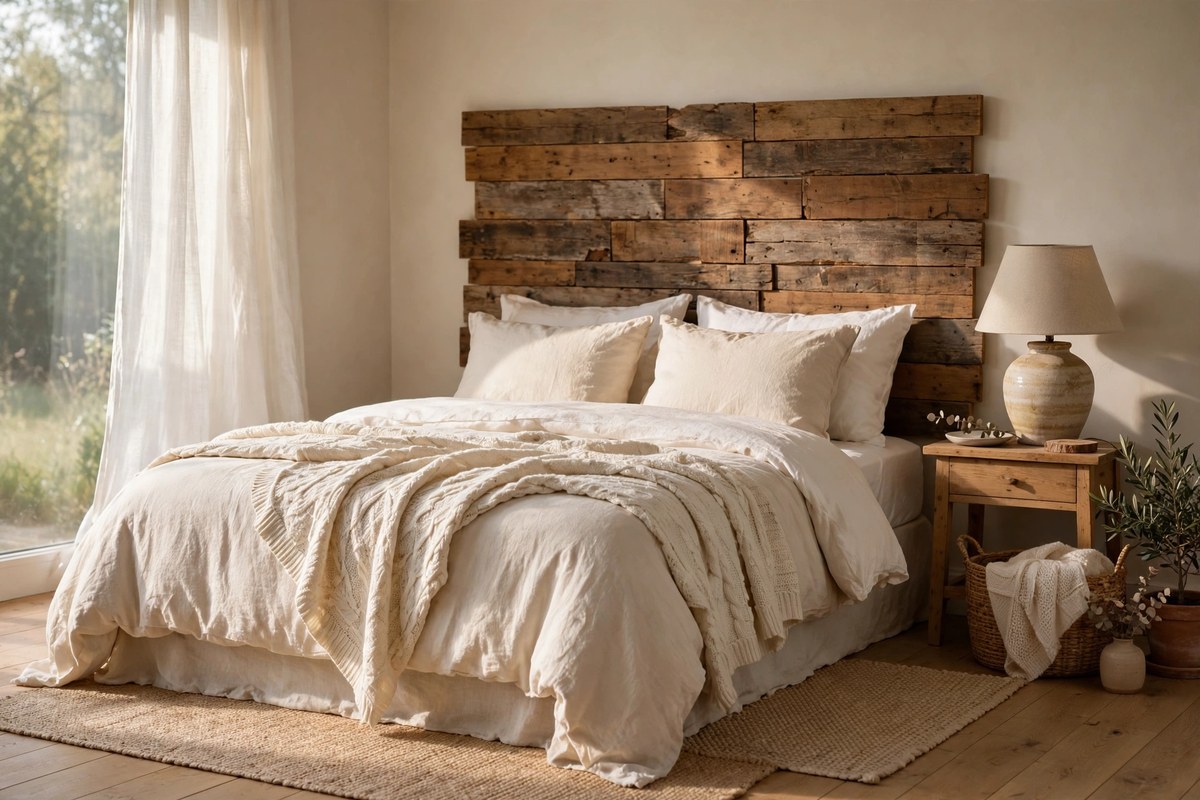
The most-built DIY headboard in existence, and still the best value. Source reclaimed boards, pallet wood, or new pine boards you distress yourself. Sand every face smooth (splinters and bedsheets are enemies), arrange the boards horizontally with uneven ends for character, and screw them to two vertical support boards on the back. Cost: $40–$80 if you buy new pine, under $20 with salvaged wood. Time: one afternoon. Skill: beginner. Finish with a clear polyurethane coat — reclaimed wood is often dirty or rough, and a sealant keeps it bedroom-safe for years.
2. Vertical Slats That Make Ceilings Feel Taller
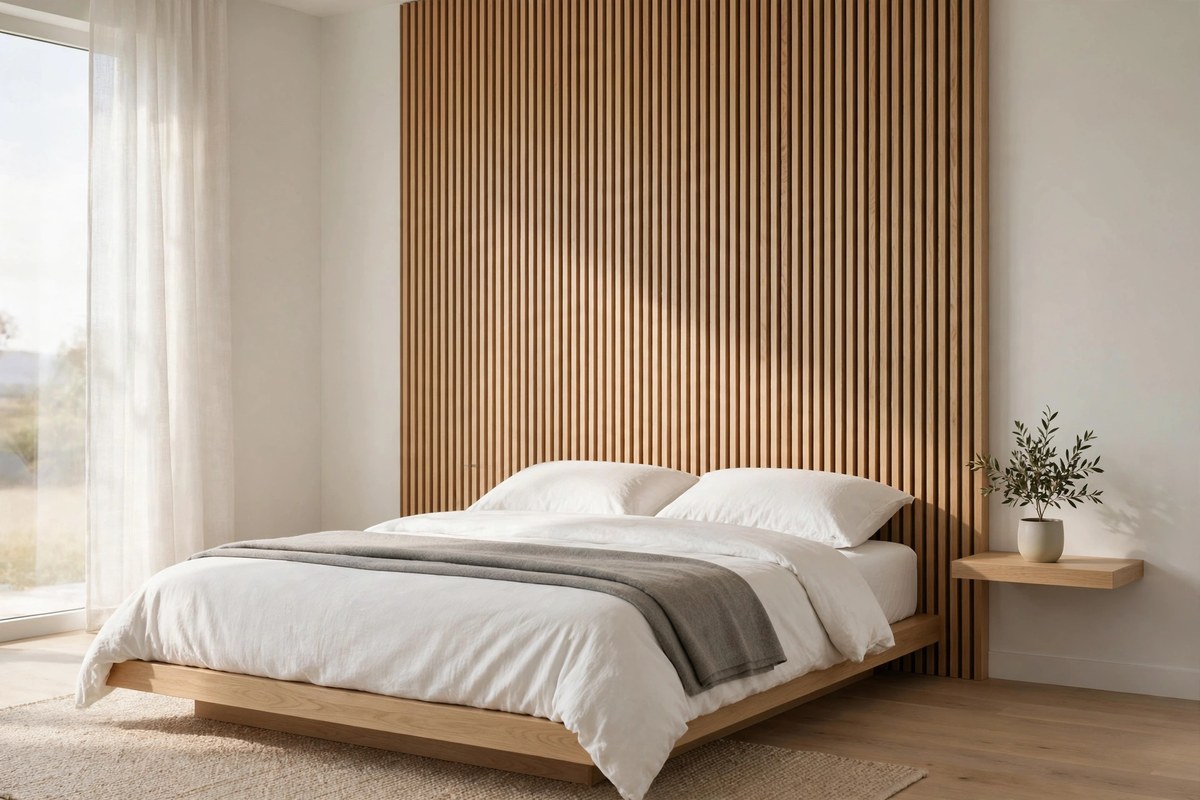
For the modern or Scandinavian bedroom, mount narrow wood slats vertically on a plywood backing, spaced about an inch apart. The vertical lines pull the eye upward, which makes low ceilings feel higher — a trick worth stealing for any small bedroom. Use 1x2 or 1x3 furring strips for the slats (cheap, straight, and sold at every lumber yard) and a clear or light-oak stain. Cost: $60–$120. Time: one day. Skill: beginner to intermediate (keeping the gaps even is the only fiddly part — use a spacer block, not your eye).
3. Chevron for the Weekend Woodworker
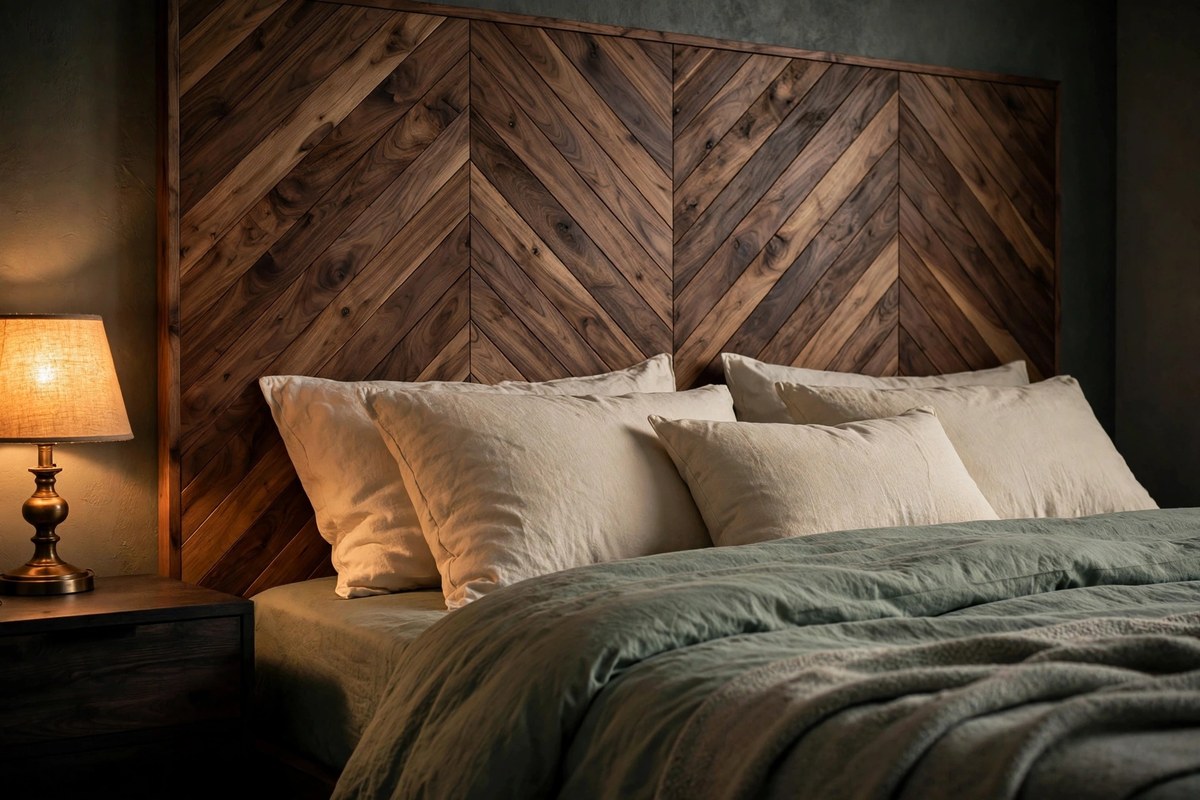
Chevron-pattern headboards look like they came from a boutique, but the build is just planks cut at 45-degree angles and arranged in a V pattern over a plywood base. A miter saw makes this a two-hour cutting job; without one, have the lumber yard cut your angles for you. Secure each piece with wood glue and brad nails, sand the whole surface flat, and apply your stain of choice. Cost: $80–$150. Time: a weekend. Skill: intermediate. The pattern is so visually busy that minor imperfections in the cuts disappear — forgiving for first-timers with a saw.
4. Dark-Stain Drama
Sometimes the DIY is not in the joinery but in the finish. Build a simple plank or slat headboard and stain it dark — walnut, espresso, or a dark gray wash. Against white or cream bedding, a dark headboard reads rich and expensive, and it gives light bedrooms a grounded focal point. Pro tip: apply pre-stain conditioner to pine before dark stain, or the finish will go blotchy. Cost: $30–$70 plus the boards you already have. Time: one afternoon plus drying. Skill: beginner.
5. White Shiplap for Small, Dark Bedrooms
The opposite move: horizontal boards with the classic shiplap gap, painted soft white or ivory. A white wooden headboard reflects light and visually recedes, so it brightens rooms that get little sun and makes small bedrooms feel larger. It also pairs with almost anything — coastal, farmhouse, transitional, even modern if you keep the gaps tight. Cost: $50–$100. Time: one day. Skill: beginner. Use paint, not whitewash, if the headboard will take daily bumps from pillows — whitewash scuffs show fast.
6. The Old Door Headboard
A salvaged wooden door mounted horizontally is one of the cheapest and most characterful DIY wooden headboard ideas. Old doors have panel profiles, hardware marks, and grain that new lumber cannot fake. Sand it smooth, seal it, and decide: keep the original paint for patina (great for vintage and cottage rooms) or paint it your room's accent color. Remove or cover old hardware — sharp hinges and beds don't mix. Cost: $20–$60 at salvage yards. Time: half a day. Skill: beginner. Mount it with a French cleat; doors are heavy and awkward to screw directly into studs.
7. The Storage-Crate Headboard
Stack wooden crates into a headboard and you get nightstand shelves built into the design. Two or three crates on each side of the bed, screwed together and to the wall, hold books, glasses, and a lamp — perfect for small bedrooms with no room for nightstands. Sand the crates (unfinished crates are rough), stain them to match your furniture, and anchor the whole assembly to studs. Cost: $40–$90. Time: one day. Skill: beginner. Leave the crate interiors open for display or line them with fabric for a softer look.
8. The Floating Wall-Mounted Panel
A smooth, full-width wood panel mounted directly on the wall at headboard height reads as architecture rather than furniture. Use a single sheet of plywood with a nice veneer, or several wide boards glued edge to edge, mounted on a French cleat so it "floats" off the wall with a small shadow gap. The clean rectangle works beautifully in minimalist and contemporary rooms. Cost: $50–$110. Time: one day. Skill: intermediate (a French cleat must be perfectly level — use a long level, not a guess).
9. The Pegboard Headboard for Restless Decorators
A large wooden pegboard behind the bed is a headboard that changes with your mood. Add dowel pegs to hold small shelves, framed photos, dried flowers, or a reading lamp that clips on. Paint the pegboard to match your wall for a subtle look, or let natural hardboard show for an industrial feel. Cost: $40–$80. Time: half a day. Skill: beginner. The real win: you never have to patch holes when you redecorate — just move the pegs. If you pair it with a reading lamp, run the cord through a slim cable channel painted the wall color.
10. The Full-Wall Herringbone Statement
If you want a headboard that stops guests mid-sentence, take the headboard wall all the way to the ceiling in a herringbone plank pattern. This is the most labor-intensive idea on the list — hundreds of angled cuts — but the result is a focal wall that looks like a boutique hotel suite. Work in sections, keep a story stick (a marked board) to repeat your spacing, and rent rather than buy a miter saw if you don't own one. Cost: $120–$200. Time: a long weekend. Skill: intermediate to advanced. Start at the bed's centerline and work outward so the pattern stays symmetrical.
11. The Underlit Headboard
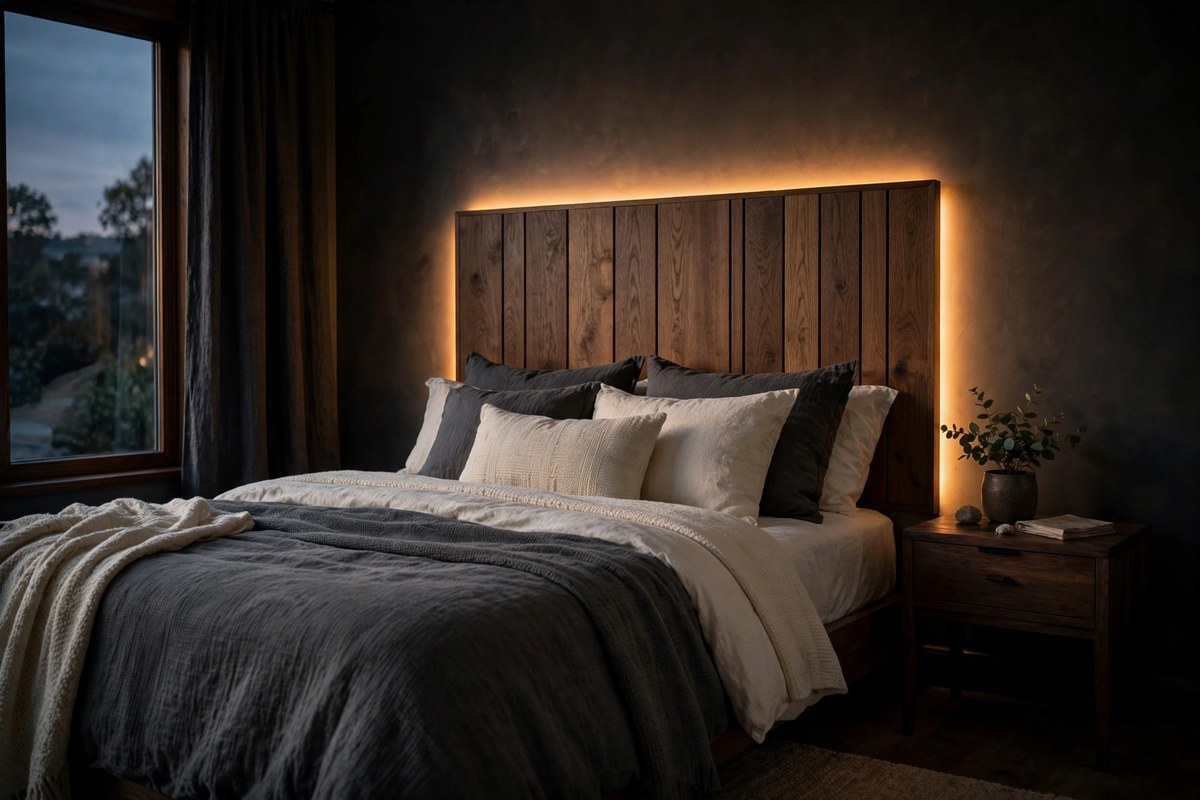
Build a simple slat or panel headboard, then add an LED strip behind it so a warm glow washes the wall around the wood. The backlighting makes an ordinary build look high-end, and it doubles as a nightlight that doesn't glare. Use warm white (2700K) LED tape — cool white makes bedrooms feel clinical — and mount the strip with its own aluminum channel so it doesn't overheat against the wood. Cost: $60–$120. Time: one day plus wiring. Skill: beginner to intermediate (the carpentry is easy; plan the cable run before you mount anything).
12. The Wood-Frame Upholstered Hybrid
Get the comfort of an upholstered headboard with the structure of wood: build a simple rectangular wood frame, fit a padded panel (plywood + foam + fabric, stapled on the back) inside it, and hang the whole thing as one piece. The wood frame gives clean edges and protects the fabric corners; the upholstery makes leaning back to read actually comfortable. Choose a tight-weave fabric like linen or canvas — loose weaves snag. Cost: $70–$130. Time: a weekend. Skill: intermediate. This hybrid is also the best headboard for restless sleepers who bang their heads — the padding forgives everything.
How to Mount a DIY Headboard So It Never Falls
A wooden headboard weighs more than you think, and a falling headboard is a safety problem, not a decor problem. Here's the mounting hierarchy, best to worst: 1. French cleat into studs. Two interlocking angled strips — one on the wall, one on the headboard — spread the weight across studs and let you lift the headboard off for painting or moving. 2. Direct screw into studs. At least two long wood screws (3 inches) into two separate studs through the headboard's back rails. 3. Legs to the floor. If wall mounting isn't possible, add two legs that reach the floor — the weight transfers down, not out. What never works: drywall anchors alone, adhesive strips, or leaning it loosely between the mattress and the wall. Renters: a freestanding headboard with floor legs needs zero wall holes and looks identical from the front. Whatever you mount, finish the back of the wood too — bare backs absorb moisture from walls and can warp over time.
DIY Wooden Headboard FAQ
How wide should a DIY headboard be?
At least 4 inches wider than your mattress: 64 inches or more for a queen (60-inch mattress), 80 inches for a king (76-inch mattress). For full-height or full-wall designs, extending the headboard wider than the bed is a deliberate design move that looks intentional, not oversized.
Can I make a wooden headboard without power tools?
Yes — pick a design that avoids angled cuts. A simple horizontal plank headboard, an old door, or a shiplap panel can all be built with boards pre-cut at the lumber yard, wood glue, and a hand screwdriver. The pegboard and crate ideas need almost no cutting at all. Save the chevron and herringbone for after you have a miter saw.
What is the best wood for a beginner headboard?
Pine and furring strips: cheap, straight, soft enough to screw without pre-drilling, and sold everywhere. Reclaimed wood is beautiful but unpredictable — check it for nails, sand it thoroughly, and seal it with polyurethane. Avoid MDF in bedrooms with any humidity; it swells and doesn't hold screws well under weight.
How do I make a DIY headboard renter-friendly?
Build it with legs that reach the floor and wedge it between the bed frame and the wall — from the front it looks wall-mounted, and it comes out in one piece when you move. The crate and pegboard designs adapt well to this approach. Avoid anything that requires dozens of wall screws, like the full-wall herringbone.
A headboard is the single highest-impact DIY in a bedroom — one weekend of work, and the room looks redesigned. Pair your new headboard with the right bedding layers (our fall bedroom decor ideas show how texture and color finish the look), and browse the full DIY Projects collection or the Bedroom collection for your next build. Builders who want more visual references should see the rustic milk-paint technique at Hometalk's DIY wooden headboard project and the full style roundup at Crafty Sphere's 22 wooden headboard ideas.


Comments
Post a Comment