
15 Easy Fall DIY Decor Projects (Most Under $5)
15 Easy Fall DIY Decor Projects (Most Under $5)
Let's be honest about the under-$5 promise first, because a lot of fall DIY lists quietly cheat. A project only lands under $5 if you already own scissors, a hot-glue gun, and a ruler — if you count buying a glue gun, nothing is under $5. So here is the real math. Nine projects truly finish for $5 or less using dollar-store supplies and things you can gather free outside — twigs, acorns, and leaves cost nothing on a dry day. Four more land at $5 to $8 if you must buy one supply, like cinnamon sticks or hem tape, and I flag those honestly. The last two depend on thrift-store luck — a $2 sweater makes them cheap, a new one does not. Nothing here needs a saw, drill, or sewing machine. If you are brand new, start with the broader list of easy DIY home decor projects for beginners on a budget, then come back for the seasonal pieces. Pick three projects, not fifteen — three finished pieces beat fifteen half-done ones in a craft bin.

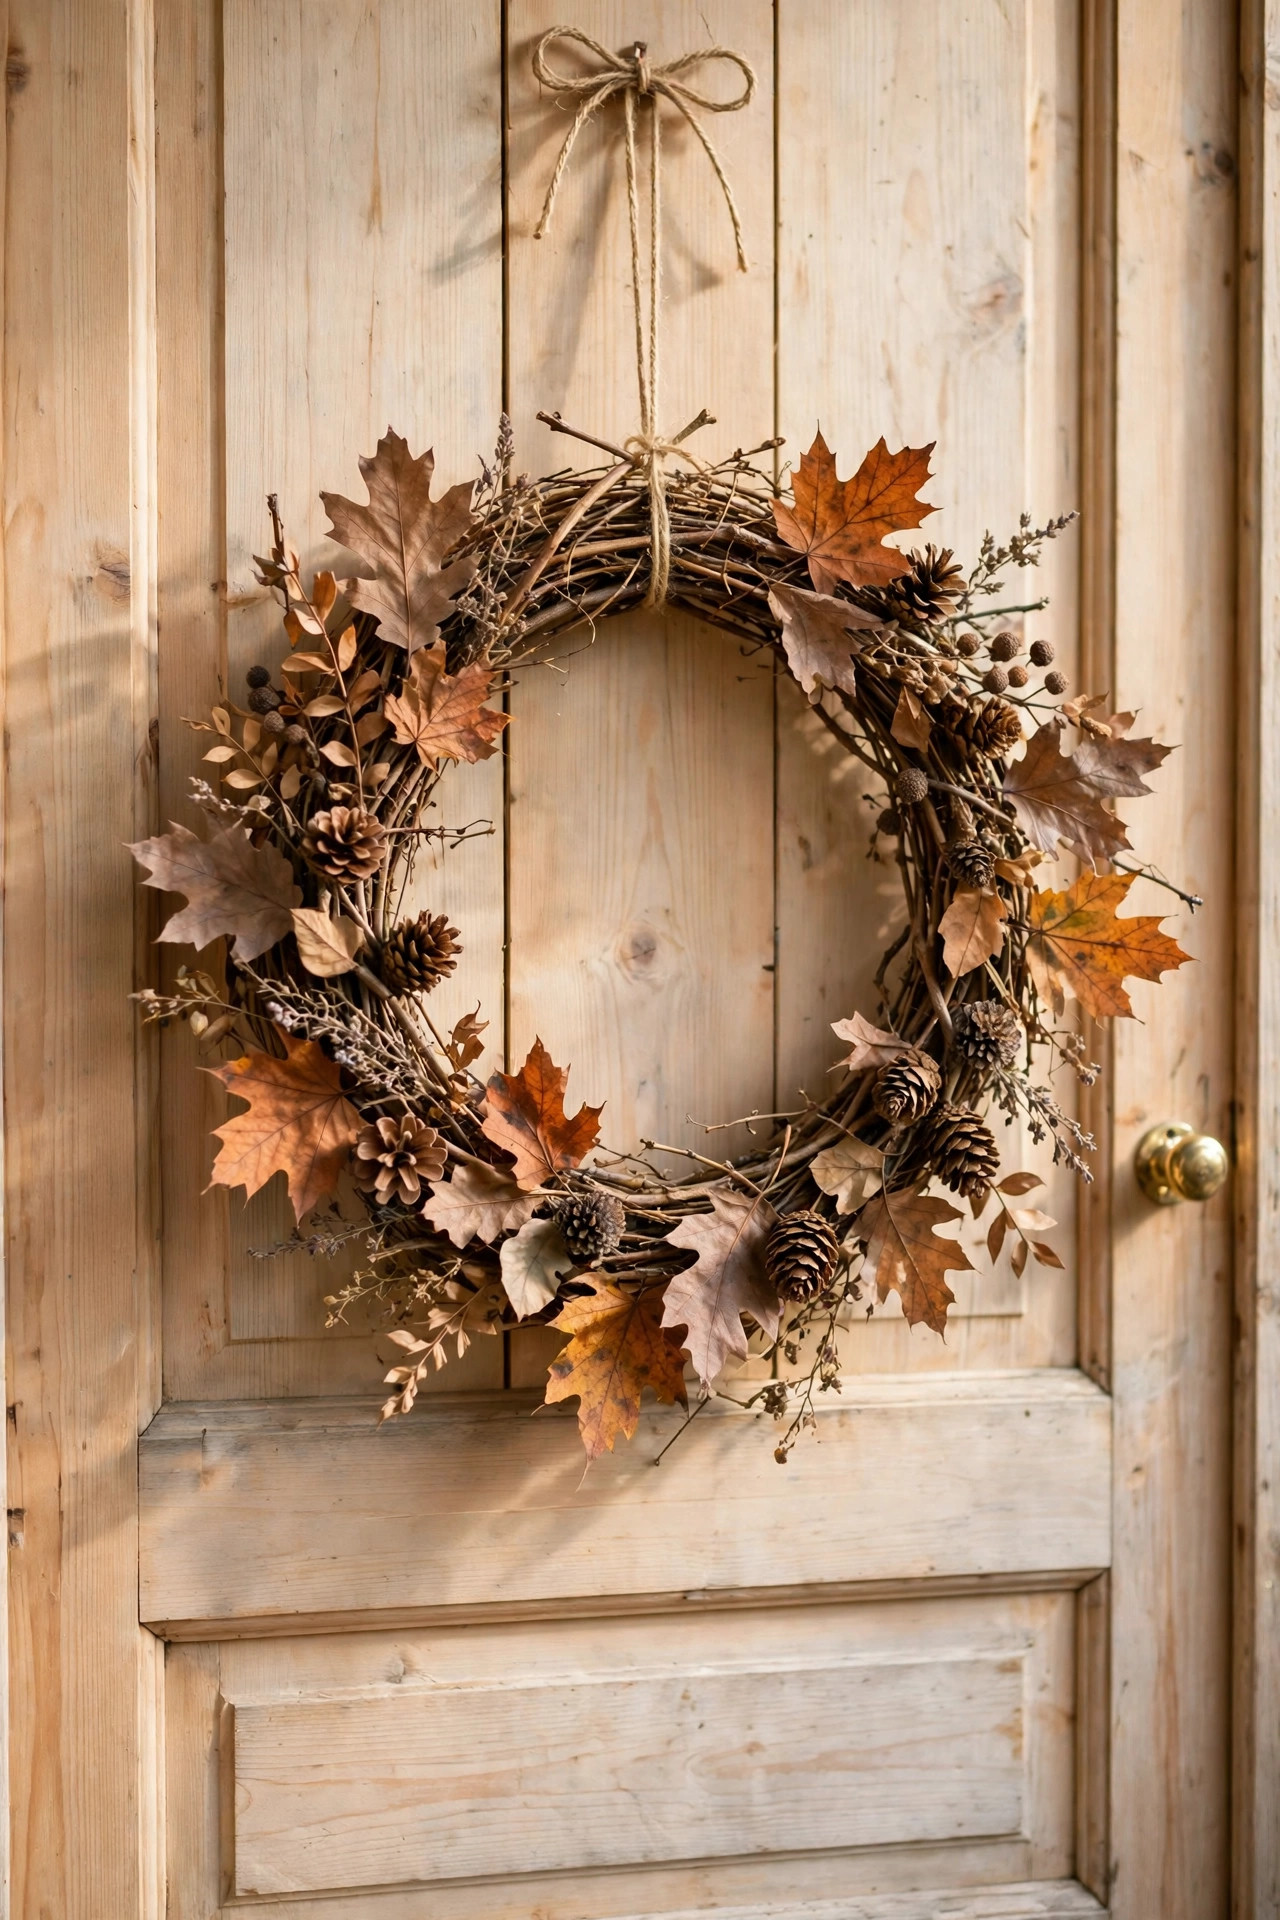
1. Twig Wreath
Time: 45–60 minutes, plus gathering time. Skill level: Beginner. Cost: $0–$2 — truly under $5.
Materials: 40–50 flexible twigs 18–24 inches long (willow, birch, or grapevine trimmings work best), floral wire or thin garden twine ($1.25 at a dollar store), pruning snips, optional ribbon scrap.
- Gather twigs after rain — damp twigs bend without snapping. Strip leaves and side shoots.
- Bend 8–10 twigs into a circle about 14 inches across, overlapping ends by 4 inches.
- Wrap wire tightly at four points around the circle to hold the base ring. Tuck wire ends to the back.
- Weave remaining twigs in and out of the base ring, same direction, until full.
- Add a ribbon loop at the top and hang on a nail or over-door hook.
Watch-out: Brittle twigs snap and can flick toward your eyes. Wear glasses, and soak stubborn twigs in warm water for 30 minutes instead of forcing them.
2. Cinnamon-Stick Candle Wrap
Time: 20 minutes. Skill level: Beginner. Cost: $4–$7 — under $5 only if the candle comes from the dollar store; a grocery bag of cinnamon sticks alone can run $4.
Materials: One plain pillar candle 3 inches wide and 4–6 inches tall ($1.25–$3), 20–25 cinnamon sticks about 4 inches long, a wide rubber band, twine or raffia, hot glue (optional).
- Slip the rubber band around the middle of the candle.
- Tuck cinnamon sticks vertically under the band until the candle is covered with no gaps.
- Tie twine tightly around the center, twice, and knot it. Snip and remove the rubber band.
- Trim any sticks that wobble with a dot of hot glue at the base.
Watch-out: Cinnamon scent is strong and bothers some people. Make one first and live with it a day. Never leave it burning unattended — the sticks are flammable once wax melts low. A flameless pillar gives the same look with zero risk.
3. Painted Acorns
Time: 30 minutes plus 1 hour drying. Skill level: Beginner, great with kids. Cost: $0–$3 — truly under $5 if paint is a dollar-store set.
Materials: 30–40 acorns with caps attached, acrylic paint in copper, cream, mustard, and sage ($1.25 set or $0.59 per bottle), small brush, newspaper, clear bowl or 6-inch vase for display.
- Rinse acorns, pat dry, and bake at 200°F for 20 minutes to dry them and deal with any insects.
- Let them cool fully. If a cap pops off, a dot of glue fixes it.
- Paint the nut portion only, leaving the cap natural. One coat is fine; two makes colors richer.
- Dry cap-side down on newspaper for an hour, then pile loosely in the bowl.
Watch-out: Work with a window cracked, and keep painted acorns away from toddlers and pets — they look like candy and are a choking hazard.
4. Scrap-Fabric Pumpkins
Time: 25 minutes each. Skill level: Beginner. Cost: $1–$4 each — truly under $5 with fabric scraps or a thrifted shirt.
Materials: Fabric square 18 x 18 inches (flannel, linen, or an old shirt), 1 cup dry rice or beans for weight, polyester stuffing or plastic bags, rubber band, twine, a 2-inch stick or cinnamon stick for the stem, hot glue.
- Lay the fabric right-side down. Pour the rice in the center, then add stuffing on top until the pile is about 6 inches high.
- Gather edges up, secure with the rubber band, leaving a 1-inch nub on top.
- Wrap twine around the bundle 6–8 times, pulling slightly to form ridges. Knot underneath.
- Wrap the nub with twine to hide it, glue the stick into the center, and fluff the shape round.
Watch-out: Rice filling cannot get wet and attracts mice in storage — use a sealed bin, not a garage box. For more styling, see these no-carve pumpkin decorating ideas for real and faux pumpkins.
5. Book-Page Leaf Garland
Time: 40 minutes. Skill level: Beginner. Cost: $0–$2 — truly under $5.
Materials: 10–15 pages from a damaged or thrift-store book ($1 or free if you use one already falling apart), leaf template printed or drawn freehand (about 4 inches long), pencil, scissors, twine cut to 6 feet, mini clothespins or a hole punch and string, optional watercolor wash.
- Trace and cut out 18–24 leaves. Slightly different sizes look more natural.
- Fold each leaf gently down the center to give it dimension.
- Clip leaves to twine 3–4 inches apart, or punch a hole at each stem and thread them on.
- Hang across a mantel or window, letting the middle sag about 6 inches.
Watch-out: Keep this garland at least 3 feet from any flame, fireplace, or space heater.
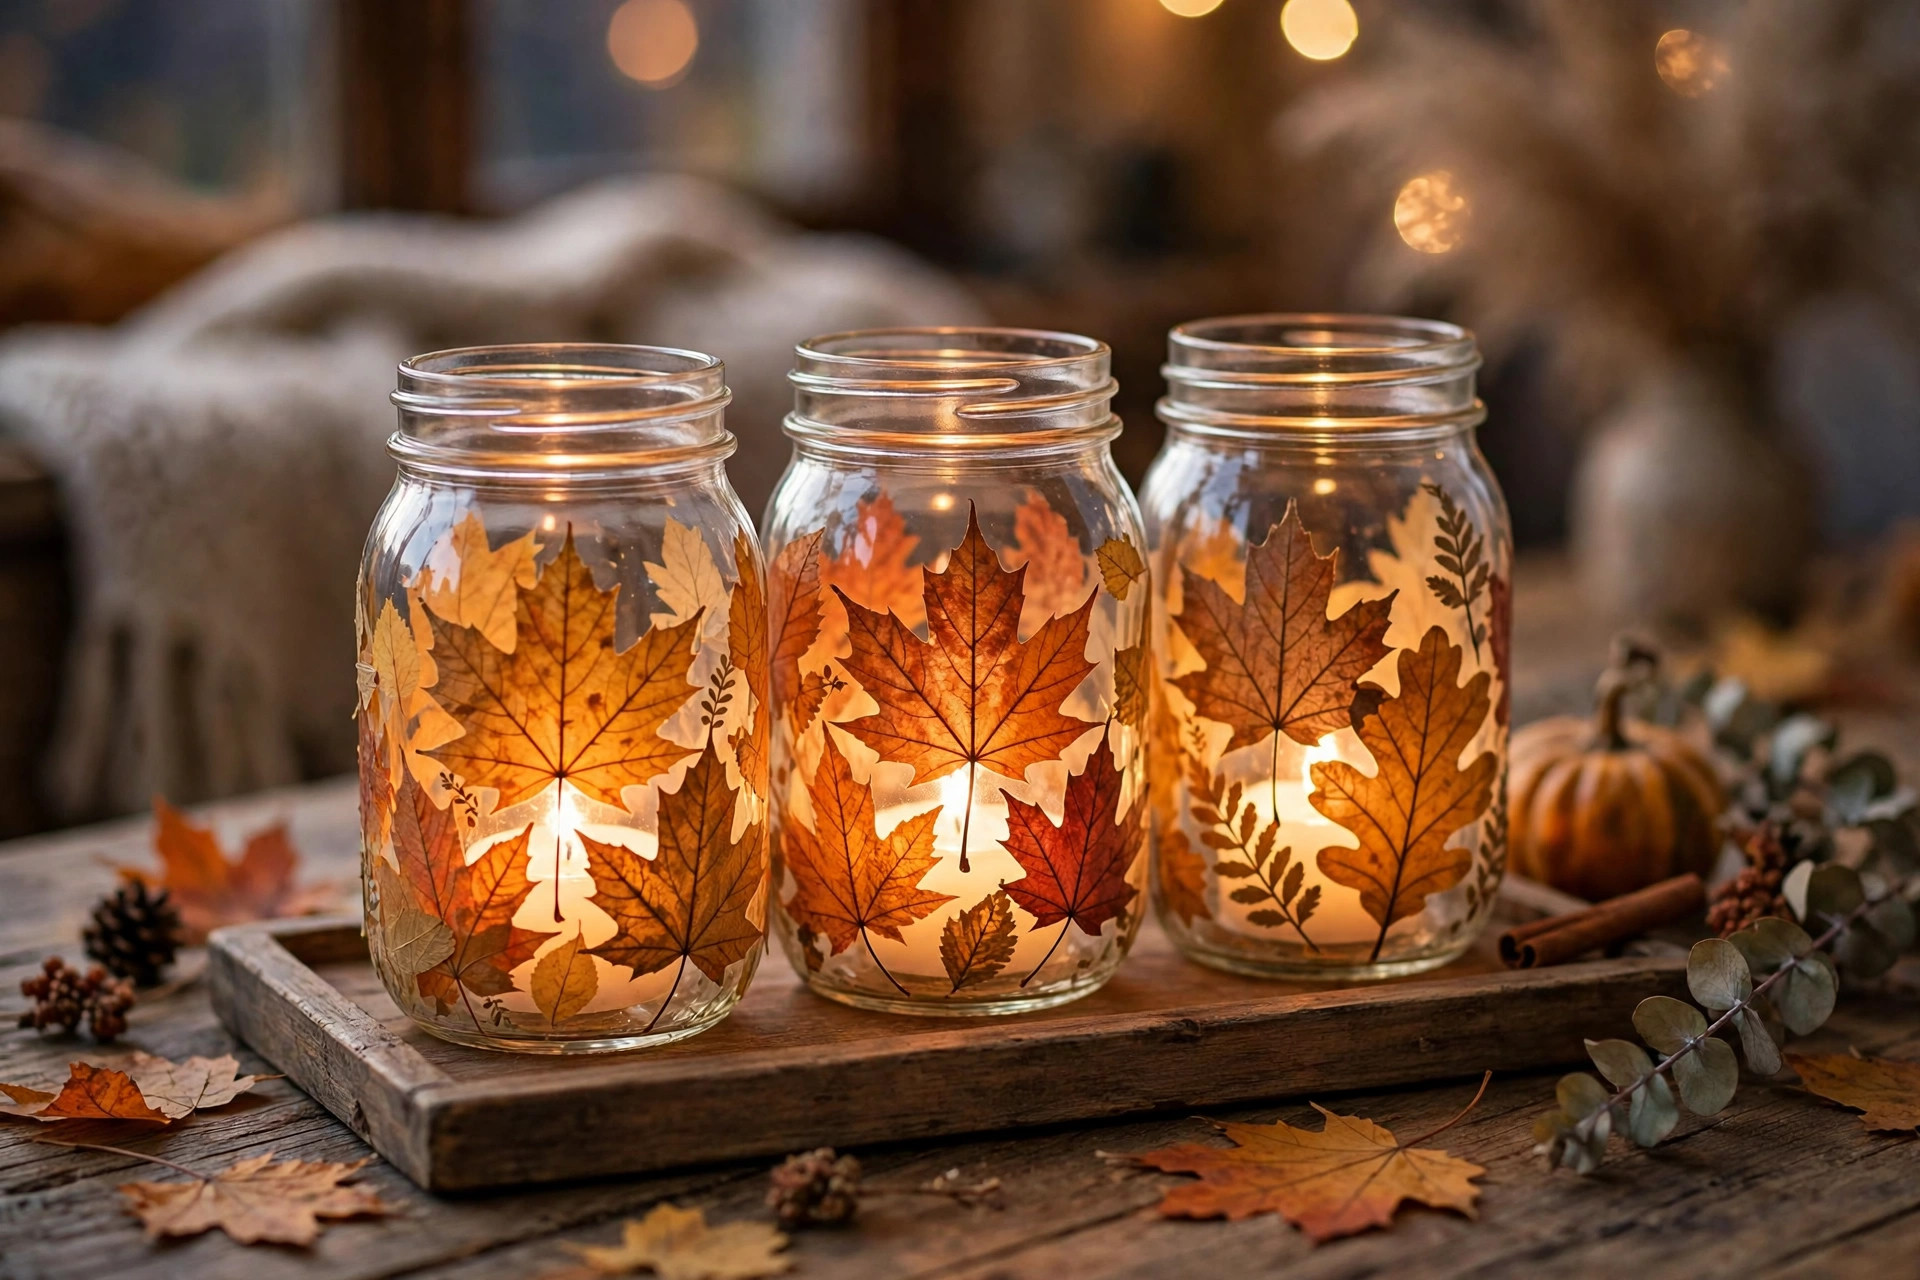
6. Mason-Jar Leaf Lanterns (Flameless)
Time: 30 minutes plus drying. Skill level: Beginner. Cost: $3–$5 for a pair — under $5 if jars come from home.
Materials: Two 16 oz mason jars, decoupage glue or white glue thinned 1:1 with water, foam brush, 10–12 pressed leaves (real leaves pressed in a book for 2 days, or faux leaves $1.25 a pack), two flameless tea lights ($1.25 a pair).
- Brush a thin layer of glue over one side of the jar.
- Press leaves flat against the glue, overlapping slightly. Slightly pliable leaves conform best.
- Brush another thin layer over the leaves to seal them. Expect it to look milky; it dries clear.
- Let dry 2 hours, drop in a flameless tea light, and group the jars on a tray or step.
Watch-out: Flameless only — a real tea light overheats a glue-coated jar. Wash the brush immediately or it is ruined.
7. Dried Orange Garland
Time: 30 minutes hands-on, 2–3 hours in the oven. Skill level: Beginner. Cost: $3–$5 — truly under $5; three oranges make a 5-foot garland.
Materials: 3–4 oranges or a mix of oranges and lemons, sharp knife, paper towels, baking sheet with parchment, needle with a large eye, twine or fishing line, optional bay leaves and whole cloves.
- Slice oranges just under 1/4 inch thick. Blot both sides firmly — this decides how fast they dry.
- Bake in a single layer at 200°F for 2–3 hours, flipping every 30 minutes, until dry and translucent but not brown.
- Cool completely. Edges should feel papery, not tacky.
- Thread each slice twice near the top edge, spacing 2–3 inches apart. Alternate with bay leaves if using.
- Hang where air circulates — a window or mantel edge.
Watch-out: Thick or under-dried slices mold within a week. If a slice bends like fruit leather, give it 30 more minutes. Discard badly browned slices.
8. Burlap Table Runner (No-Sew)
Time: 35 minutes. Skill level: Beginner. Cost: $5–$8 if you buy burlap by the yard — over the $5 line unless you catch a remnant bin piece.
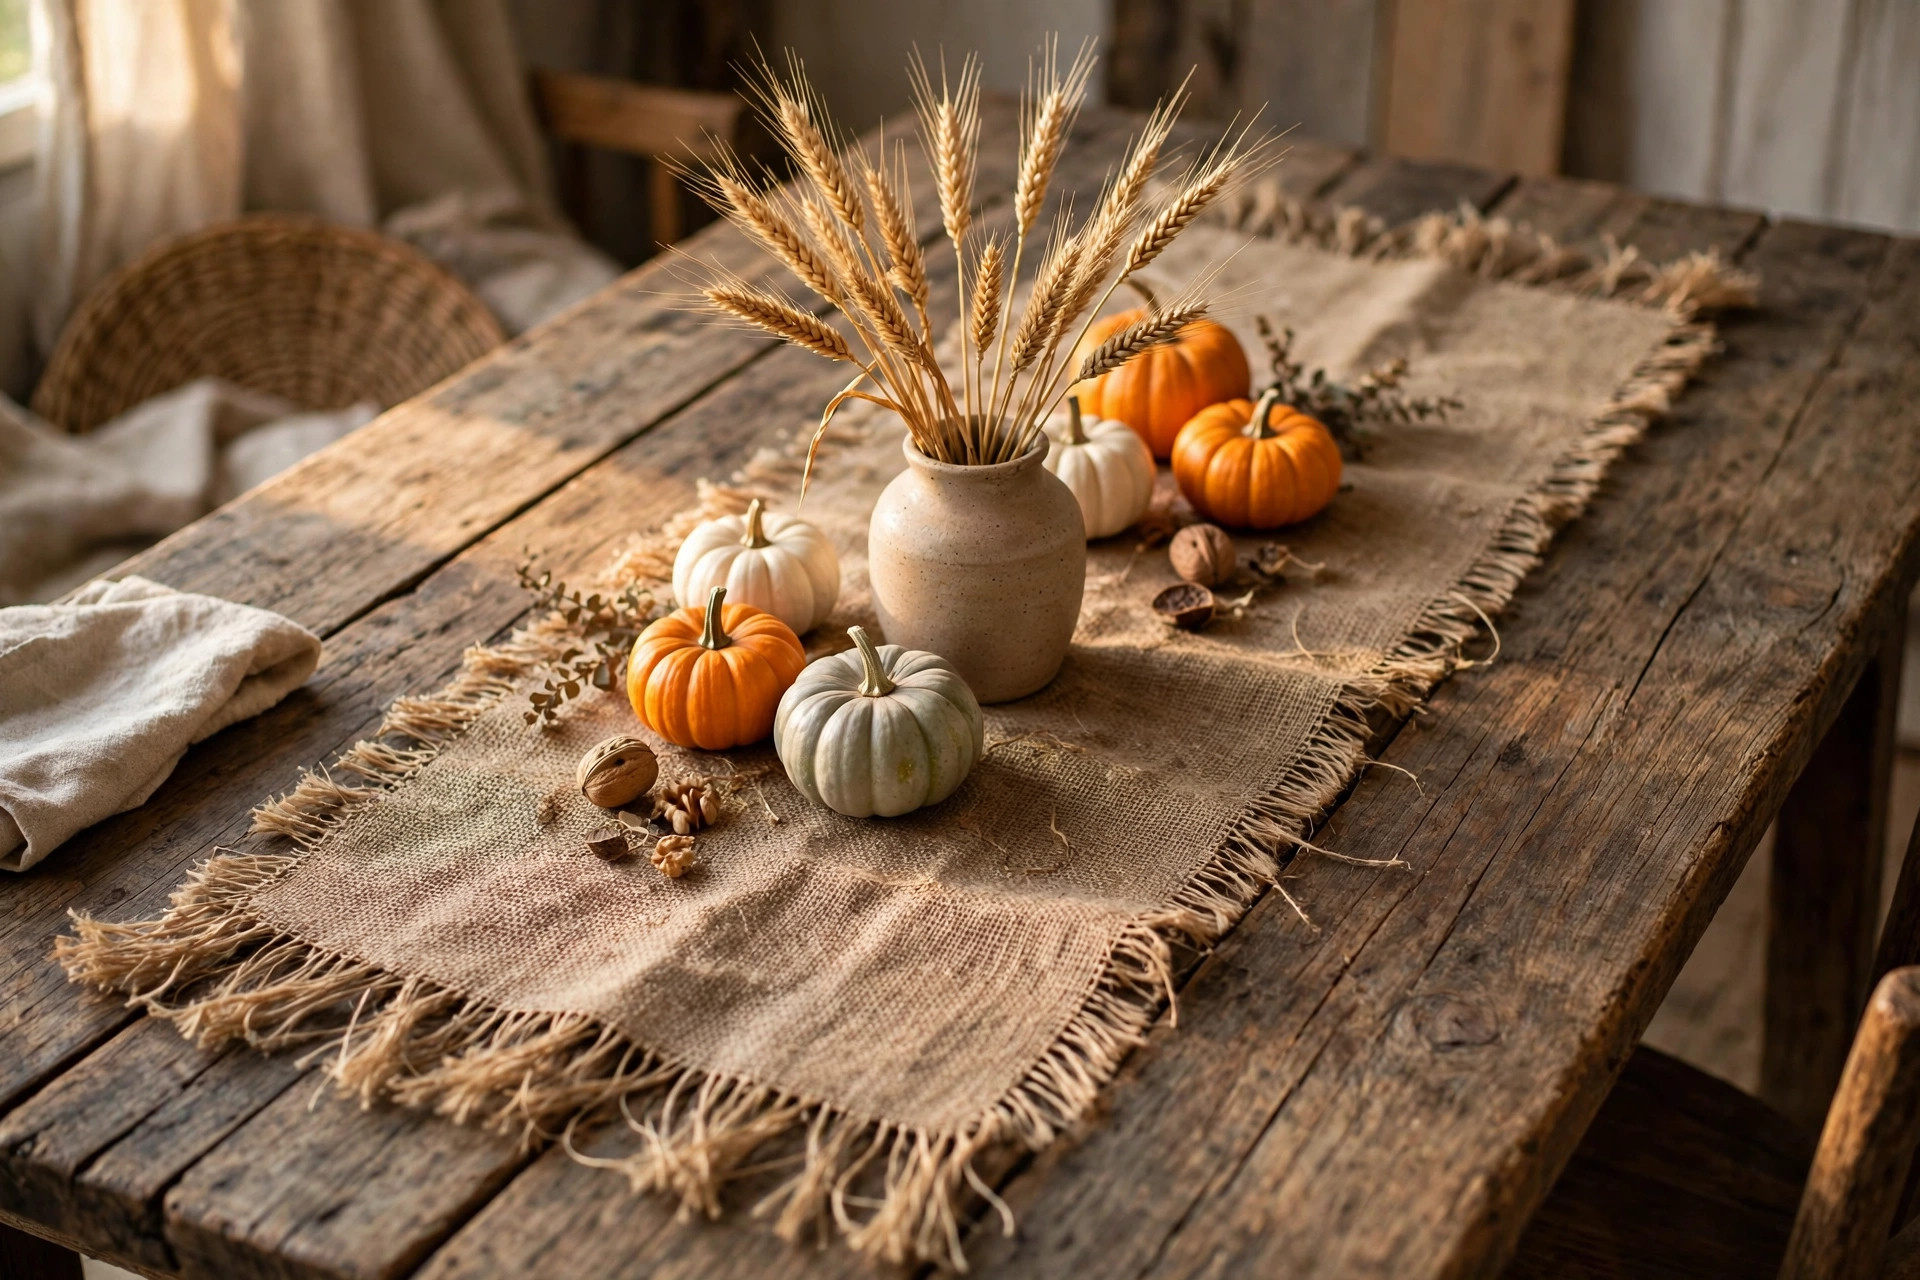
Materials: Burlap 14 inches wide, cut 24 inches longer than your table (a standard 6-foot table wants a 96-inch runner), iron-on hem tape ($1.25), iron, scissors, ruler.
- Pull one cross thread out where you want to cut, then cut along the gap for a straight edge.
- Fold each long edge under 1/2 inch, slip hem tape inside, and iron on medium 10–15 seconds per section.
- At each end, either fold and tape the same way, or pull 6–8 cross threads out to create a 1-inch fringe.
- Lay flat under books for an hour to set the folds.
Watch-out: Burlap sheds and smells earthy at first. Shake and air it outside before use, and always use trivets under hot dishes.
9. Stencilled Doormat
Time: 45 minutes plus drying. Skill level: Beginner to intermediate. Cost: $4–$6 — a plain coir mat is $4–$5 at discount stores, so this sits right on the line.
Materials: Plain coir doormat 18 x 30 inches, stencil (bought $2, or cut free from cardstock — a simple leaf or the word "hello"), outdoor acrylic or spray paint, painter's tape, stencil brush or foam pouncer, cardboard.
- Shake the mat hard outside. Paint will not stick to loose coir dust.
- Center the stencil and tape it down firmly on all four sides. Slip cardboard under the mat.
- Blot most paint off on cardboard, then pounce straight up and down over the stencil. Thin coats, never brush strokes.
- Apply a second coat, lift the stencil straight up, and let the mat cure 24 hours.
Watch-out: Spray paint outdoors only, never on a windy day — overspray on concrete is permanent. Expect fading after one heavy-traffic season.
10. Wheat Bundle Vase Filler
Time: 15 minutes. Skill level: Beginner. Cost: $3–$5 for a craft-store wheat bunch — truly under $5.
Materials: One bunch of dried wheat (about 25–30 stems), twine or ribbon, scissors, a vase or crock 8–10 inches tall with a mouth 3–4 inches wide.
- Hold the bunch and tap the stem ends on the table to level them.
- Trim so the arrangement stands about 1.5 times the vase height — roughly 14–15 inches for a 9-inch vase.
- Tie twine in a bow about 3 inches below the wheat heads, or leave untied for a looser crock arrangement.
- Set in the vase and fan the heads gently outward with your fingers.
Watch-out: Wheat sheds and is brittle — arrange once and leave it alone; allergy households should choose faux. The full guide to dried flower fall decor ideas that last all season covers wheat and eucalyptus with the same vase math.
11. Chalkboard Tray Sign
Time: 40 minutes plus paint drying. Skill level: Beginner. Cost: $3–$7 — under $5 with a thrifted tray and dollar-store chalk paint.
Materials: Metal or wood tray 12 x 16 inches or larger, chalkboard paint or matte black acrylic ($1.25–$4), foam brush, painter's tape, chalk or a chalk marker, damp cloth.
- Clean the tray and dry it. Tape off the rim so only the flat center gets painted.
- Apply two thin coats of paint, letting each dry 30 minutes. Thin coats crack less than one thick coat.
- Season once dry: rub chalk lightly over the whole board and erase, so your first message does not ghost forever.
- Write a simple word — "gather" or tonight's menu — and prop against a wall.
Watch-out: Some chalk markers are permanent on porous paint. Check the label and test a corner first.
12. Yarn-Wrapped Wreath
Time: 60–90 minutes — the longest project here, but mindless enough for a movie night. Skill level: Beginner. Cost: $4–$6 — a foam ring and one skein of yarn sit just over $5 at full price, under it on sale.
Materials: Foam or straw wreath form 12 inches, one skein chunky yarn in cream, rust, or sage (about 100 yards), hot glue, scissors, optional felt scraps for 3 simple leaves or flowers.
- Glue the yarn end to the back of the form.
- Wrap yarn snugly, side by side, with no form showing. Push wraps together every few inches.
- When you reach the start, glue the end at the back and trim.
- Glue on felt leaves in one cluster at the lower side, add a twine hanging loop, and hang.
Watch-out: Keep a bowl of cold water at your elbow — if hot glue hits skin, dip immediately. Never pull set glue off skin.
13. Leaf-Pressed Frames
Time: 20 minutes, after 3–5 days pressing. Skill level: Beginner. Cost: $2–$4 — truly under $5 with dollar-store frames.
Materials: 6–10 flat leaves in different shapes (maple, oak, fern fronds), heavy book and parchment paper, two or three frames 5 x 7 inches ($1.25 each), cream cardstock, glue dots.
- Place leaves between parchment sheets inside the book, stack more books on top, and leave 3–5 days.
- Cut cardstock to fit each frame as the background.
- Arrange one large leaf or a trio of small ones on the cardstock and fix with a single glue dot behind the stem.
- Frame, and hang as a small group with 2 inches between frames, or lean on a shelf.
Watch-out: Real leaves fade in direct sun and turn brittle. Hang out of sunny windows and expect one season of good color.
14. Twine Pumpkin
Time: 35 minutes. Skill level: Beginner to intermediate — fiddly, not hard. Cost: $2–$4 — truly under $5.
Materials: One roll of jute twine (about 50 feet), a balloon, white glue mixed 1:1 with water in a bowl, scissors, a 2-inch stick, disposable gloves (optional but smart).
- Blow up the balloon to about 6 inches across and tie it off, slightly round rather than long.
- Pull twine through the glue, squeeze off excess, and wrap the balloon in all directions until covered but still lacy.
- Hang or rest on parchment and dry a full 24 hours. Do not rush this.
- Pop the balloon and pull it out. Gently press the top and bottom in to suggest a pumpkin shape, glue the stick in the top center.
Watch-out: If twine is not fully dry, the sphere collapses when the balloon pops. It should feel stiff and sound papery. Never put a real flame inside.
15. Sweater Pillow Cover (No-Sew)
Time: 25 minutes. Skill level: Beginner. Cost: $2–$5 with a thrifted sweater — truly under $5 if the sweater is from your own closet.
Materials: One thrifted sweater, preferably chunky knit, at least 20 inches across the body, a 16 x 16 inch pillow insert you already own, safety pins or fabric glue/hem tape, scissors, ribbon or twine.
- Turn the sweater inside out and slide the insert in through the bottom.
- Cut off sleeves and neck, leaving 2 inches of extra fabric on each cut side.
- Fold cut edges inward and secure with fabric glue or hem tape, or pin discreetly at the back.
- Turn right side out, adjust corners, and tie the bottom closed with hidden twine.
Watch-out: Knits stretch and sag — choose a sweater slightly smaller than the insert, and spot clean only or the no-sew closures will fail.
How to Choose and Display Your Three
Group by material, not by project. A twig wreath on the door, leaf lanterns on the steps, and a wheat bundle on the table read as one calm scheme for under $12 total. Fabric pieces — scrap pumpkins, sweater pillow, burlap runner — make a cozier living-room group. Keep scented pieces in different rooms, paper and dried pieces away from heat, and store fragile makes in one labeled bin with tissue between layers.


Comments
Post a Comment