
12 Easy DIY Floating Shelf Ideas for Small Rooms
Small rooms rarely lack things. They lack places to put them. These easy DIY floating shelf ideas fix that by moving storage onto the one surface small rooms always have spare: the wall. A floating shelf has no legs or side panels eating floor space, and most builds below cost $10 to $25 and go up in an afternoon. The catch is honesty about support. A shelf is only as strong as what it is screwed into, so every idea lists its real load, not a hopeful one.
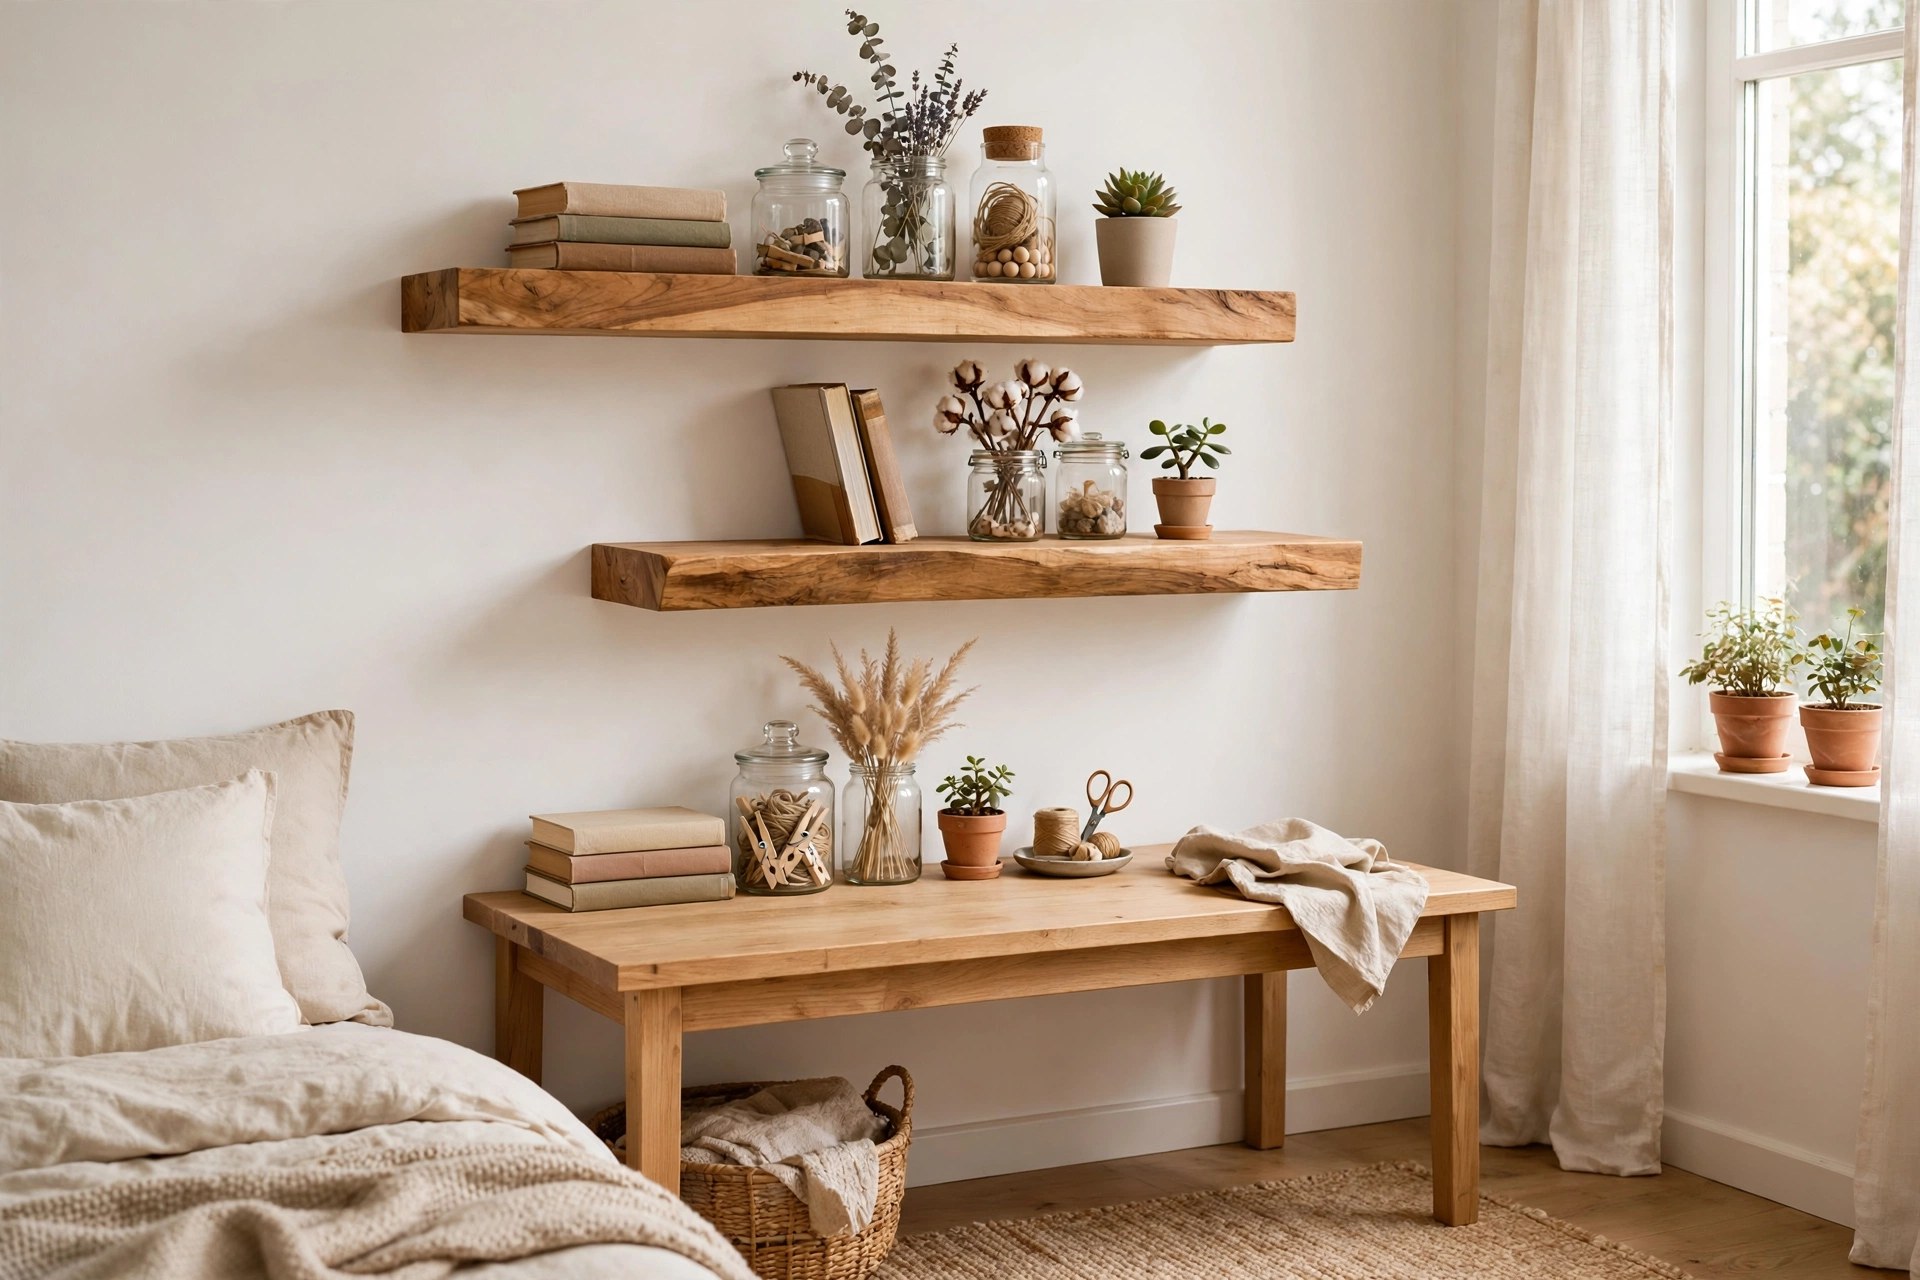
Before You Build: Studs, Anchors and Honest Load Numbers
Every floating shelf hangs on a hidden support: a wooden cleat, a steel rod bracket, or the back of the shelf itself. That support carries a lever: the deeper the shelf and the heavier its front edge, the harder it pulls from the wall. Three rules decide whether yours stays put.
- Hit studs whenever you can. Studs usually sit 16 inches apart. A cleat screwed into two studs with 3-inch structural screws, sunk at least 1 1/2 inches into the wood, is the strongest home fixing, holding a 24 to 36-inch shelf at 25 to 40 pounds spread evenly. Plan shelf lengths around stud spacing, not the other way round.
- No stud? Use toggle bolts, and halve the load. Metal toggle bolts are the only anchors worth trusting on a shelf. Keep anchor-only shelves shallow and light, 15 pounds or less. Never use small plastic push-in anchors: a shelf's lever action pulls them out.
- Support at least two-thirds of the depth. Cleat arms or bracket rods should reach 70 to 80 percent of shelf depth. Eight to 10 inches deep is the small-room sweet spot.
Tools stay short: a stud finder, level, drill, saw, tape measure, sandpaper, glue and screws. Guides like this DIY floating shelves build guide and Engineer Fix on installing a 24-inch floating shelf agree on the order: find studs first, mount the support level, then fit the shelf.
12 Easy DIY Floating Shelf Ideas for Small Rooms
1. The Classic Hollow Box Shelf
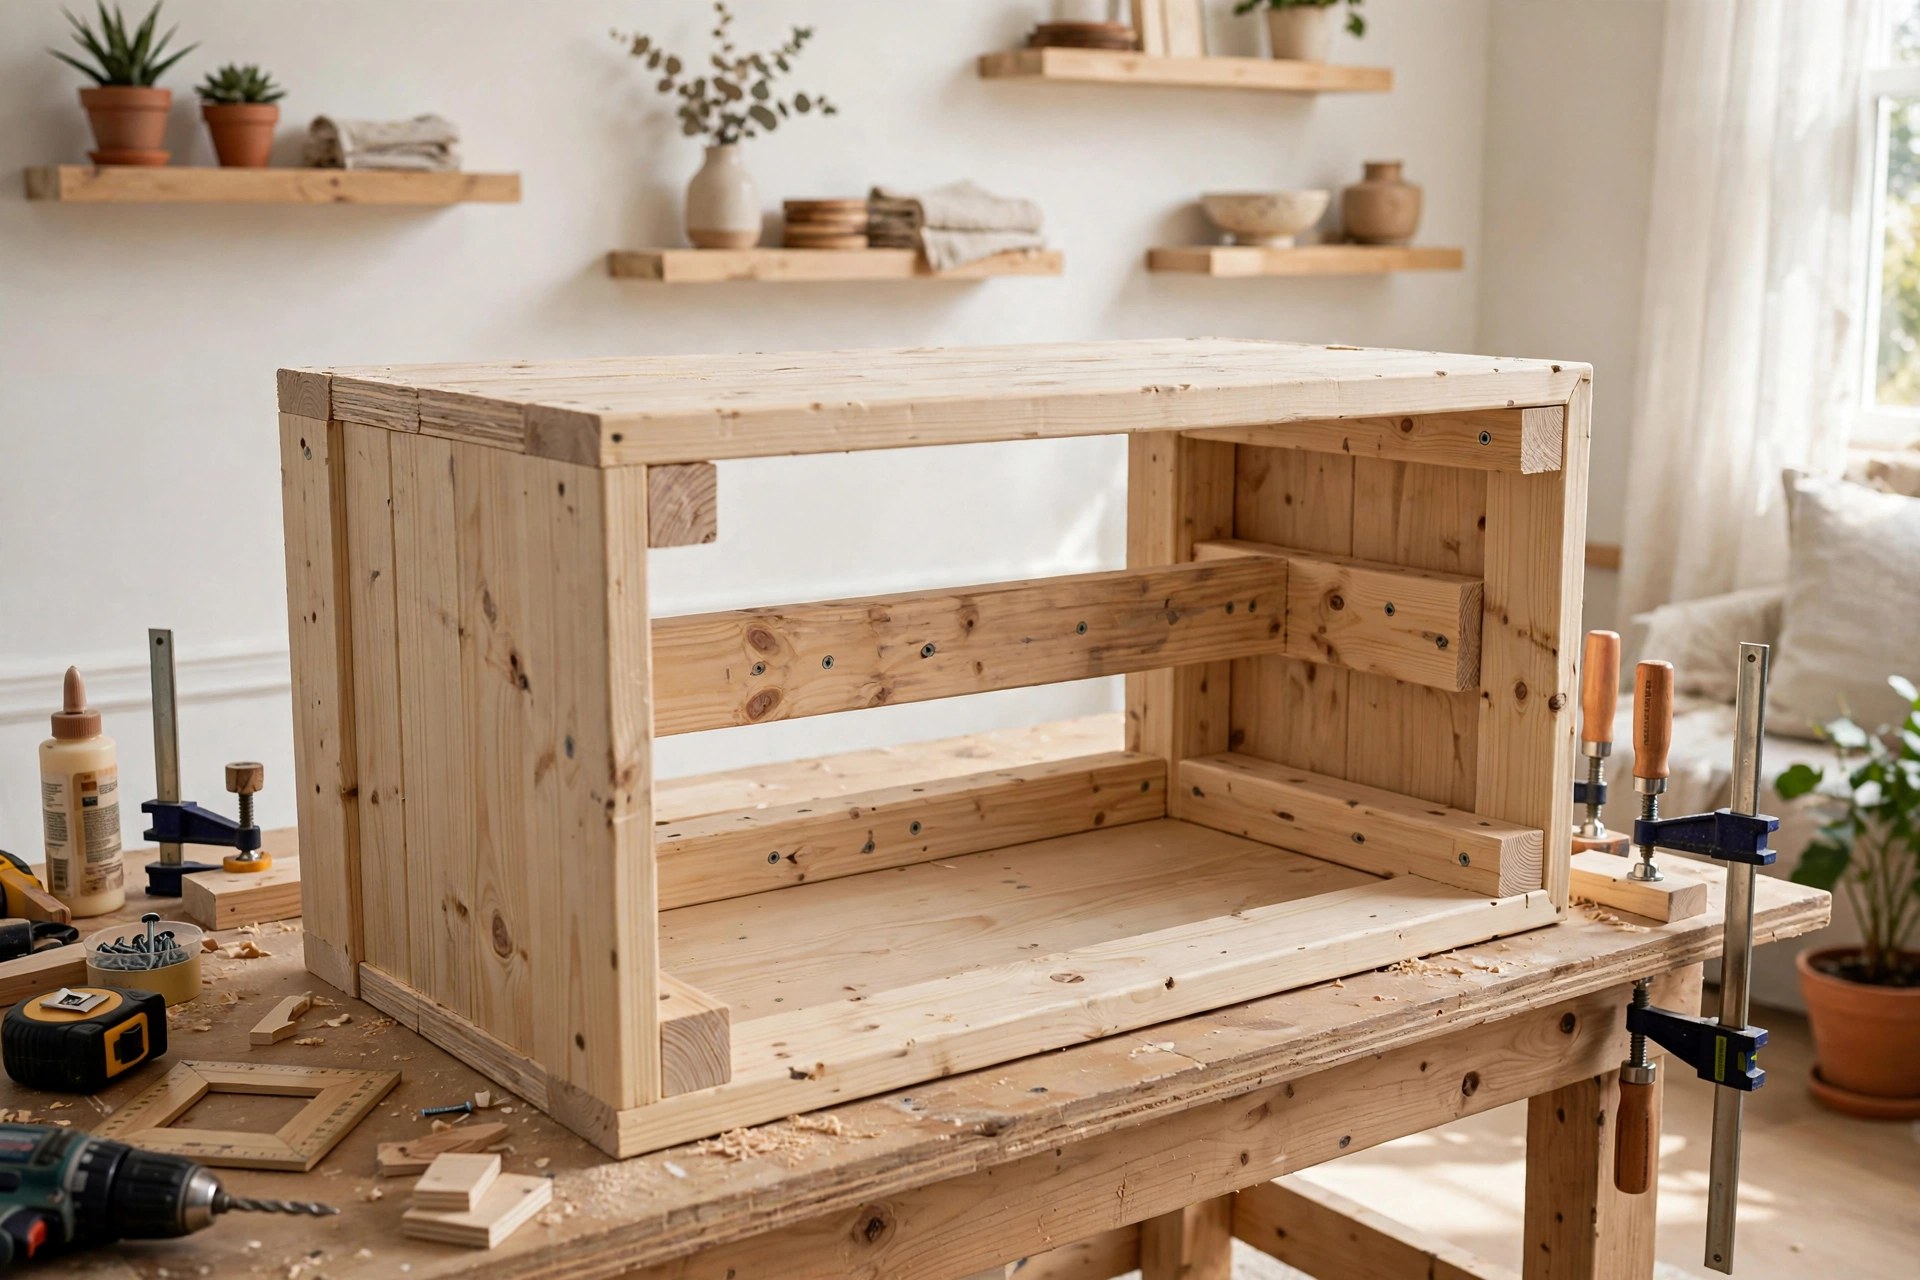
Difficulty: beginner. Time: about 2 hours plus drying. Cost: $15 to $25. Materials: one 1x6 and one 1x4 for the box, 1x3 boards for the inner cleat, glue, 1 1/4-inch and 3-inch screws. Build the cleat first: a back board cut 2 inches shorter than the shelf, screwed level into two studs, with short arms forward. Then build a three-sided box, top and bottom from the 1x6, front from the 1x4, and slide it over the cleat. One screw up through the underside locks it. The strongest cheap shelf here: 25 to 40 pounds of books, stud-mounted.
2. Solid Plank Shelf on Hidden Rod Brackets
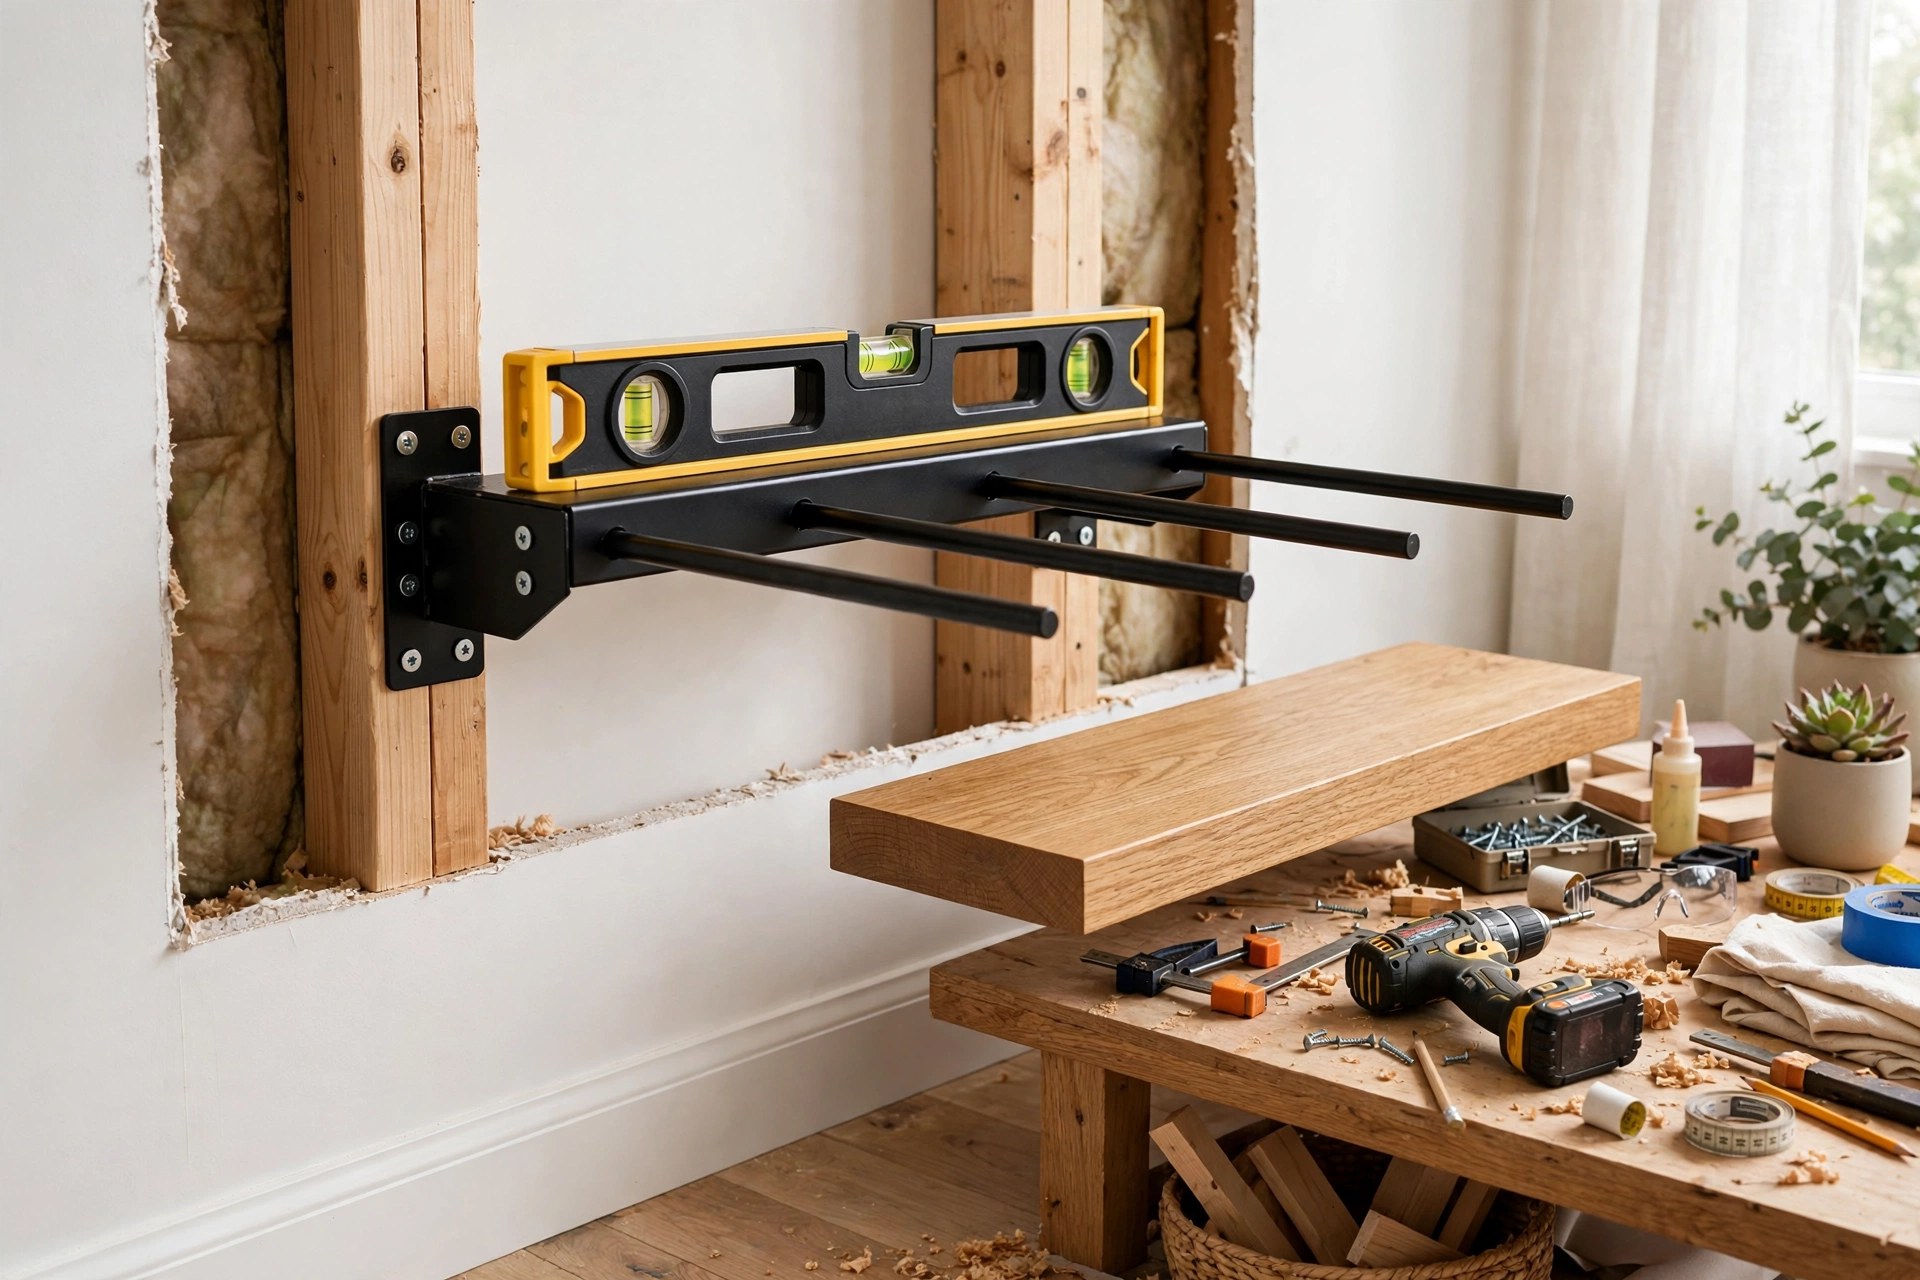
Difficulty: beginner. Time: about 1 hour. Cost: $10 to $20 plus a bracket kit. Materials: one 2x8 board, a steel rod bracket kit, sandpaper, oil or stain. Rod brackets need thickness to hide in, so use a true 2x8, finishing 1 1/2 inches thick and 7 1/4 inches deep. Screw the bracket plate into two studs, drill matching holes in the back edge of the board, drill held dead straight, and slide the board on. Holds mugs, plants and books: 20 to 30 pounds, studs only.
3. The Picture Ledge
Difficulty: beginner. Time: under 1 hour. Cost: about $10. Materials: one 1x4 for the base, one 1x3 for the back, one 1x2 for the front lip. Glue and screw the three boards into a shallow channel, 3 1/2 inches deep, and screw the back board into studs every 16 inches. Frames lean against the wall inside the lip, so nothing slides off and art rearranges without new holes. Run one 36 to 48 inches long above a sofa or desk. Load is modest, 10 to 15 pounds, but for frames and paperbacks nothing here is faster.
4. Corner Floating Shelves
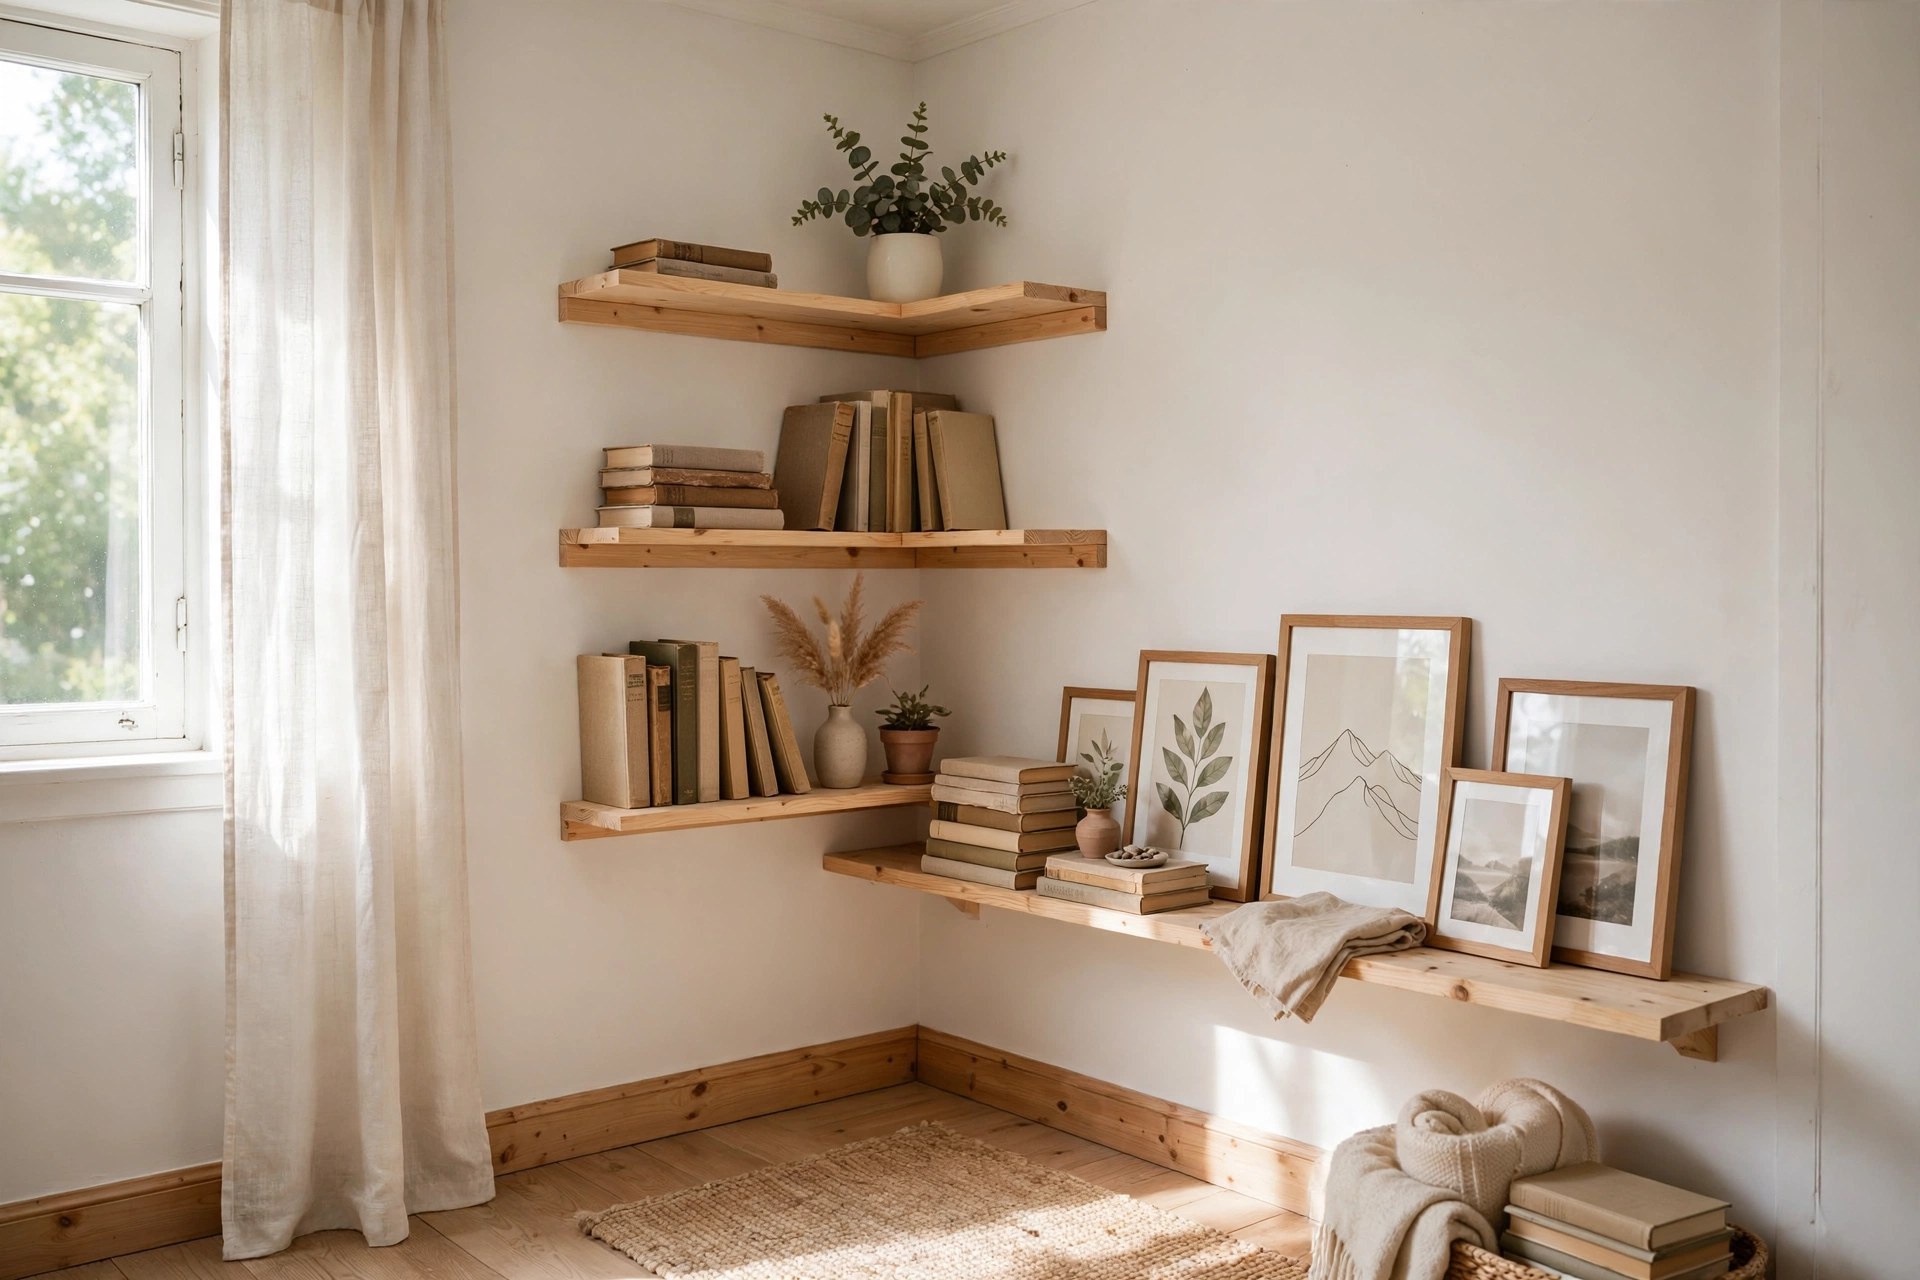
Difficulty: beginner. Time: about 1 hour each. Cost: $8 to $15. Materials: 3/4-inch plywood or a 1x8 board, two small cleats. Corners are wasted space, and a shelf there borrows support from two walls at once. Cut a triangle with sides of 12 to 16 inches, screw a short cleat to each wall, into a stud where possible, and rest the shelf on both, fixed with a screw from above. Stack two or three at 14-inch gaps beside a bed or above a toilet: 10 to 15 pounds each, for toiletries and a bedtime book.
5. The Crate Shelf
Difficulty: beginner. Time: about 30 minutes. Cost: $10 to $15. Materials: one unfinished wooden crate, sandpaper, sealer, four 2 1/2-inch screws. Sand the crate, seal it against steamy rooms, and screw through its back panel into at least one stud, with a toggle bolt at the far corner. Hung on its side, a standard 12x18-inch crate becomes a deep shelf with storage inside: rolled towels in a bathroom, keys and mail in an entryway. Keep it to 15 pounds. If your shelves fill with plants, pair them with our easy DIY plant stand ideas so the floor gets green too.
6. Stacked Box Trio
Difficulty: beginner. Time: about 2 hours for three. Cost: $20 to $30 total. Materials: 1x6 boards, glue, screws, paint. Build three open boxes, 12, 18 and 24 inches wide, all 5 1/2 inches deep, and hang them in a staggered row or a loose stair-step. Each box screws through its back into a stud or a toggle, and varied sizes break up a wall better than one long shelf. Paint them the wall color for a built-in feel, or stain them for contrast. Ten to 15 pounds per box is the honest limit.
7. Over-the-Toilet Bathroom Shelves
Difficulty: beginner. Time: about 1 hour. Cost: $12 to $20. Materials: two 1x8 boards at 24 inches, rod brackets or cleats, bathroom-safe sealer. Small bathrooms gain a whole cupboard from two shelves above the tank. Keep the lowest shelf at least 24 inches above the tank top so the lid still lifts off for repairs, and space the pair 14 to 16 inches apart. Seal every face, including the ends, or steam will swell the wood within a year. Fifteen to 20 pounds across both, stud-mounted.
8. Entryway Shelf With Hooks Underneath
Difficulty: beginner. Time: about 1 hour. Cost: $15 to $22. Materials: one 1x8 board at 30 inches, a cleat, four double hooks. Mount a solid plank on a cleat, as in idea one, then screw four hooks into the underside front edge. Keys land on top; coats, dog leads and tote bags hang below. Thirty inches of wall replaces a hall table the entryway has no floor for. Hooks must bite into solid board, not a thin box face, and hold about 5 pounds each; keep 15 pounds on top.
9. Shallow Kitchen Spice and Mug Shelf
Difficulty: beginner. Time: about 1 hour. Cost: $10 to $18. Materials: one 1x6 board, a 1x2 lip strip, cleat or brackets. Depth is the trick: a shelf only 4 to 5 inches deep holds a single row of spice jars or mugs where a deep shelf would crowd the counter. Mount it 18 inches above the worktop, the standard clearance, and screw into studs, because a row of full jars is heavier than it looks. Ten to 15 pounds, one row only, everything visible, nothing hiding in a cupboard.
10. Desk and Home Office Shelf Pair
Difficulty: beginner. Time: about 90 minutes. Cost: $18 to $25 for the pair. Materials: two 1x8 or box shelves at 30 inches, cleats or rod brackets. A small desk clears instantly when paper, notebooks and speakers move up. Hang the first shelf 16 to 18 inches above the desk, high enough for a monitor and lamp underneath, the second 14 inches above that. Hide cables in a paintable cover strip. Stud-mount both: reference books over a desk are a genuine 25 to 30-pound load, over your head and laptop.
11. French Cleat Shelf
Difficulty: easy. Time: about 90 minutes. Cost: $12 to $20. Materials: one 1x6 or plywood strip ripped at 45 degrees, one 1x8 shelf board, a back batten. A French cleat is a bevelled strip screwed into every stud it crosses; the shelf carries the matching bevel and hooks on, locked by gravity. It is the strongest fixing here and the most forgiving: a 36 to 48-inch cleat catches three studs. Shelves lift off for repainting and go back in seconds. Build the shelf as a shallow box so the bevel hides inside: 30 to 40 pounds, evenly spread.
12. Renter-Friendly Light-Duty Ledge
Difficulty: beginner. Time: about 20 minutes. Cost: $8 to $15. Materials: a lightweight ledge shelf, large removable adhesive strips rated for its weight. When drilling is banned, be honest about the trade: adhesive strips hold 5 pounds or less, so this shelf is for postcards, a phone and one small faux plant, never books or jars. Clean the paint with rubbing alcohol, press each strip for 30 seconds, and wait an hour before loading. It never matches a screwed shelf, but as a display ledge it earns its place.
Step by Step: Hanging the Box Shelf So It Never Sags
Ideas are easy; level, solid hanging is the real skill. This order works for the box shelf in idea one, and the same steps serve nearly every build above.
- Find and mark the studs. Mark both edges of each stud, then pencil the center. Tape a horizontal line at shelf height and check it with the level before drilling.
- Build and mount the cleat. Assemble it square, hold it on the line, drill pilot holes, and drive 3-inch screws into the center of at least two studs. Tug hard: it should not move.
- Finish the shelf first. Sand, stain or paint on a table, not on the wall: no drips, and you reach every face.
- Slide, level and lock. Slide the box over the cleat, check level again, then lock it with one short screw up through the underside into the cleat.
- Load it gradually. Start with half the planned weight overnight, then check the front edge with the level. No drop means load it fully. A drop means a screw missed the stud: fix it now, not later.
Floating Shelf Mistakes That Make Small Rooms Worse
Four mistakes account for nearly every failed shelf: screws that miss the stud and bite only drywall; a shelf deeper than its support, so the front edge droops within weeks; heavy items loaded at the front edge, where the lever is longest, instead of close to the wall; and shelves hung at random heights, chopping a small wall into clutter. Space shelves 12 to 16 inches apart and keep one clear horizontal line through a group. If a finished shelf still feels plain, that is styling, not building, and our DIY bookshelf makeover ideas cover the paint and trim tricks that fix it.
Start with one box shelf this weekend: one board, one cleat, two studs, about twenty dollars. Hang it level, load it honestly, and live with it for a week. For more builds like this, browse our DIY Projects archive.


Comments
Post a Comment