
12 Easy DIY Window Seat Ideas With Storage for Small Rooms
A window seat does three jobs in a small room at once: somewhere to sit, storage in the dead space under a window, and a built-in look that makes the room feel finished. The best DIY window seat ideas with storage are not expensive carpentry. They are simple boxes — flat-pack cabinets or a plywood frame — sized to the window, topped with a proper cushion, and finished so they look like they were always there.
You need accurate measurements, a comfortable seat height, and a clear choice between drawers and a lift-up top. Below are twelve ideas with real dimensions, costs, and watch-outs, from a $200 cabinet hack to a plywood build with bookcases on both sides.
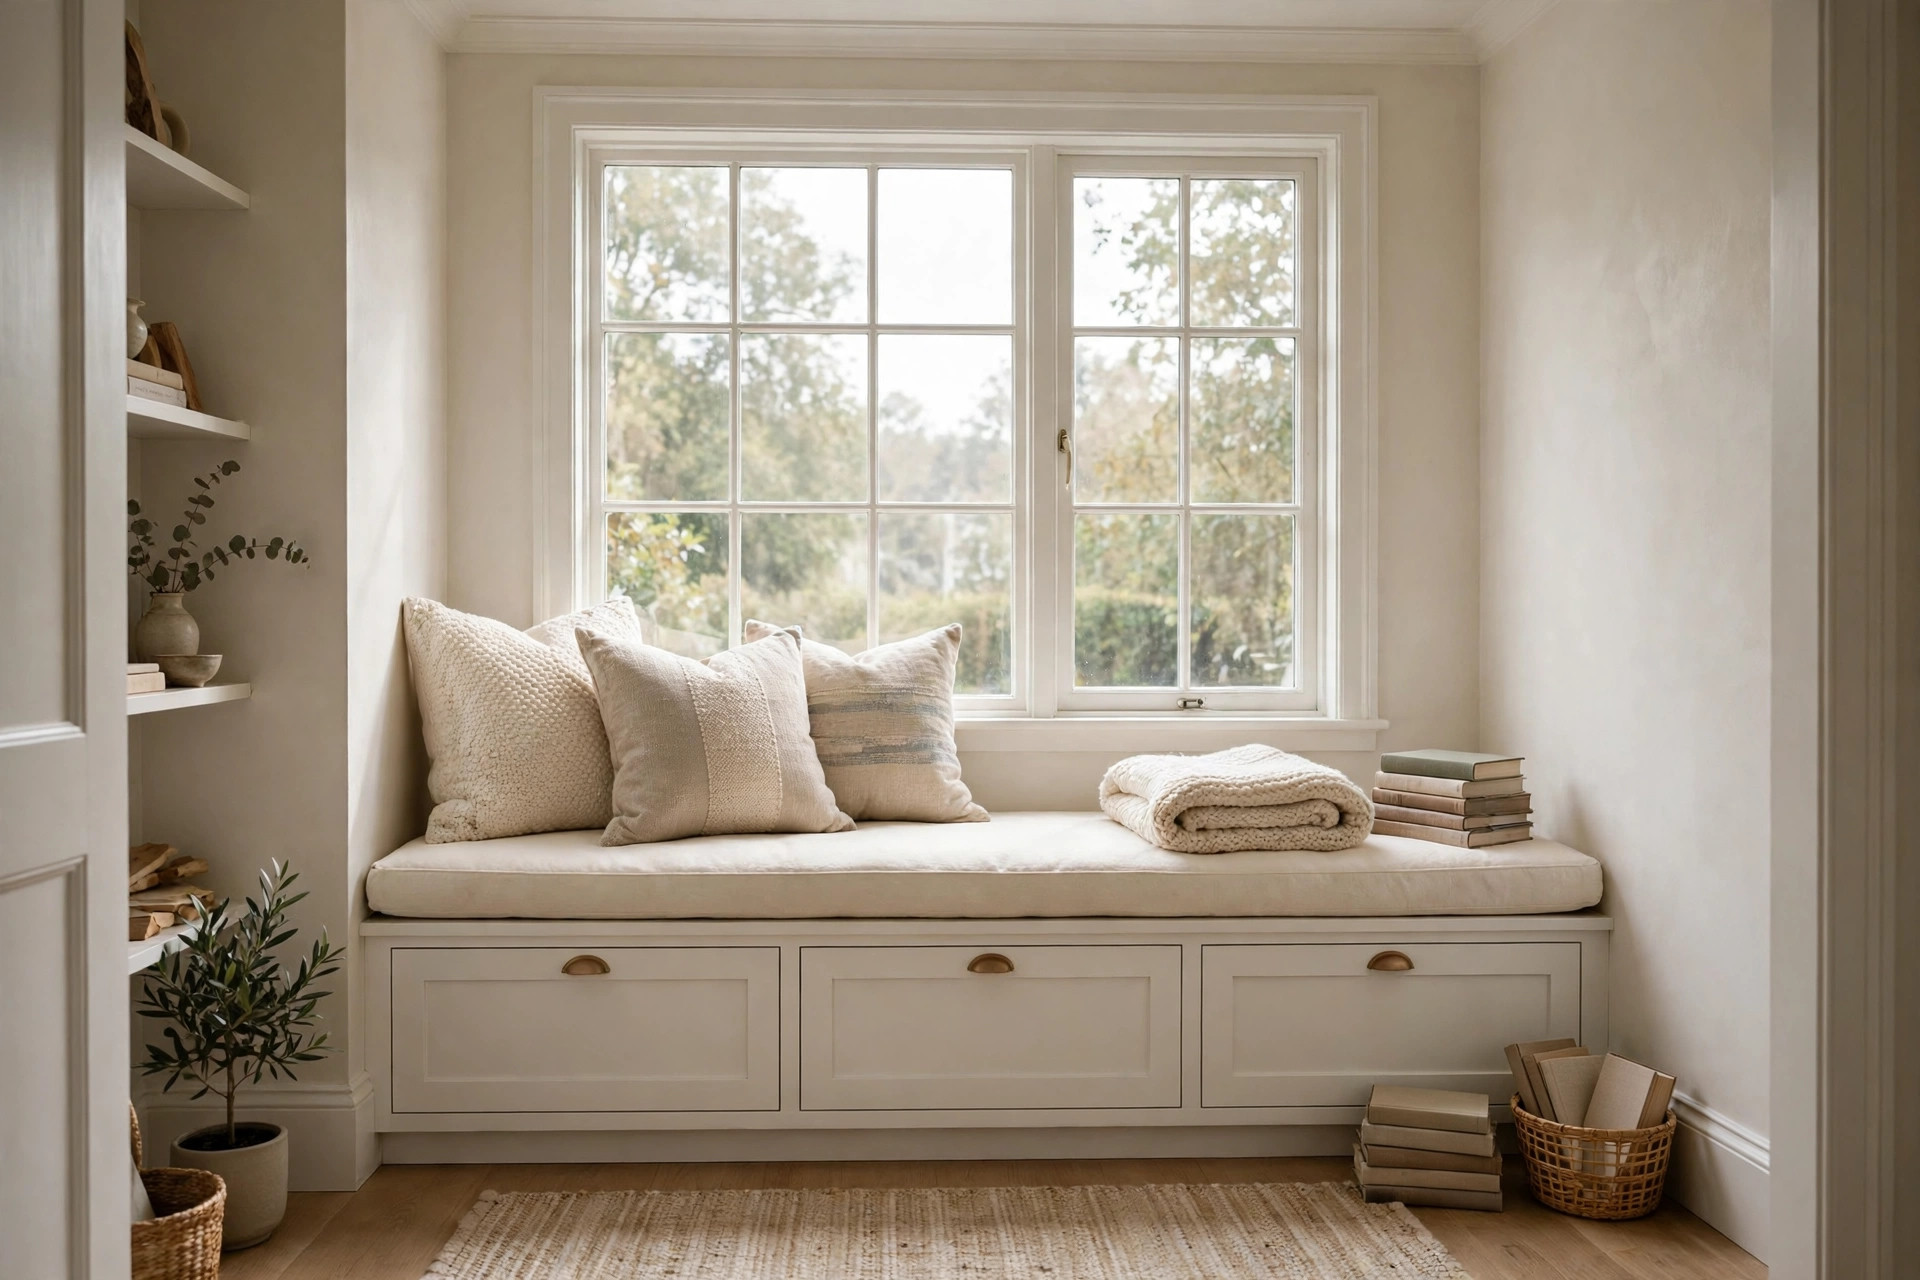
Plan the seat as part of a reading spot, not on its own — pair it with our guide to small bedroom reading corner ideas so the light, cushion, and book storage all land in the same corner.
Before You Build: Height, Depth, and the Vent Check
Start with the number that decides whether the seat gets used: height. A finished seat height of about 18 inches, floor to top of cushion, is comfortable for most adults — it matches a dining chair, so feet rest flat. Work backwards: with a 4-inch cushion, the box should be about 14 inches tall.
Depth matters too. Aim for 16 to 20 inches from wall to front edge. Shallower feels perched; deeper is hard to climb onto and wastes floor space. Measure the window wall, check the sill overhang, and note where baseboards, outlets, and floor vents sit before buying anything.
That last check is non-negotiable. Never block a floor vent with a solid box — you will trap heat and strain the system. Leave that section open with a vented grille in the toe-kick, extend the vent through the base, or move the seat. Real builds like Hana's Happy Home IKEA window seat hack with hidden storage and Maison de Pax's window seat between bookcases start the same way: measure honestly, then build to the space you have.
Tools, Materials, and Safety First
For a flat-pack hack you need a drill-driver, stud finder, level, tape measure, wood screws, and brackets or 2x4 for anchoring. For a plywood build add a circular saw (or store cuts), 2x4 lumber for the base, 3/4-inch plywood, wood glue, screws, sandpaper, paint, and caulk.
Costs stay predictable. Flat-pack cabinets, a plywood top, foam, and fabric usually total $200 to $550. Hiring a carpenter for the same seat typically runs $400 to $900 — exactly why the DIY routes below are so popular.
Safety before styling: anchor the seat to wall studs, never just drywall. A seat takes shifting weight all day and children will climb on it. Use at least two screws into studs along the back, or a cleat screwed to studs that the box locks onto. Keep the vent rule above, sand every edge a hand will touch, and fit soft-close hinges on a lift-up lid so it cannot slam on small fingers.
12 Easy DIY Window Seat Ideas With Storage for Small Rooms
Pick the build that matches your skill level first, then layer storage and comfort ideas on top. Most readers should start with idea 1 or 2.
1. Use Flat-Pack Cabinets Side by Side — No Saw Required
The fastest route: line up low flat-pack cabinets — BESTÅ or Kallax-type units — side by side under the window, level them, screw them together, and anchor the run to studs. Top with a single length of plywood, then add the cushion. Cost: $200 to $550 all-in versus $400 to $900 for carpentry. Watch-out: check cabinet height plus cushion still lands near 18 inches; some units need a low plinth or shorter legs.
2. Build a Simple Plywood Box on a 2x4 Base
Remove the baseboard behind the seat first so the box sits flush to the wall. Build a 2x4 base frame set back a few inches at the front for a toe-kick — that recess is also where a vent grille can live. Frame the box from 3/4-inch plywood and add cross supports every 2 to 3 feet so the top never flexes. Cost: roughly $150 to $350 for a 5 to 6 foot seat. Watch-out: never skip cross supports on a long span; a sagging lid marks a rushed build.
3. Choose a Lift-Up Top for Big, Bulky Storage
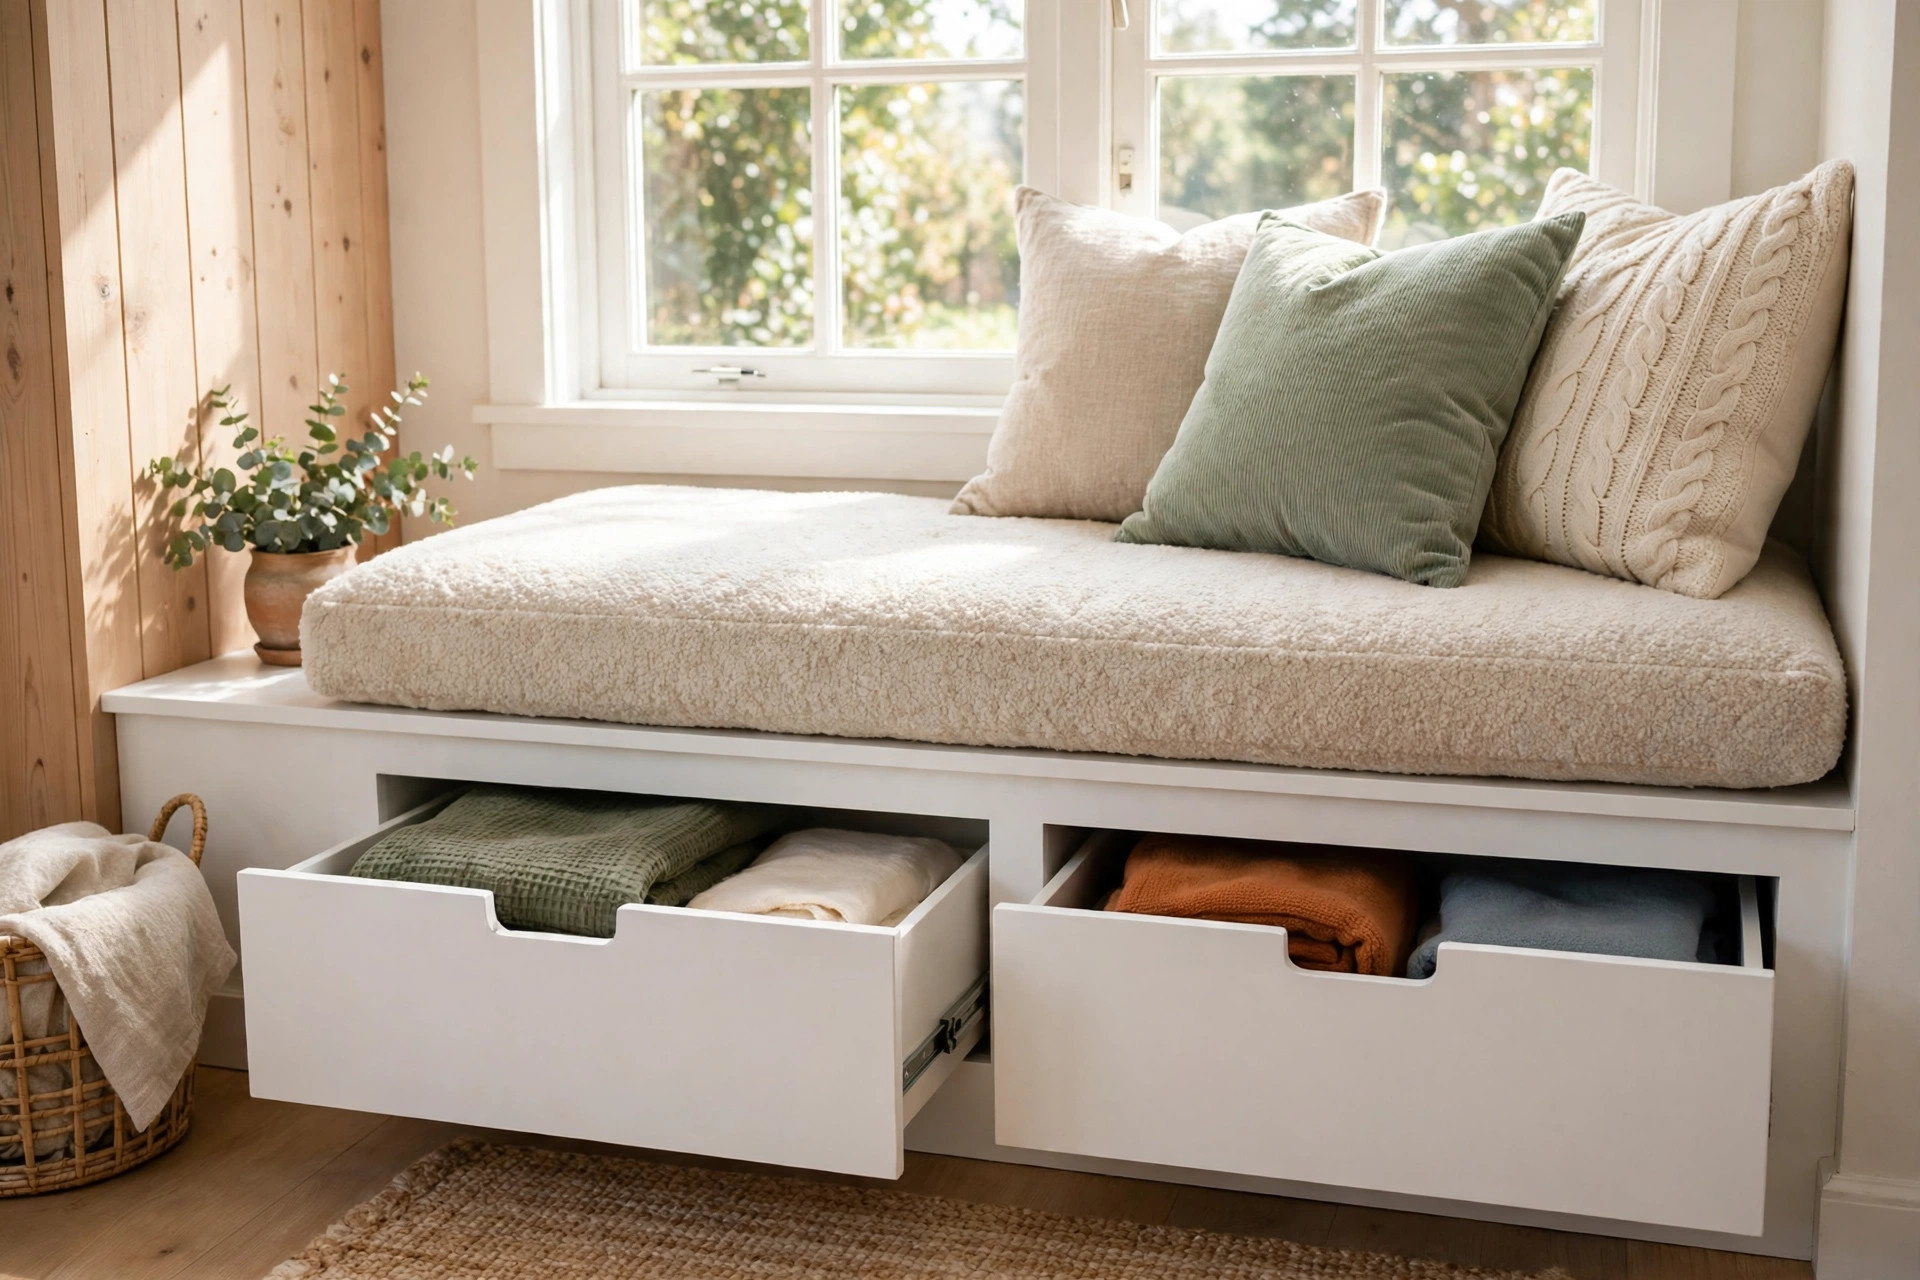
A hinged lid gives one large cavity — perfect for spare duvets, board games, and seasonal blankets that never fit in drawers. It is also the cheapest storage to build, with no drawer hardware. Fit piano or soft-close hinges and a finger pull so the lid lifts easily under a cushion. Cost: $15 to $40. Watch-out: you must move the cushion every time you open it, so lift-top suits weekly items, not daily ones.
4. Choose Drawers for Everyday Storage
Drawers are the opposite trade-off: smaller compartments, instant access without disturbing anyone sitting on the seat. Two deep drawers under a 5-foot seat swallow shoes, craft supplies, and folded throws, and full-extension runners ($15 to $30 a pair) use the full depth. Watch-out: drawers cost more and take more skill — on a first build, try one drawer and one lift-top section side by side.
5. Flank the Seat With Bookcases for a Library Wall
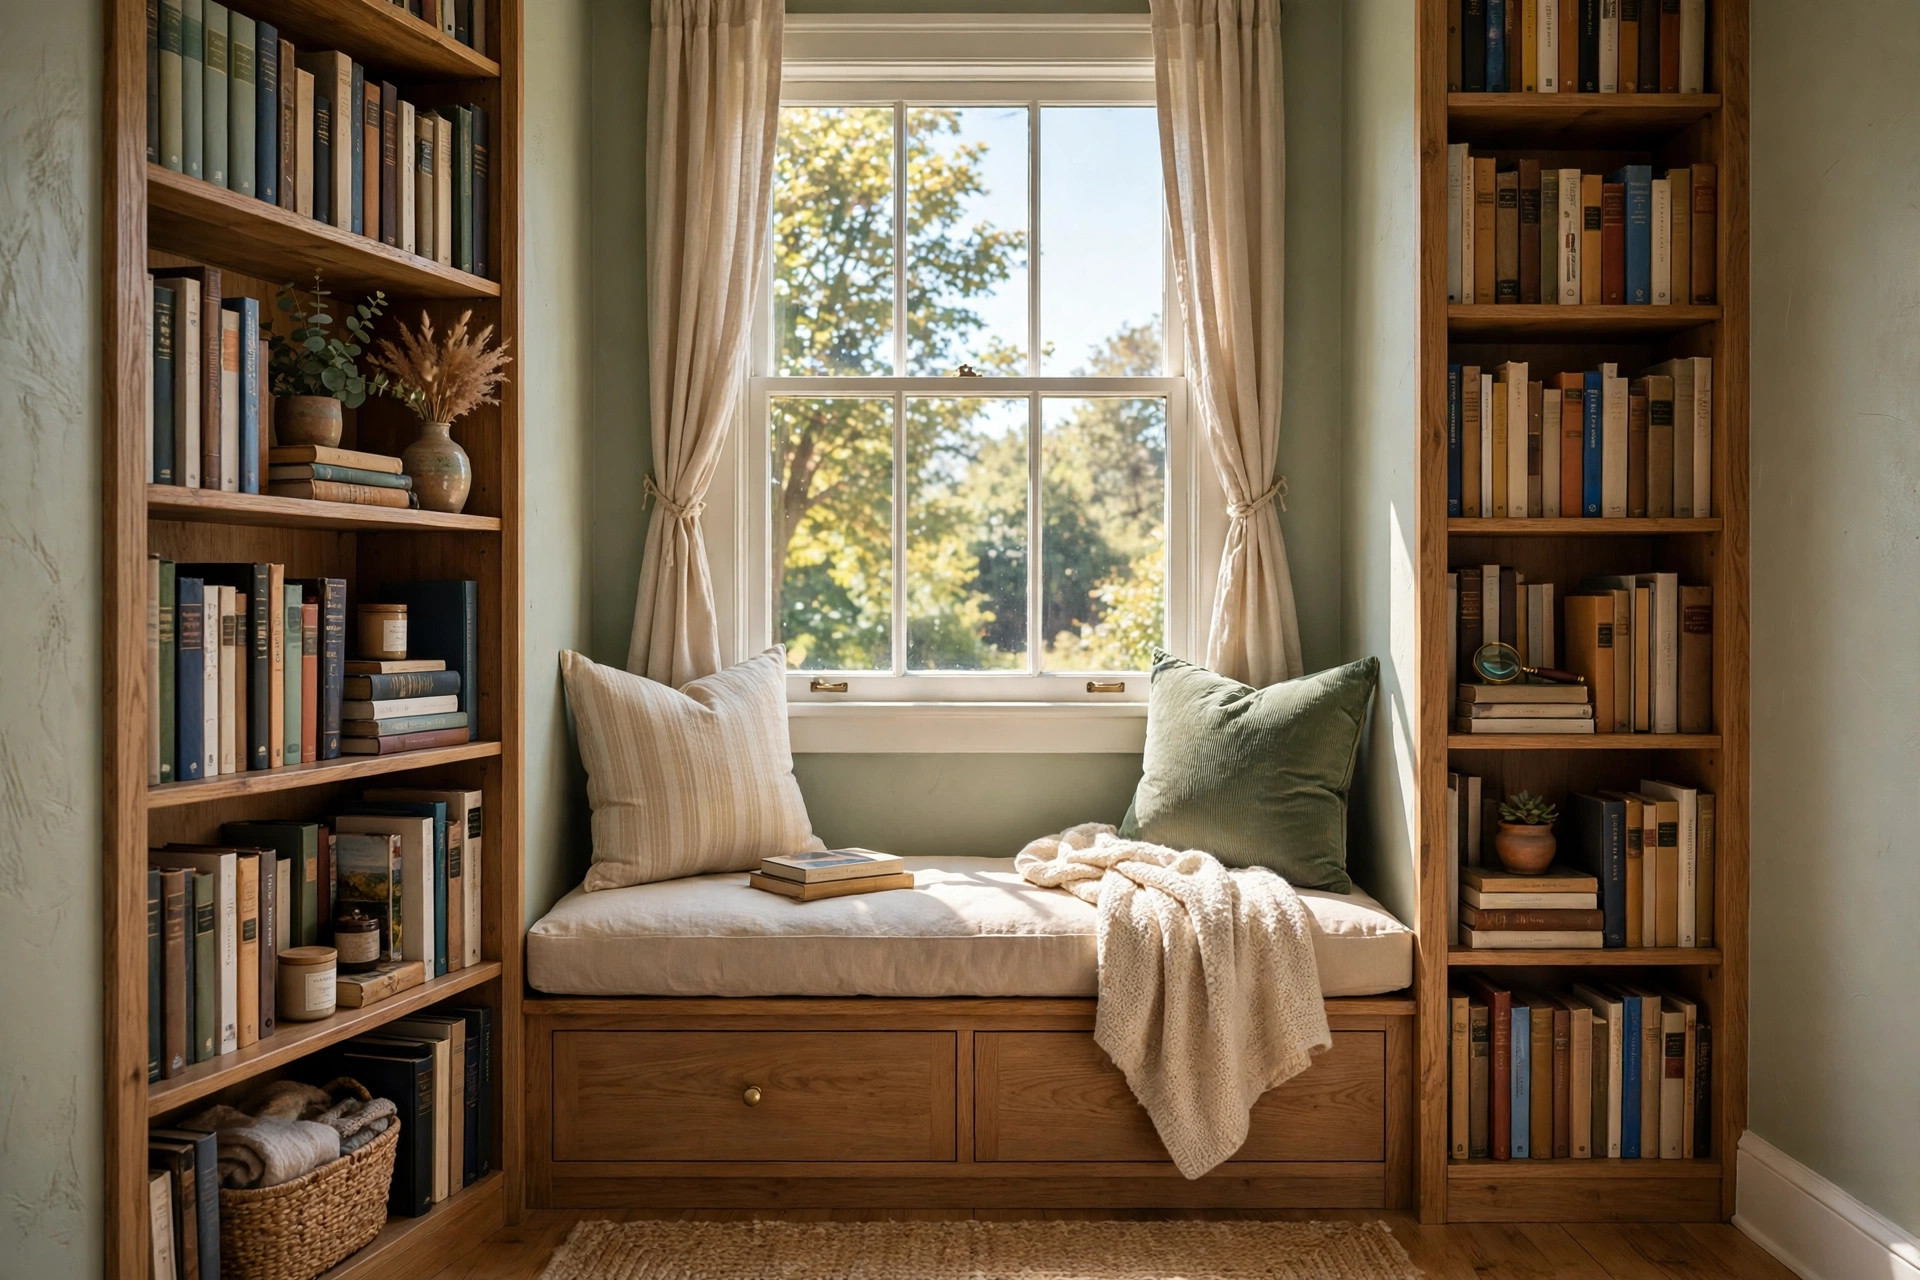
A bookcase on each side turns a bench into a reading wall that looks genuinely custom. Keep flanking bookcases about 12 inches deep — enough for hardcovers, shallow enough not to crowd the window light — and paint all three pieces the same colour so the join disappears. Cost: $80 to $200 per flat-pack case, plus paint. Watch-out: anchor tall cases to studs independently; loaded bookcases are a tip risk. The grouping rules in our easy DIY floating shelf ideas for small rooms apply to styling them afterwards.
6. Make the Cushion 3 to 4 Inches of Foam With a Washable Cover
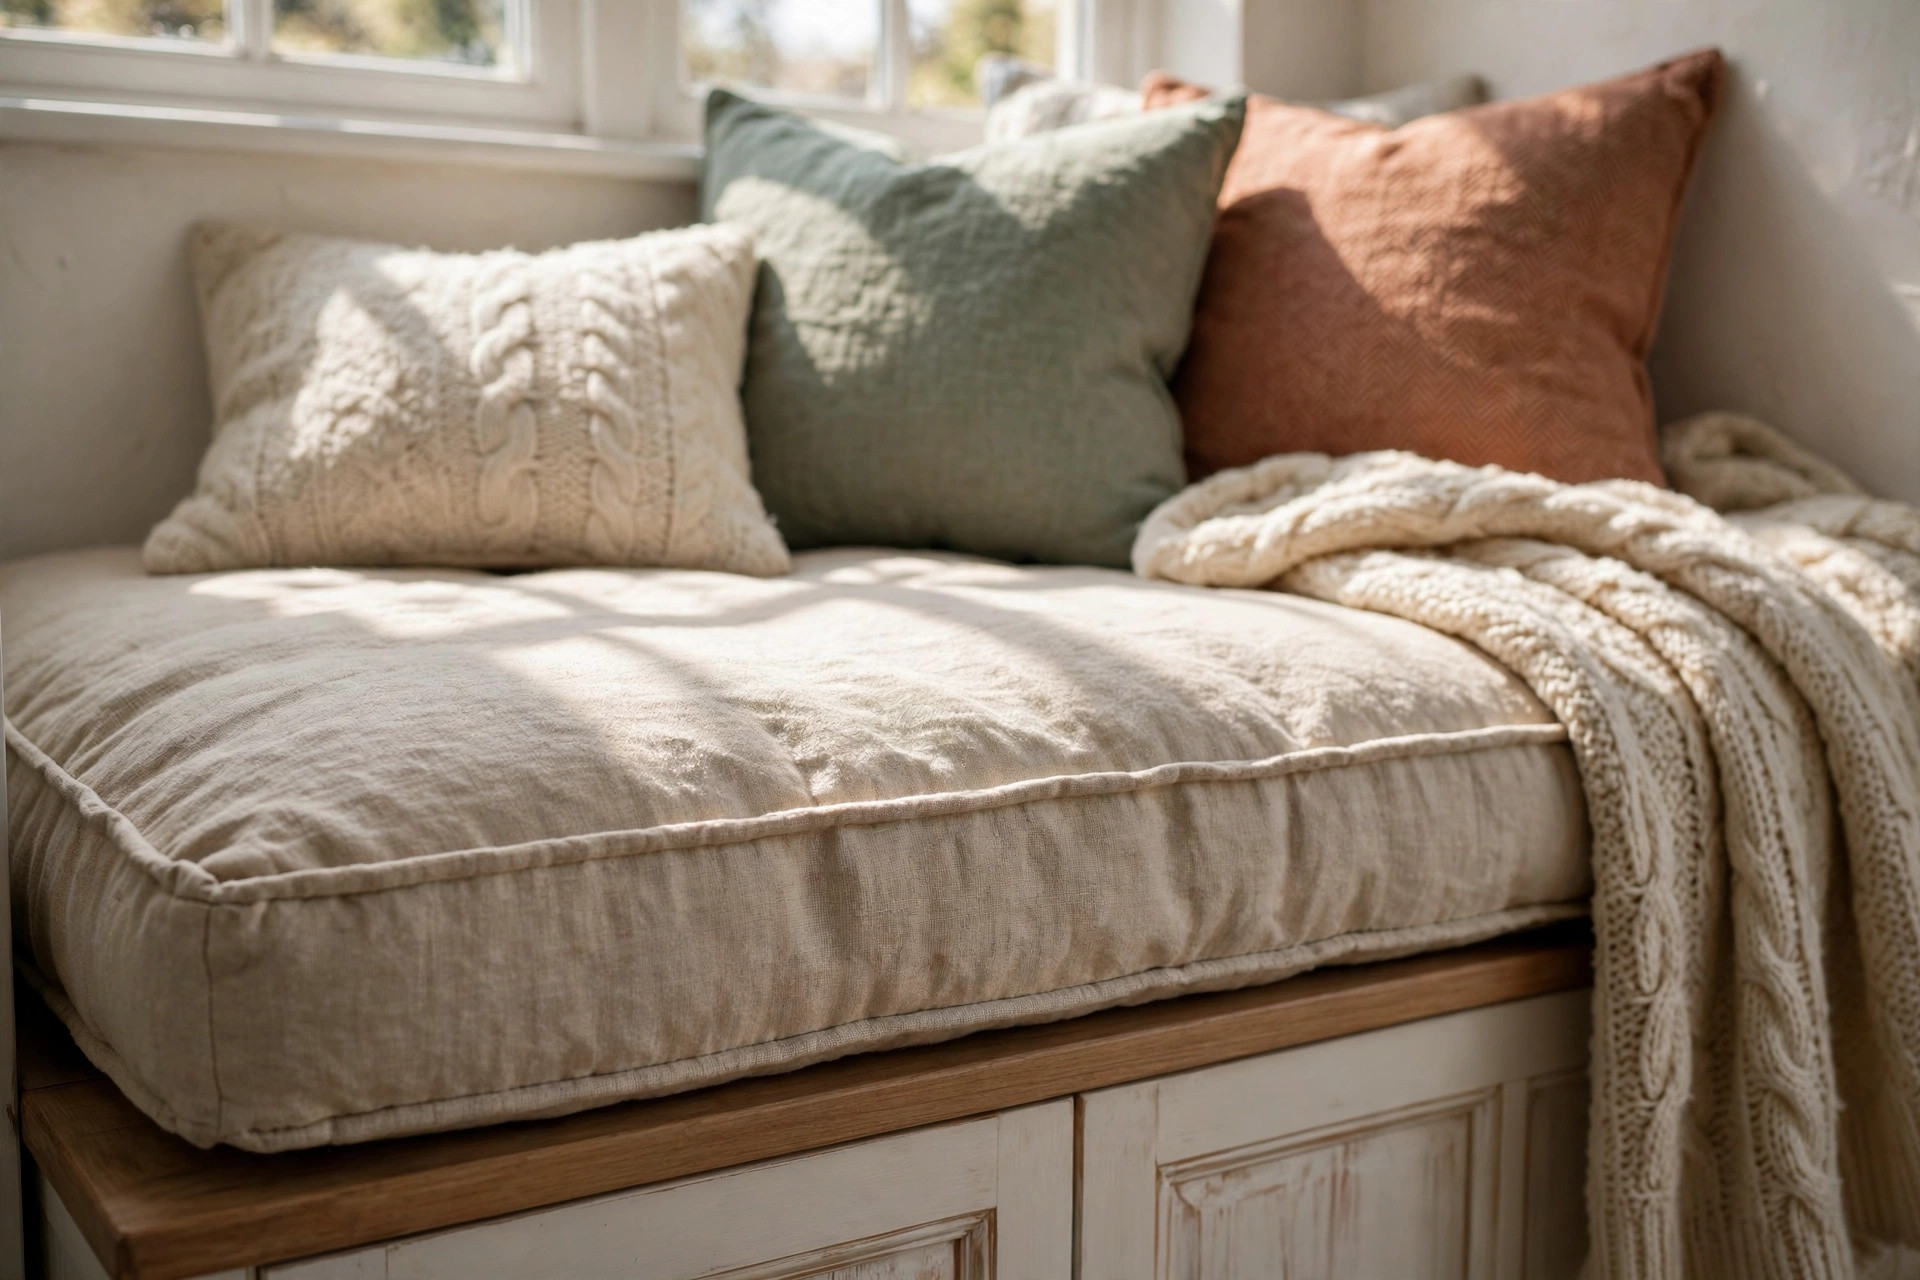
The cushion separates a storage box from a seat people actually use. Choose high-density foam 3 to 4 inches thick, cut to the exact top size, in a removable washable cover with a long zip — window seats collect dust, pet hair, and coffee rings fast. Foam for a 5-foot seat costs $40 to $90; washable fabric runs $10 to $20 a yard. Watch-out: foam thinner than 3 inches bottoms out within a month.
7. Fit a Narrow Seat Into a Bay or Awkward Alcove
Small rooms often have one odd recess — a shallow bay, the gap beside a wardrobe, the space under a half-height window. A seat needs only 16 inches of depth, so leftovers are ideal. Build to the alcove, not a standard size, and scribe the top to the walls so there are no gaps. In a bay, a straight seat across the chord is far easier than following every angle; back gaps disappear under pillows. Watch-out: measure at floor and seat height — old walls are rarely the same width at both.
8. Add Baskets and Dividers Inside Instead of Fixed Compartments
Inside a lift-top box, loose storage becomes a jumble. Two or three baskets or fabric bins, 12 to 14 inches, at $8 to $18 each, keep blankets, toys, and craft supplies sorted with no joinery — lift one basket out instead of digging. Or screw in two plywood dividers: ten minutes that stops a 5-foot cavity behaving like a skip. Watch-out: measure inside height with the lid closed; a basket 1 inch too tall holds the lid open forever. The same cubby logic powers our easy DIY entryway bench ideas with storage.
9. Borrow the Entryway Trick: Open Cubbies Below, Seat Above
Near a door, a mudroom layout works beautifully under a window too: open cubbies at floor level for shoes and bags, cushion above. Daily clutter gets a home at the point it usually gets dropped. Build cubbies about 12 inches high and 14 inches wide per pair of shoes, at no extra cost beyond the base build. Watch-out: open cubbies only stay tidy if each one has a single job — one per person or per item type.
10. Paint, Trim, and Caulk It Like a True Built-In
What makes a DIY seat look expensive is the finishing, not the box. Add baseboard across the toe-kick to match the room, trim the front edge of the lid, fill every joint, and caulk where the seat meets the wall. Paint it the same colour as the trim in satin or semi-gloss so it reads as architecture, not furniture. Cost: $30 to $70. Watch-out: paint inside a lift-top box too, in a light colour — a dark unfinished cavity hides lost items.
11. Layer Pillows Against the Window, Not Across the Seat
Styling can ruin a good seat if pillows eat the sitting depth. Keep two or three firm pillows, 18 to 20 inches square, standing against the window or bookcases as a backrest, and leave the front two-thirds of the cushion clear. Add one folded throw at one end. That keeps a 16 to 20 inch deep seat genuinely sittable and still photographs beautifully. New inserts and washable covers run $15 to $30 each. Watch-out: more than three pillows turns a small seat into display furniture nobody dares sit on.
12. Add Light and a Side Surface to Finish the Nook
A window seat is bright by day and dark by evening. A plug-in sconce or swing-arm lamp on one side ($25 to $60, no electrician) makes it a real evening reading spot, and warm 2700K to 3000K light keeps it soft. Add a small side table, wall ledge, or a wide bookcase shelf at elbow height for a drink and a book — a seat with nowhere to put a mug gets used half as much. Watch-out: route cords behind the bookcase, never across the cushion where they will be sat on and frayed.
Mistakes That Make a DIY Window Seat Disappointing
Building to the wrong height. At 15 inches a seat feels like the floor; at 21 inches feet dangle. Both come from forgetting the cushion in the maths. Decide cushion thickness first, build the box to land at 18 inches total, and mock it up with stacked books before cutting anything.
Blocking a vent or trapping an outlet inside the box. A solid base over a floor vent is the most damaging error on this list. Map vents and outlets before building, vent the toe-kick or move the seat, and never seal an outlet inside a storage cavity.
Skipping the anchor and cross supports. An unanchored seat creeps forward and can tip when a child climbs the front edge. Two screws into studs and supports every 2 to 3 feet cost almost nothing. Browse our DIY Projects collection for more anchor-first builds.
Questions People Ask
How high should a DIY window seat be?
About 18 inches from floor to top of the finished cushion — standard chair height, so most adults sit with feet flat. A 14-inch box plus a 4-inch cushion, or a 15-inch box plus a 3-inch cushion, both land in the right place.
Is a flat-pack cabinet strong enough to sit on?
Yes, if you prepare it: screw units together, add a plywood top to spread the load, support any long span, and anchor the run to studs. Low storage frames designed as benches are safest; very thin tall units laid on their side are not.
Lift-top or drawers — which storage is better?
Lift-top is cheaper, simpler, and better for large, rarely used items like spare bedding. Drawers cost more and hold less per inch, but open while someone is sitting on the seat, so they win for daily items. Many good builds combine both.
How deep do flanking bookcases need to be?
About 12 inches. That holds hardcovers upright with room to spare, matches most flat-pack cases, and keeps cases from projecting past the seat front and stealing window light. Anchor each case to studs independently, not just to the seat.
Start with the tape measure, not the saw: 18 inches high, 16 to 20 inches deep, vents clear, studs found. Whether you line up flat-pack cabinets this weekend or frame a plywood box with bookcases on both sides, the result is the same — the best seat in the room, with a room's worth of storage hidden underneath.


Comments
Post a Comment