
15 DIY Throw Pillow Covers to Instantly Refresh Your Home
15 DIY Throw Pillow Covers to Instantly Refresh Your Home
Throw pillows are the fastest way to change the feel of a room, but store-bought designer covers can cost $30 to $60 each. Making your own DIY throw pillow covers changes that math completely: most of the projects below cost between $3 and $12 per cover, take one to two hours, and need nothing more advanced than a pair of scissors — or, if you own one, a basic sewing machine. This guide walks through 15 genuinely different DIY throw pillow cover ideas, from classic sewn envelopes to no-sew wraps and upcycled sweaters, each with fabric measurements, materials, step-level guidance, and realistic cost estimates so you can pick a project that matches your skill level today.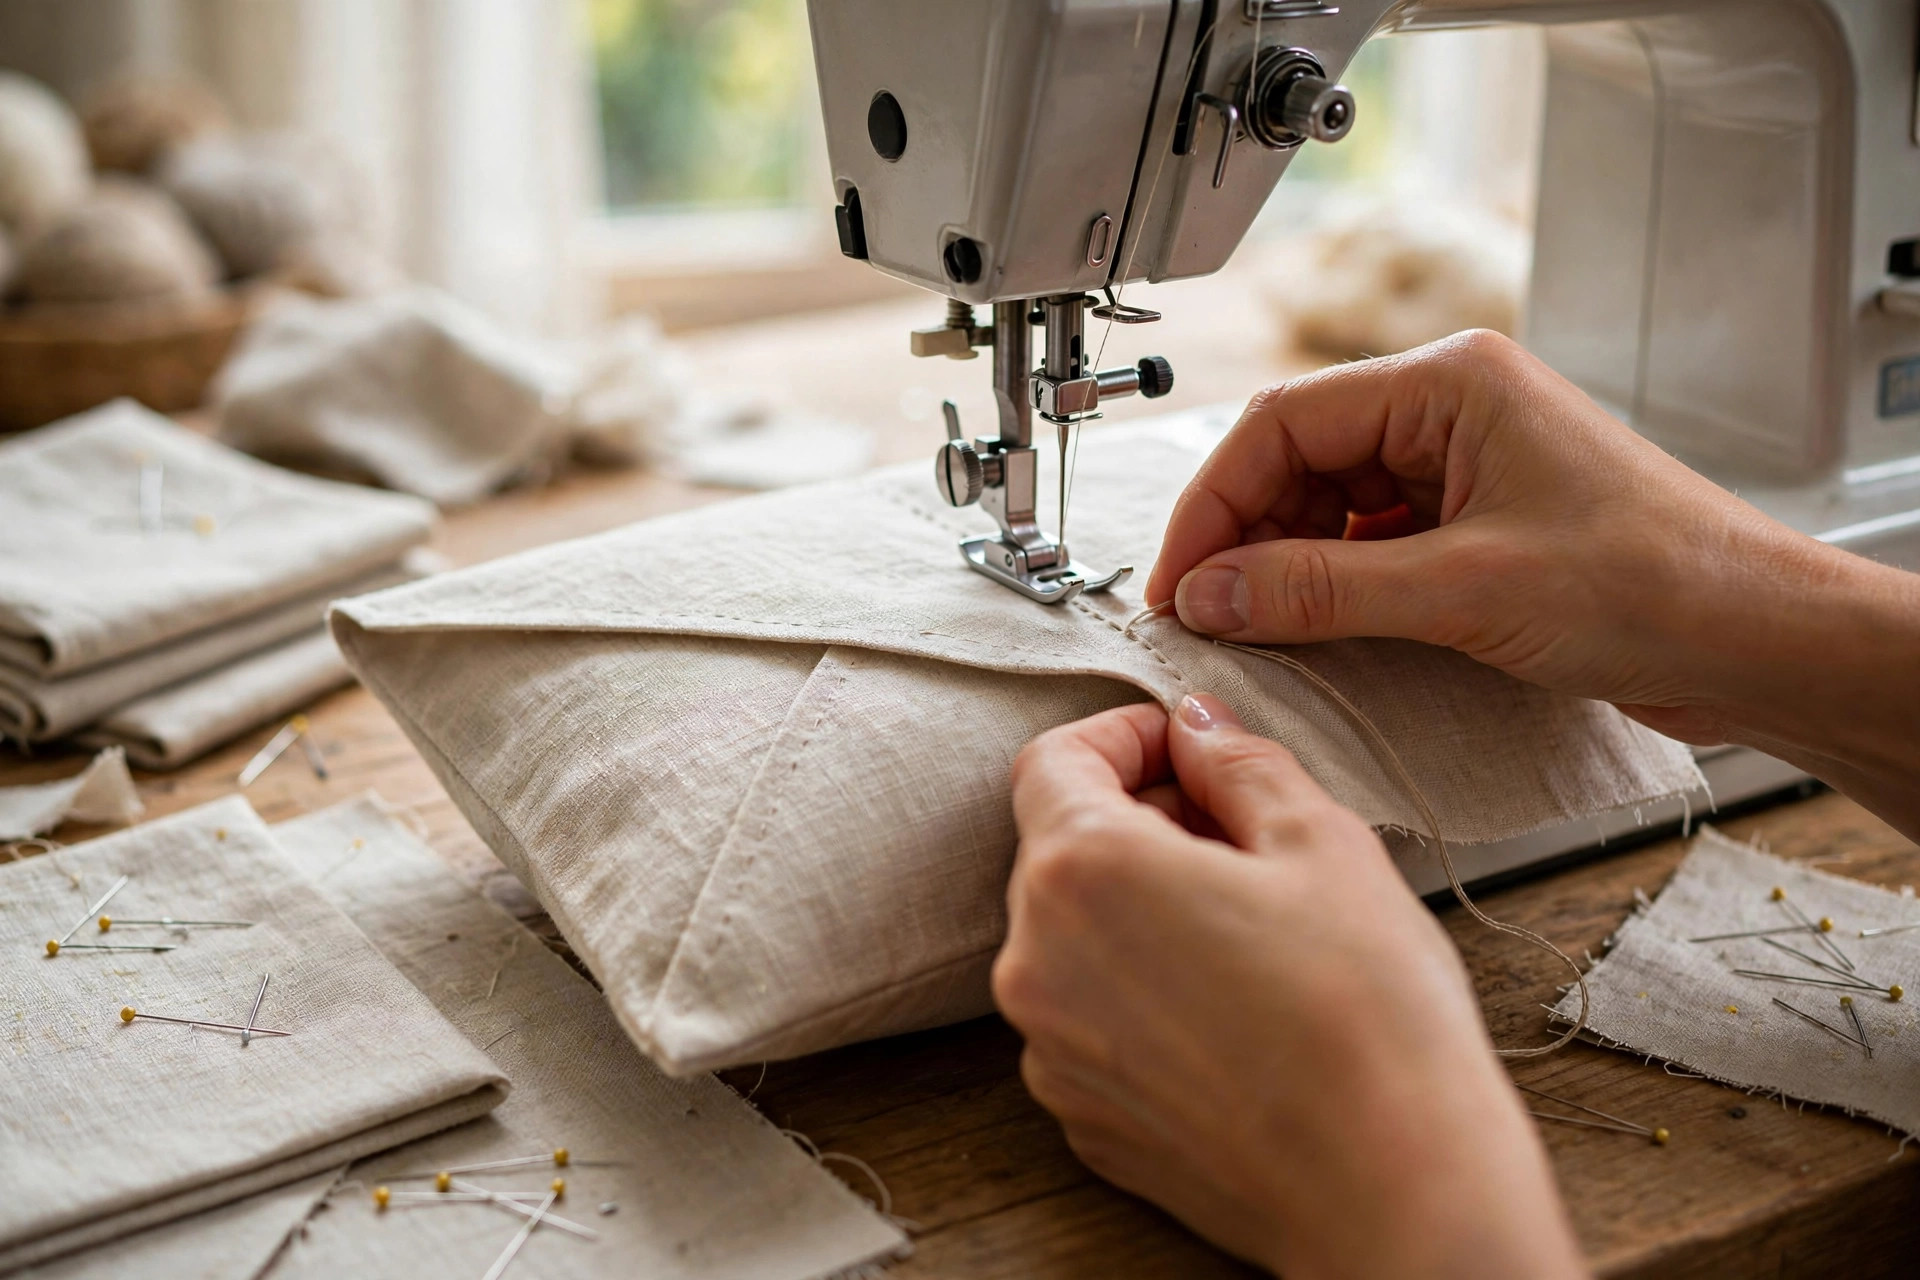
Sewn DIY Throw Pillow Covers (Classic Techniques)
1. The Classic Envelope Pillow Cover
The envelope back is the workhorse of DIY throw pillow covers: two overlapping back panels hold the insert without a zipper, and the cover pulls off for washing. For a standard 18-inch insert, cut one front panel 19 x 19 inches and two back panels 19 x 12 inches, allowing half-inch seams all around. Hem one long edge of each back panel, then layer the pieces right sides together with the back panels overlapping about 4 inches. Pin, sew a half-inch seam around all four sides, trim the corners diagonally, and turn right side out. For the fullest look, cut panels half an inch smaller than the insert. (A photo-rich walkthrough of this envelope method is also published on Hometalk if you want a second visual reference.) Time: 30–45 minutes per cover. Cost: $5–$10 for half a yard of cotton canvas.
2. Zippered Tailored Pillow Cover with Piping
If you want covers that look store-bought, a hidden zipper plus piping is the upgrade. Cut two panels exactly the insert size plus one inch for seam allowance — an 18-inch insert needs two 19 x 19 inch panels. Sew piping (pre-made or homemade from quarter-inch cotton cord wrapped in bias tape) around the front panel's perimeter using a zipper foot, clipping corners. Insert a 14-inch invisible zipper into the bottom edge of the back panel before joining the two panels right sides together with a half-inch seam. The piping adds about $3–$4 per pillow if you make it yourself from fabric scraps. This technique takes 60–90 minutes once you have done one, and the result is a crisp, tailored cover that survives years of use and washing. Excellent for linen, which shows piping beautifully.
3. Drop Cloth Envelope Cover
Painter's drop cloths — the 6 x 9 foot canvas tarps sold in hardware stores — are one of the cheapest upholstery-weight fabrics available, at roughly $8–$12 for enough material to make four to six 18-inch covers. Wash and dry the drop cloth first (it softens dramatically) and cut envelope panels as described above. The natural oatmeal tone pairs well with stenciled designs, hand-lettered quotes, or a coat of fabric paint along the edges for a farmhouse look. Because the weave is looser than quilting cotton, zigzag or finish your raw edges to prevent fraying in the wash. Time: about 40 minutes per cover. This is the best value project on the list — under $3 per cover in materials.
4. Lumbar Pillow Cover with a Back Zipper
Lumbar pillows (typically 12 x 20 or 14 x 24 inches) break up rows of square pillows on sofas and beds. The construction is identical to a zippered square cover: cut two panels each one inch larger than the insert dimensions, add a zipper along one long edge, and sew half-inch seams. The only caution is fabric direction — stripes or plaids should run horizontally across the long dimension, which means you may need to buy a third of a yard extra to center the pattern. Use a down-alternative insert one size up (a 22-inch insert in a 20-inch cover) for that full, plump lumbar look you see in styled photos. Cost: $6–$12. Time: about an hour.
No-Sew DIY Throw Pillow Cover Ideas
No time or interest in sewing? These ideas need only scissors, an iron, and adhesive — and they are genuinely durable, not flimsy party-craft projects. If you want more quick home updates in the same spirit, see our roundup of easy DIY home decor projects for beginners, which is built around the same one-afternoon philosophy.
5. Iron-On Hem Tape Envelope Cover
Fusible hem tape (sold as Stitch Witchery or similar) bonds fabric with an iron in minutes and holds through dozens of washes. Cut your panels exactly like the classic envelope cover above, then replace every seam with a strip of heavy-duty fusible webbing: lay the tape between the folded edges, cover with a damp press cloth, and press with the iron on the wool setting for 10 seconds per section. Let each bond cool completely before moving the fabric — this is the step most beginners rush, and patience is what makes the seams hold. Hem the back panel openings the same way. Time: 45 minutes including pressing. Cost: $8–$12 (tape is about $5 for a roll that covers three pillows). Perfect if you do not own a sewing machine.
6. Fabric Wrap (Furoshiki-Style) Pillow Cover
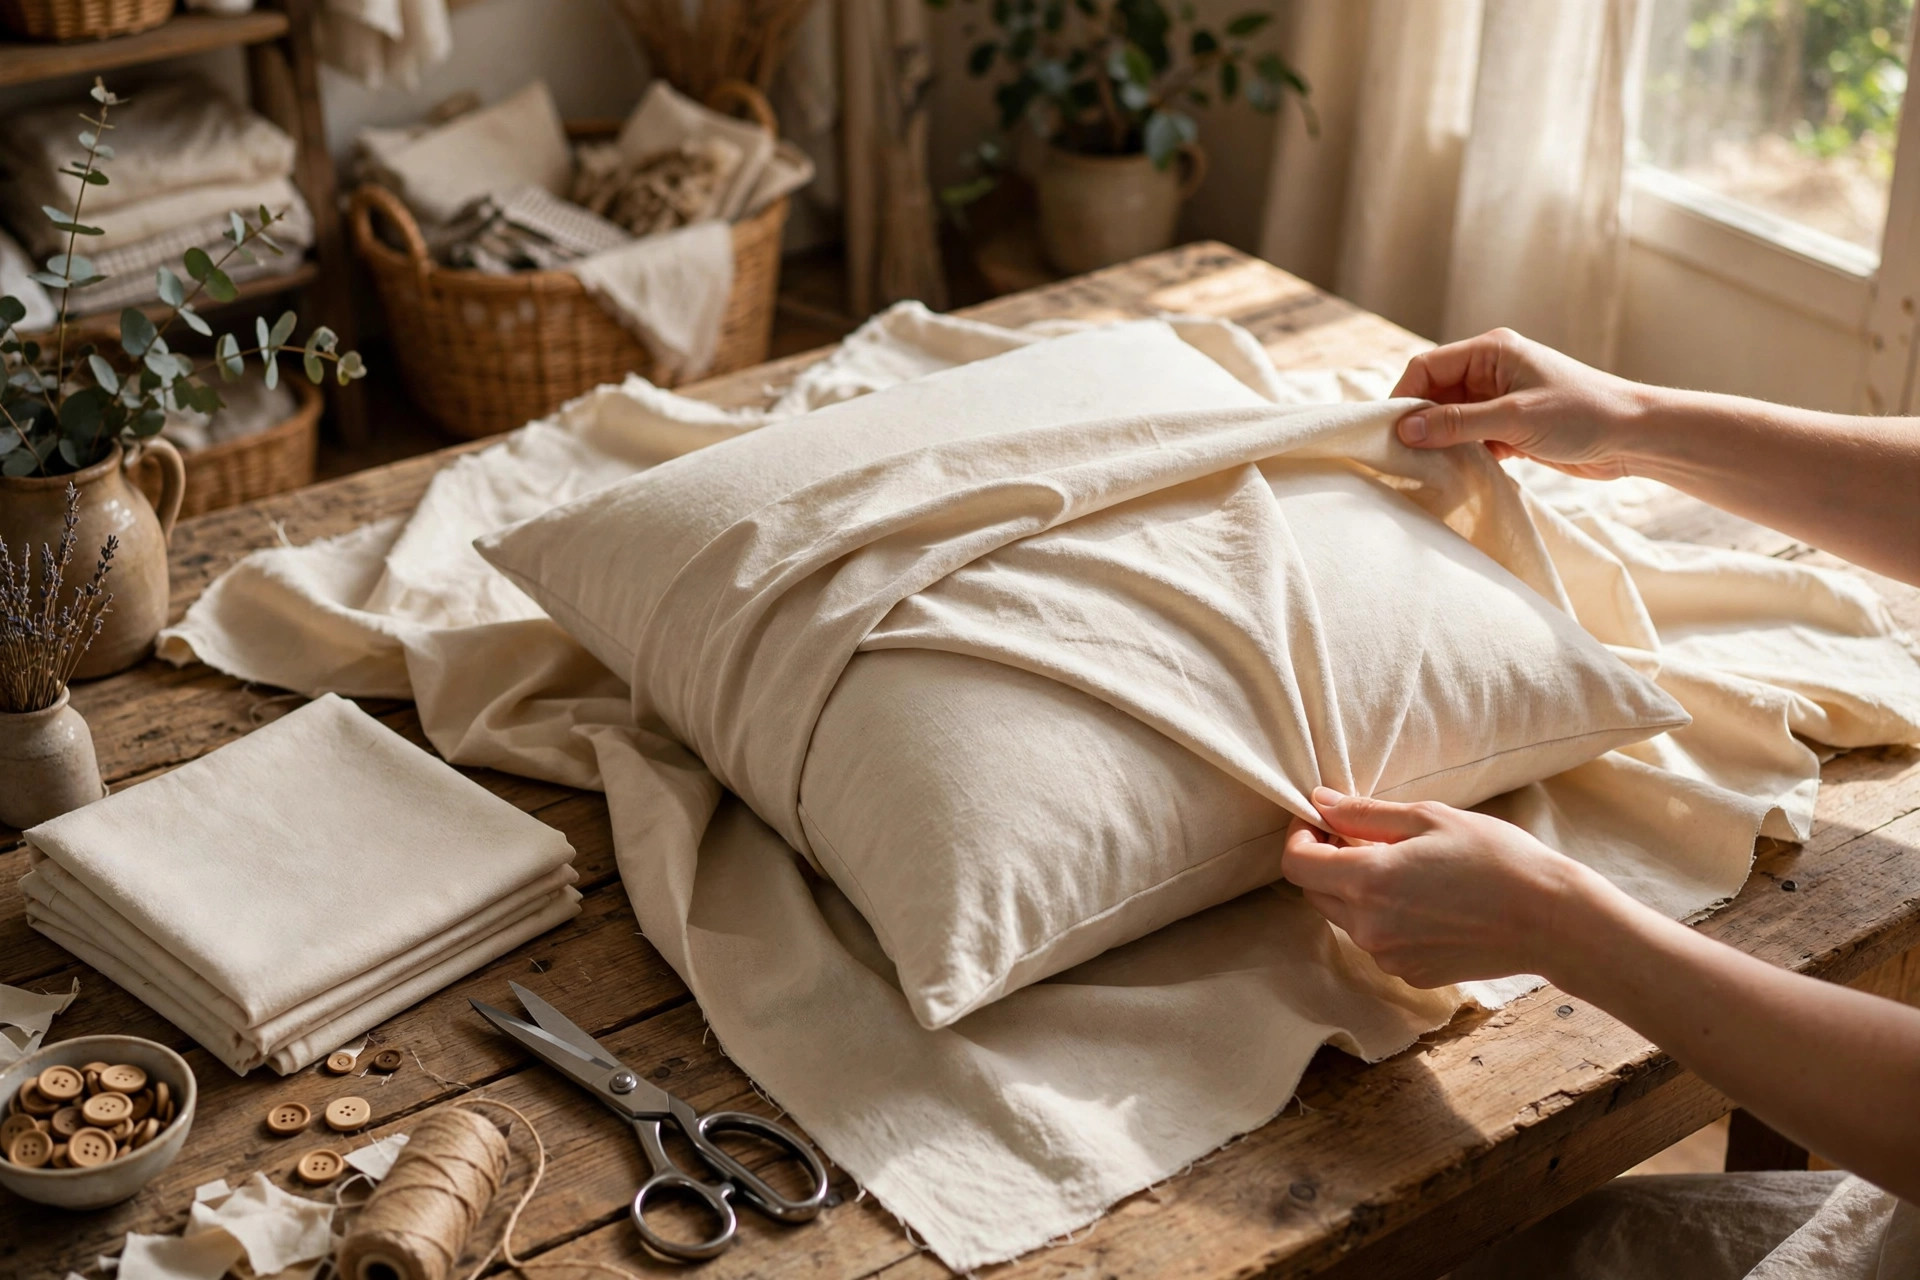
This Japanese wrapping technique turns a large square of fabric into a removable cover with zero cutting and zero adhesive. For an 18-inch pillow, cut or tear a 44-inch square of lightweight fabric such as cotton voile, linen, or a thin scarf fabric. Center the pillow diagonally on the fabric, fold two opposite corners over the pillow, then tie the remaining two corners in a firm square knot at the center. Tuck the knot flat and fluff. The knot becomes a decorative detail — place it slightly off-center for a designer look. Because nothing is cut or glued, you can swap fabrics seasonally in under two minutes. Cost: $4–$8 using thrifted scarves or yardage. Time: 5 minutes per pillow once you know the fold.
7. Tie-Closure Pillow Cover
A tie closure is the friendliest beginner finish: instead of sewing a zipper or hemming a tape seam, you attach fabric ties to the back opening. Cut front and back panels to insert size plus seam allowance, sew (or fuse with hem tape) the three closed sides, then attach four pairs of 10-inch ties — cut from matching or contrasting fabric, 2 inches wide, folded and pressed — to the open back edge, two pairs per side. Knot the ties in bows to close. The bows read as a deliberate design detail, especially in ticking stripe or gingham. This method also makes the most forgiving no-zipper cover, since the ties accommodate inserts that are slightly overstuffed. Time: 50 minutes. Cost: $5–$9.
Decorative DIY Pillow Cover Techniques
8. Stenciled Pillow Cover
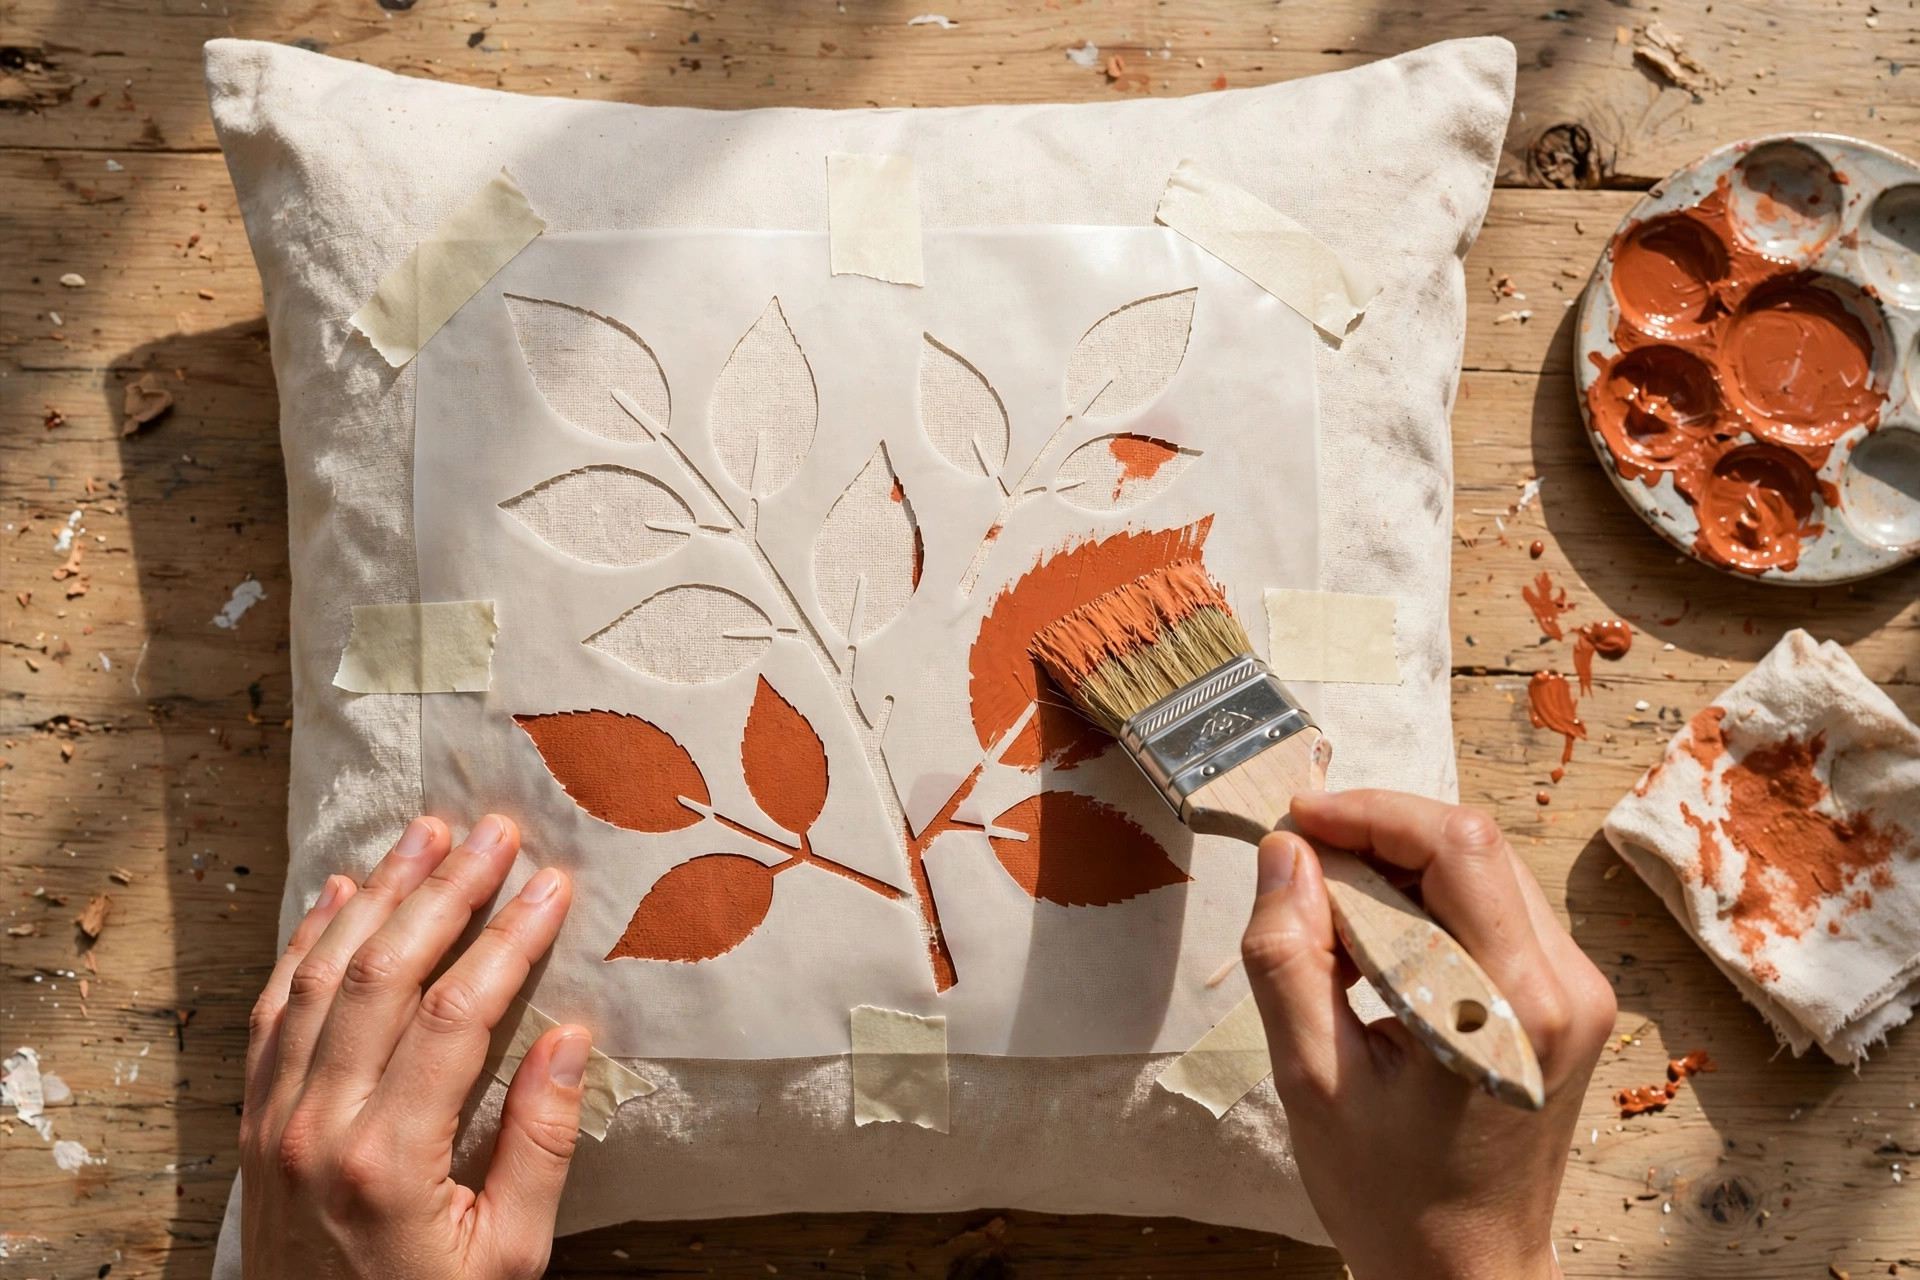
Stencil a plain cover — drop cloth, linen, or a thrifted solid pillow — with acrylic craft paint mixed with textile medium (about a 2:1 paint-to-medium ratio so the design stays soft and washable). Secure an adhesive stencil with painter's tape, load a dry stencil brush, and offload most of the paint onto a paper towel before pouncing straight up and down; two light coats beat one heavy coat that bleeds under the edges. Geometric repeats, oversized botanicals, and simple line-art faces all stencil beautifully at pillow scale. Let the paint cure 24 hours, then heat-set with an iron through a press cloth. (Sarah Hearts has a helpful step-by-step pillow cover tutorial with clear process photos if you are new to working with fabric.) Time: 1–2 hours including drying. Cost: $3–$7 per cover if you already own a stencil; adhesive stencils run $8–$12 and are reusable.
9. Hand-Painted Brushstroke Pillow Cover
Loose, expressive brushstrokes — the kind of abstract arcs and color-block shapes you see in boutique home stores — are easy to paint directly onto a pillow cover with fabric paint. Sketch nothing; instead, load a 1-inch flat brush with slightly watered-down fabric paint and commit to bold, single strokes. A proven beginner palette: two wide arcs in terracotta and mustard on natural linen, or sage green blocks on white cotton. Mistakes are forgiven by the style itself. Slip cardboard inside the cover while painting so nothing bleeds through to the back. Heat-set after 24 hours. Time: about an hour of painting plus drying. Cost: $4–$8. Pair these with framed painted pieces from our easy DIY wall art ideas to carry the same palette onto your walls.
10. Dip-Dyed Ombre Pillow Cover
Ombre dip-dye gives a plain white or natural cotton cover a soft gradient that looks far more expensive than it is. Mix fiber-reactive dye (Rit or Tulip work well on cotton) in a bucket following the package ratio — roughly 2 tablespoons of dye per gallon of warm water for a medium tone. Wet the cover first so the dye wicks evenly, then dip the bottom third for 5 minutes, lower to two-thirds for another 5, and fully submerge for a final 3 minutes to build the gradient. Hang to dry, then rinse in cold water until it runs clear. For a crisper two-tone line, dip only once and let it sit 15 minutes. Time: 1 hour active plus drying. Cost: $6–$10 including dye that covers several pillows.
11. Pom-Pom Trim Pillow Cover
Mini pom-pom trim sewn or glued around the perimeter instantly makes a basic cover look custom. Buy 2 yards of pom-pom fringe per 18-inch pillow (perimeter is 72 inches, plus a little extra for joins). For the sewn version, sandwich the trim's tape edge between the front and back panels, poms facing inward, and sew your half-inch seam — the poms pop out when you turn the cover right side out. For the no-sew version, glue the trim to a finished cover with fabric glue, mitering the corners by folding the trim at 45 degrees. White poms on natural linen is the classic; try jewel tones on velvet for a richer look. Time: 30 minutes (no-sew) to 1 hour (sewn). Cost: $7–$12 with trim at about $3 per yard.
12. Tassel-Corner Pillow Cover
Four tassels at the corners give a pillow the finished look of high-end global-textile designs. Make tassels by wrapping embroidery floss 40 times around a 4-inch piece of cardboard, tying one end tightly, cutting the opposite end, and binding the top with a second wrap of floss. Attach each tassel to a corner of your finished cover with a few hand stitches through the tassel's top knot — or glue them for a no-sew version, letting the glue cure a full 24 hours. This detail works especially well on solid-colored covers in earthy tones: rust, olive, sand, and charcoal. Time: 30 minutes to make and attach four tassels. Cost: $2–$4 per pillow in embroidery floss.
Upcycled DIY Throw Pillow Covers

Some of the most characterful covers start life as something else. Upcycling keeps costs near zero and guarantees no one else has the same pillow. These projects pair naturally with seasonal refreshes — for example, the fabric-swap ideas in our easy fall DIY decor projects roundup.
13. Old Sweater Pillow Cover
A felted wool sweater makes a wonderfully textured winter pillow cover. Felt the sweater first by washing it hot and drying on high heat so the knit tightens and will not unravel when cut. Lay an 18-inch pillow form on the sweater body, cut front and back panels half an inch larger all around, and sew (or fuse) the edges — cable-knit fronts centered on the panel look best. The existing sweater hem can become the cover's bottom edge for a ready-made finished detail. Turtlenecks add extra fabric for larger pillows. Time: 40 minutes. Cost: $1–$5 for a thrifted sweater. Avoid loosely knit sweaters that have not been felted; they stretch out of shape within weeks.
14. Flannel Shirt Pillow Cover
Button-down flannel shirts convert into pillow covers with almost no sewing because the button placket becomes the closure. Choose a men's large or XL shirt for an 18-inch pillow. Button the shirt, lay it flat, and cut straight across just above the hem and just below the collar, keeping the placket centered — you get a ready-made envelope-style opening. Sew or fuse the two remaining open sides shut with a half-inch seam. The buttons down the back become a charming design detail, and the chest pocket, if positioned well, stays visible on the front. Time: 30 minutes. Cost: $2–$4 per thrifted shirt. This is an excellent first project for teenagers learning to sew.
15. Vintage Scarf or Bandana Cover
Large square scarves (36 inches and up) and oversized bandanas make instant, no-cut covers for 16 to 18-inch pillows using the wrap method from idea 6 — or sew them into envelope covers for a permanent version. Silk and rayon scarves give a luxe, drapey finish that suits bedrooms; cotton bandanas in classic red, navy, or black read casual and work beautifully in living rooms and kids' spaces. When sewing scarves, use a walking foot or tissue paper under the fabric to keep slippery silk from shifting, and cut the cover slightly smaller than the insert since silk stretches. Time: 5 minutes (wrap) to 45 minutes (sewn). Cost: $3–$8 at thrift stores, where large scarves are plentiful.
DIY Throw Pillow Cover FAQs
How much fabric do I need for a throw pillow cover?
For a standard 18-inch square pillow, you need about half a yard of 44-inch-wide fabric for a sewn envelope cover, or 5/8 yard if you want pattern-matching room. A 20-inch pillow takes 5/8 yard, and a 16-inch pillow takes 3/8 yard. For no-sew wrap covers, you need one large square roughly 2.4 times the pillow's width — about 44 inches for an 18-inch pillow. Buying a quarter yard extra is cheap insurance against cutting mistakes and lets you center prints.
Can I make pillow covers without a sewing machine?
Yes. Iron-on fusible hem tape creates seams that survive regular washing, fabric glue works for trims and decorative elements, and the wrap method needs no adhesive at all. No-sew covers are best for decorative pillows that are not slept on daily; for heavily used pillows, sewn seams last longer. Many crafters start with no-sew versions and move to a machine later — the measuring and cutting skills transfer directly.
What is the easiest pillow cover for a complete beginner?
The fabric wrap (idea 6) takes five minutes and cannot really go wrong, making it the true zero-skill option. If you want something that looks sewn, the iron-on hem tape envelope cover (idea 5) is the best next step: it teaches you measuring, cutting, and pressing — the three core skills behind every sewn cover — without requiring a machine. Both cost under $10 in materials.
Should the pillow insert be the same size as the cover?
For a full, professional look, buy inserts 1 to 2 inches larger than your finished cover — a 20-inch insert in an 18-inch cover is the standard stylist trick. The slight compression plumps the corners and eliminates the deflated look of exactly-matched inserts. Down and down-alternative inserts compress best; cheap polyester fills from old pillows work but look flatter. If you are recovering existing pillows, you can usually reuse the inserts as-is.
How do I wash DIY throw pillow covers?
Machine wash on gentle in cold water and tumble dry low or line dry — the same care as the fabric you used. Always remove the insert first; envelope and zippered covers are designed for exactly this. Pre-shrink washable fabrics before cutting to avoid a cover that no longer fits after its first wash. Covers with glued trims, pom-poms, or tassels last longer with hand washing or a mesh laundry bag.
Making your own DIY throw pillow covers is one of those rare projects where the handmade version genuinely rivals — and often beats — what you can buy. Start with one no-sew wrap this weekend to feel the difference a fresh pillow makes, then work your way toward a zippered, piped cover when you are ready. Your sofa will thank you.


Comments
Post a Comment