
12 Easy DIY Side Table Ideas You Can Build on a Budget
If you are searching for easy DIY side table ideas, you have probably already discovered the problem with buying one: the gap beside your sofa or bed is an awkward size, and shop-bought tables are either too wide, too low, or oddly expensive for four legs and a top. Building your own solves all three problems at once. You choose the exact height and footprint, you use materials that cost a fraction of a finished table, and most of these builds need nothing more than a drill, a saw and a free afternoon.
This guide shares 12 side table builds ranked honestly by difficulty, from true no-build assemblies that take twenty minutes to simple weekend woodworking projects. Each idea lists the materials, the real cost, and the one step beginners usually get wrong. It ends with the sizing rules that make a side table actually work beside a sofa or bed, and a finishing guide so your table looks made, not homemade.
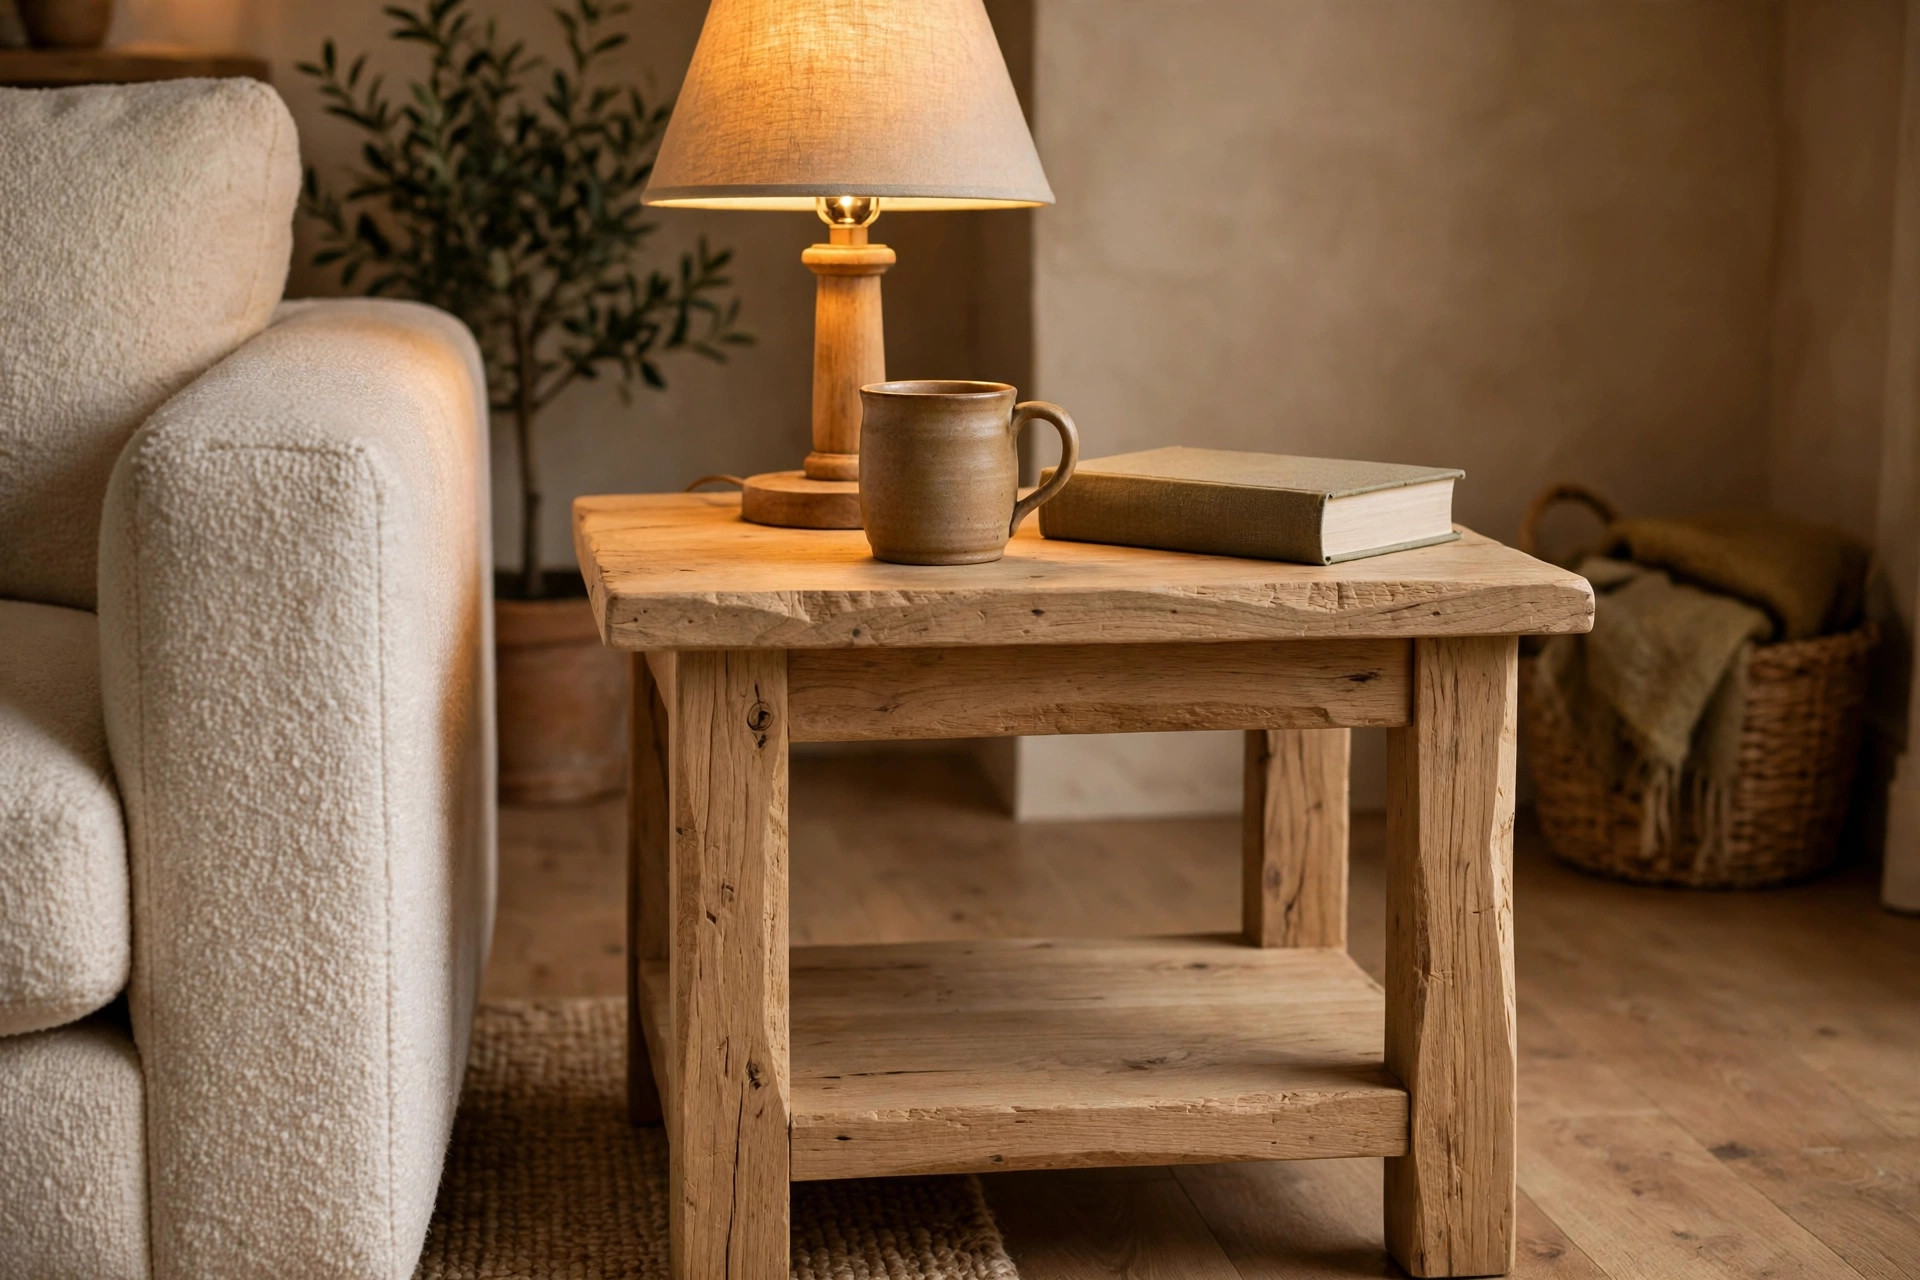
Sizing Rules Before You Build Anything
A side table works when its top sits level with, or up to two inches below, the arm of the sofa or the top of the mattress beside it. Most sofa arms are 24 to 26 inches high; most mattresses land around 24 to 25 inches. Measure yours and build to that number — a table at the wrong height is annoying every single day, no matter how pretty it is.
For the top, 16 to 20 inches across is the useful range: big enough for a lamp, a mug and a book, small enough for tight gaps. If the table will hold a lamp, plan the lamp's footprint too, and always build in a lower shelf or leave room for a basket if the spot also needs storage. If you would rather compare bought options first, our guide to small living room side table ideas covers the ready-made versions of several builds below.
Tools and Materials: The Honest Starter Kit
Most builds here need: a drill-driver, a handsaw or circular saw, a tape measure, a square, sandpaper in 80, 120 and 220 grit, wood glue, and screws. Total starter cost if you own nothing is about $60 to $90, and every tool serves the next project too. For materials, pine board, pre-cut wood rounds, hairpin legs and wooden crates are the beginner's best friends — cheap, forgiving and available everywhere. If you are building your confidence first, the projects in our easy DIY home decor projects for beginners pair well with the simpler tables below.
12 Easy DIY Side Table Ideas You Can Build on a Budget
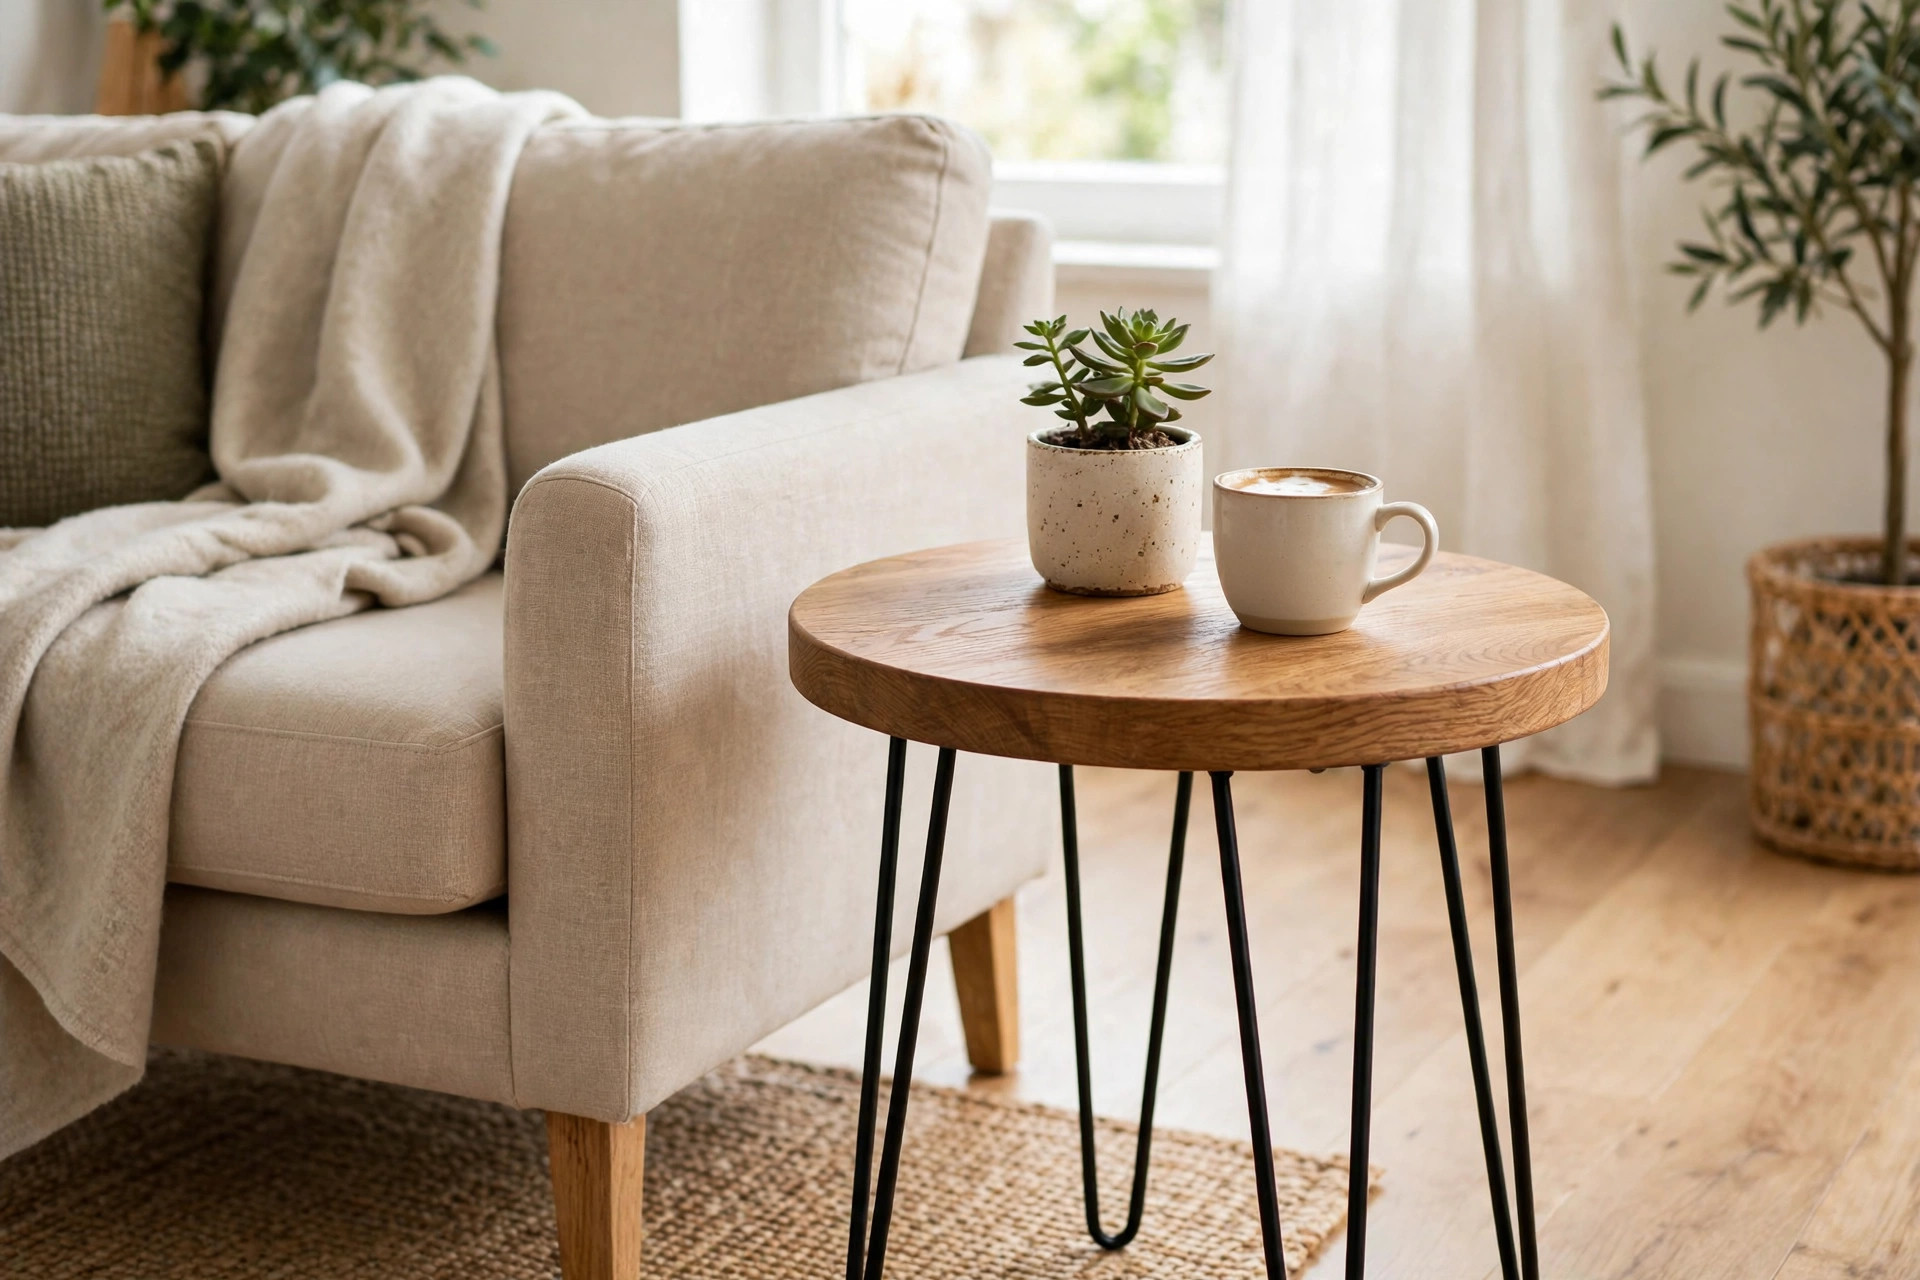
1. The Wood Round and Hairpin Leg Table
The easiest real table in this list: a pre-cut wood round, 16 to 18 inches across, screwed to three or four hairpin legs. The whole build is marking the leg positions, drilling pilot holes, and driving twelve screws. Total time is under an hour including sanding, and the result looks like a mid-century table from a design shop.
Wood rounds cost $12 to $25, hairpin legs $15 to $30 a set. The beginner mistake is skipping pilot holes — pine rounds split happily if you drive screws straight in. Choose 16 or 20 inch legs to hit your measured height, remembering the round adds about an inch.
2. The Five-Board Table With a Lower Shelf
The classic beginner woodworking build: five boards — a top, four legs cut from two boards, and a lower shelf — joined with pocket screws or simple butt joints and glue. It is sturdy, holds real weight, and the lower shelf takes the books and remotes that otherwise colonise the top.
Lumber costs about $25 to $35. Cut everything first, dry-fit it, then glue and screw. The mistake to avoid is rushing the squareness: check diagonals are equal before the glue sets, or the table will rock forever. This is roughly a four-hour build at a relaxed pace.
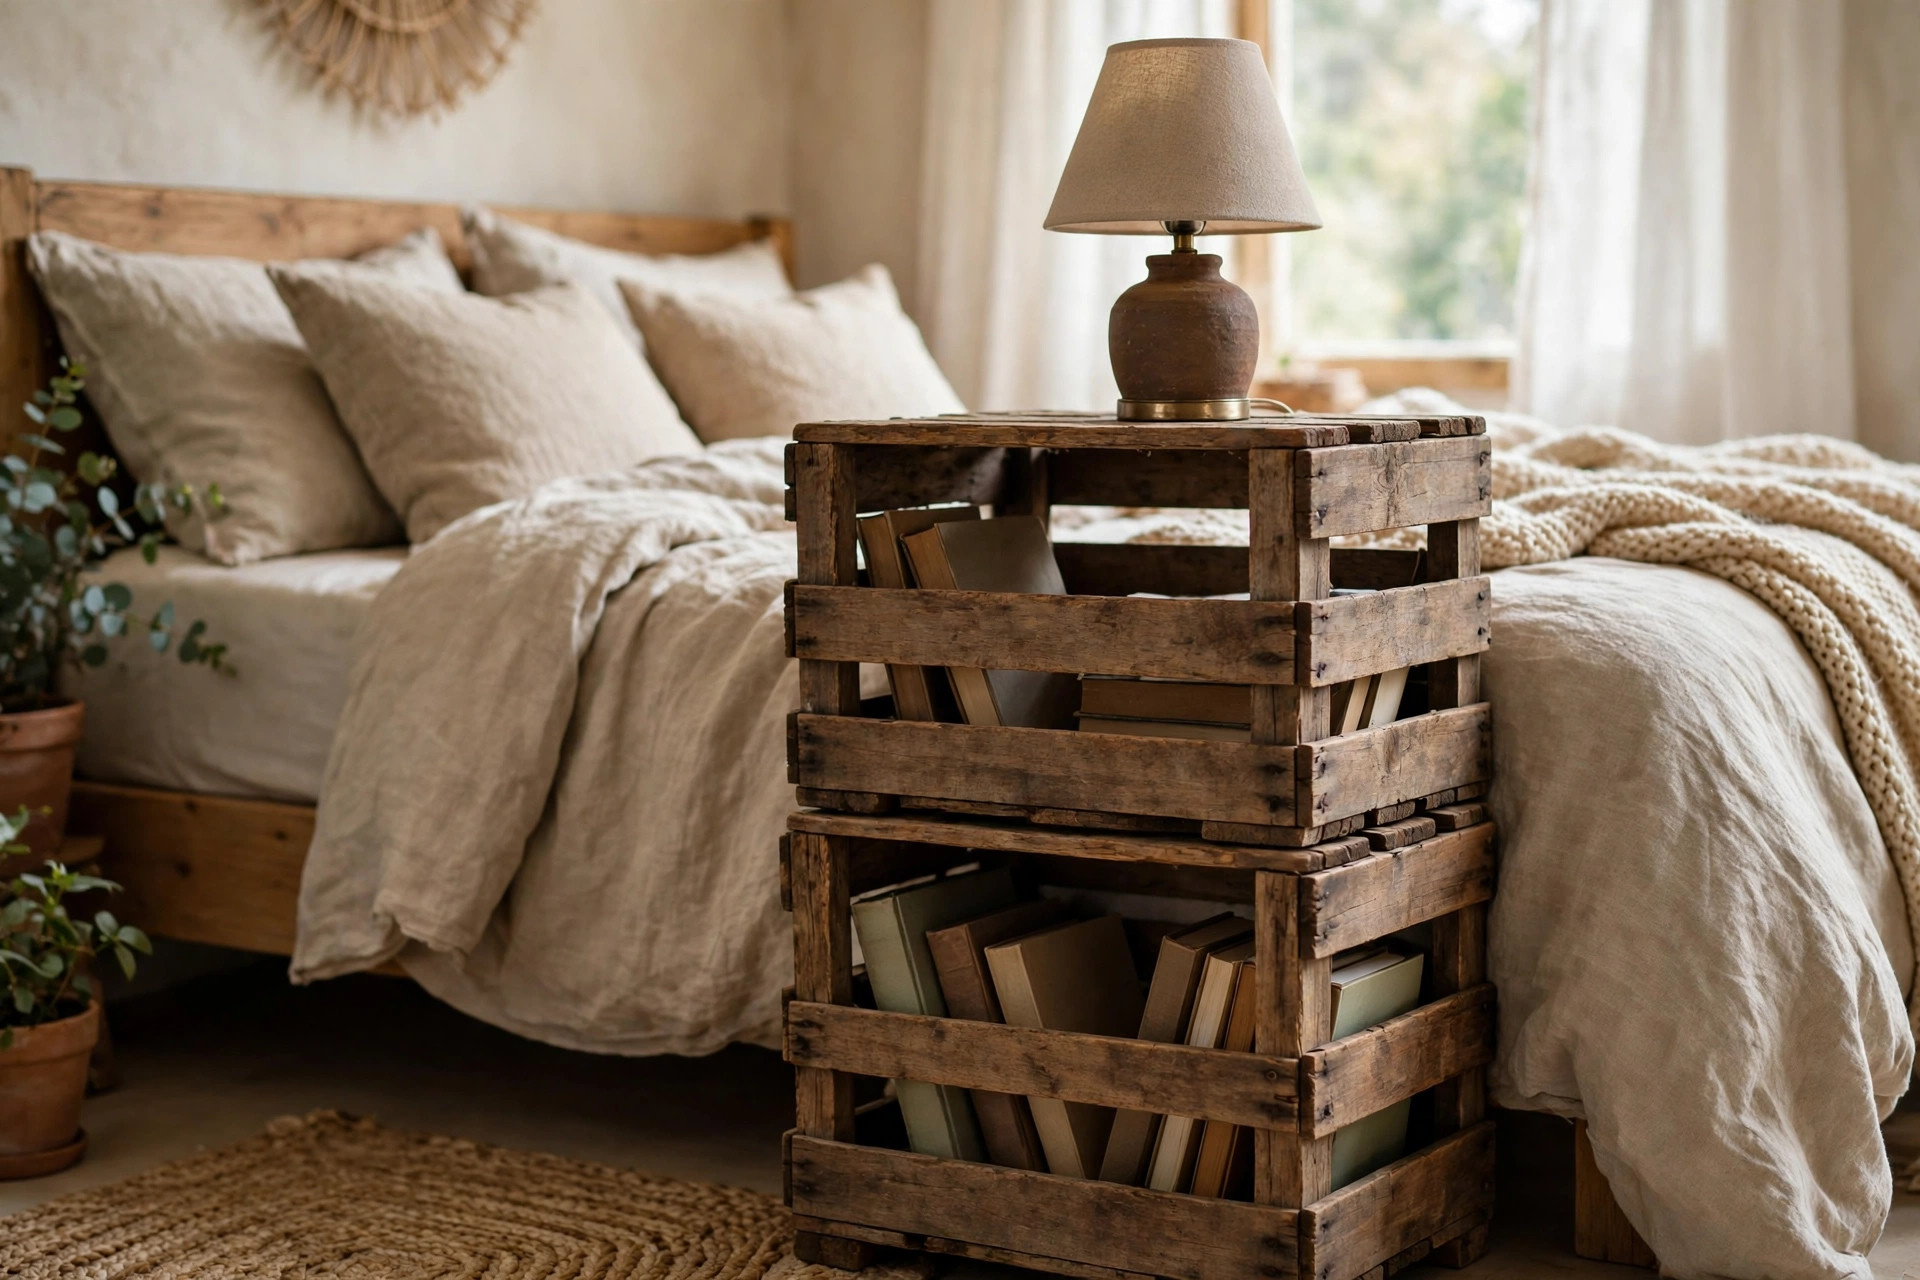
3. Two Crates, Stacked and Joined
Two wooden crates, one on top of the other and screwed together through their frames, make a side table with two cubbies of storage built in. Stand the bottom crate opening-forward for books, and cap the top with the second crate or a board. Add small caster feet or furniture pads and it is done.
Crates cost $10 to $15 each. Sand them properly — shop crates are rough — and join them through the solid frame corners, not the thin slats. Total cost lands around $25 to $35, and the whole project takes an afternoon including sanding and a coat of oil.
4. The Cinder Block and Board Table
No cutting, no screws: two or four standard concrete blocks, stacked with construction adhesive or non-slip liner between layers, topped with a sanded board or stone slab. The weight makes it rock-solid, and the look — industrial, minimal — suits modern rooms and outdoor spots alike.
Blocks cost $2 to $4 each, a board $10 to $20. Standard blocks are 8 by 8 by 16 inches, so two stacked flat give a low table and three give sofa height; measure and stack to your number. Keep this one where it lands — at 60-plus pounds, it is not a table you move for cleaning.
5. The Old Stool, Refinished
A sturdy secondhand bar stool or plant stand, sanded and repainted, is a side table that needs no building at all — just rescue work. Stools turn up for $5 to $15 in thrift shops, and an $8 sample pot of paint plus new felt pads makes one look intentional.
Check the rungs and joints before buying: wobble in a stool becomes wobble in your table, and rung damage is the one fault paint cannot fix. Tighten every screw, glue any loose joint, then paint. This is the fastest route in the list from idea to finished table beside the sofa tonight.
6. The Ladder-Back Chair Table
A small wooden step ladder — the two or three step folding kind — opens into a tiered side table: books on the lower steps, a lamp on the top, a mug on the middle. It leans or stands in corners other tables waste, and folds flat when you need the space back.
New step ladders cost $25 to $45, used ones far less. Add a small board across the top step if you need a level surface for a lamp, and check the spreader bars lock firmly. The charm of this one is that it never pretends to be anything else.
7. The Plywood Box Table
Five pieces of plywood — four sides and a top — glued and pinned into a hollow cube make a modern box table that doubles as hidden storage if you leave the bottom open or hinge the top. Plywood's layered edge looks deliberate when sanded and oiled, so no edging is needed.
A half sheet of plywood costs $20 to $30 and makes two tables. The beginner mistake is tear-out: score your cut lines and use a fine blade, or have the shop cut the pieces for a small fee — most timber yards will, and their cuts will be straighter than a first-timer's.
8. The Terracotta Pot Table for Indoors or Out
A large terracotta pot turned upside down, with its saucer on top as the surface, is a side table that takes five minutes and survives a patio. Pot and saucer together cost about $15 to $25, and the weight keeps it steady in wind.
Choose a pot at least 14 inches tall for sofa height and a saucer 2 inches wider than the pot's base for a usable top. Add felt or cork under the saucer rim so it sits without grinding. Indoors, the same build in a painted finish makes a plant-room or sunroom table that shrugs off watering spills.
9. The Filing Cabinet Table With Storage
A one or two drawer metal filing cabinet, cleaned and spray-painted, is a side table with the best storage in this list: drawers for chargers, remotes, notebooks and the blanket. Cabinets are $10 to $25 secondhand because offices give them away.
Spray paint is the right finish here — two light coats give a factory look for about $8 a can. Add a wood board on top if you want warmth against the metal, fixed with adhesive pads. Check drawer runners before buying; a cabinet with a dead drawer is just a heavy box.
10. The Nesting Pair From One Board
Two simple C-frame or four-leg tables, one 2 inches shorter and narrower so it slides under the other, give you a side table that becomes two when guests arrive. Both can come from a single 8-foot board plus offcuts, which makes this the best value build for small rooms.
Materials cost about $30 to $45 for the pair. Build the taller table first and size the second from its real internal clearance, not from the plan — wood thickness eats the gap beginners forget. The Spruce's collection of DIY end table plans includes full cut lists for nesting sets if you want measured drawings.
11. The Slim Sofa-Side Table for a Tight Gap
When the gap beside the sofa is 8 to 10 inches, build long and narrow: a top about 24 inches long by 9 inches wide, on legs or as a slide-under C-frame whose base tucks beneath the sofa. It holds a mug, a phone and a book — which is all that gap ever needed to hold.
Offcut lumber makes this nearly free; a purpose-bought board is $10 to $15. For the C-frame version, weight the base or size it to slide well under the sofa so the top cannot tip when a mug lands on its edge. This is the build that solves the room no shop table fits.
12. The Stacked Books Table — With a Warning
The stylist's trick: a neat stack of large hardback books, glued at the corners or strapped, topped with a glass or wood disc. It looks wonderful in photos and costs almost nothing if the books are yours. The warning: it is the least stable table in this list, and it ruins the books.
Build it only for a low-traffic corner, use books you truly do not mind sacrificing, and keep the stack under 24 inches — taller stacks lean. A board top spreads weight better than glass. Treat this one as decor that can hold a plant, not as the table beside a busy sofa.
Finishing: The Step That Separates Made From Homemade
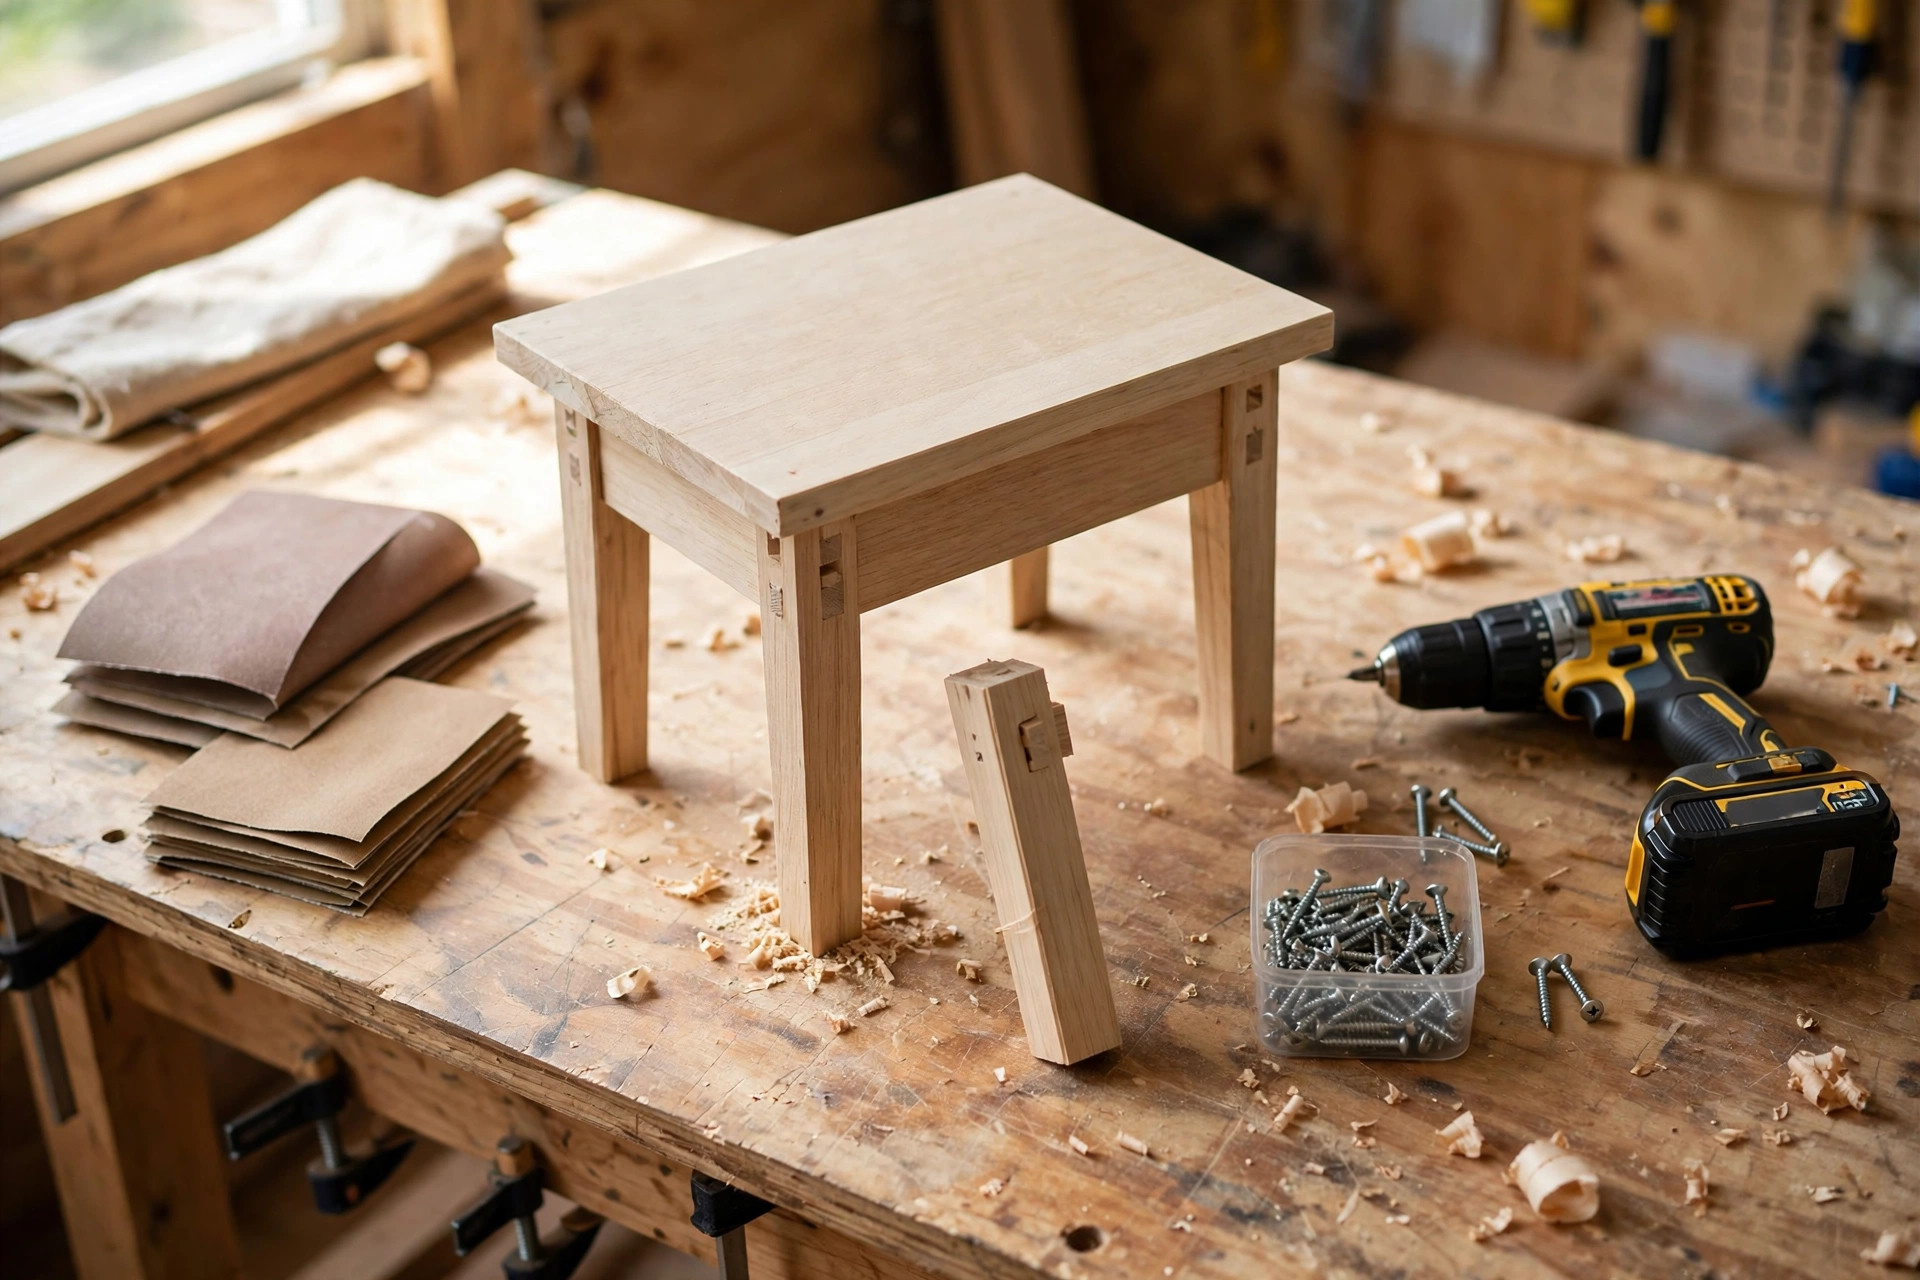
Sand in sequence — 80 grit to shape, 120 to smooth, 220 to finish — and wipe dust off with a damp cloth between grits. Then choose the finish by use: hard-wax oil for a natural look that forgives mug rings and can be spot-repaired, paint for MDF and plywood, or clear varnish where the table will see daily drinks. Two thin coats always beat one thick one. Fit felt pads to every foot before the table moves in; floors remember the tables that skipped them. If DIY is becoming a habit, our easy DIY wall art ideas are the natural next project for the same toolkit.
Mistakes Beginners Make With DIY Side Tables
- Building to a guessed height. Measure the sofa arm or mattress first; height is the whole point of building your own.
- Skipping pilot holes. Split ends happen in the last screw, on the last leg, every time. Drill first.
- No squareness check. Equal diagonals before the glue dries, or the table rocks for life.
- One thick coat of finish. It stays tacky, shows every brush mark, and chips. Thin coats, dried fully, win.
- Forgetting the load. A table that holds a lamp and a mug must also hold a leaning elbow and a stack of books. Build for the real load.
The Bottom Line
Easy DIY side table ideas work because a side table is the simplest furniture there is: a surface at the right height, standing steady. Pick the build that matches your tools and your gap — hairpin legs for speed, five boards for the full craft, crates or cabinets when storage matters — measure honestly, finish patiently, and you will have a table that fits your room in a way no shop table ever quite did.


Comments
Post a Comment