
How to Paint a Striped Ceiling: Bold FunHaus DIY for 2026
A striped ceiling DIY is the boldest small-budget move in the 2026 FunHaus playbook. Searches for striped ceilings are climbing fast this year, and for good reason: one weekend, two cans of paint, and the most boring surface in your home becomes the room's best feature. Unlike a statement wall, the ceiling doesn't compete with your furniture, so the pattern feels playful instead of overwhelming.
This is a real step-by-step tutorial, not an inspiration gallery. Follow it exactly and you'll get crisp lines, even spacing, and no half-stripe at the edges — the three things that separate professional-looking results from a weekend regret.

Why Striped Ceilings Work (and Where)
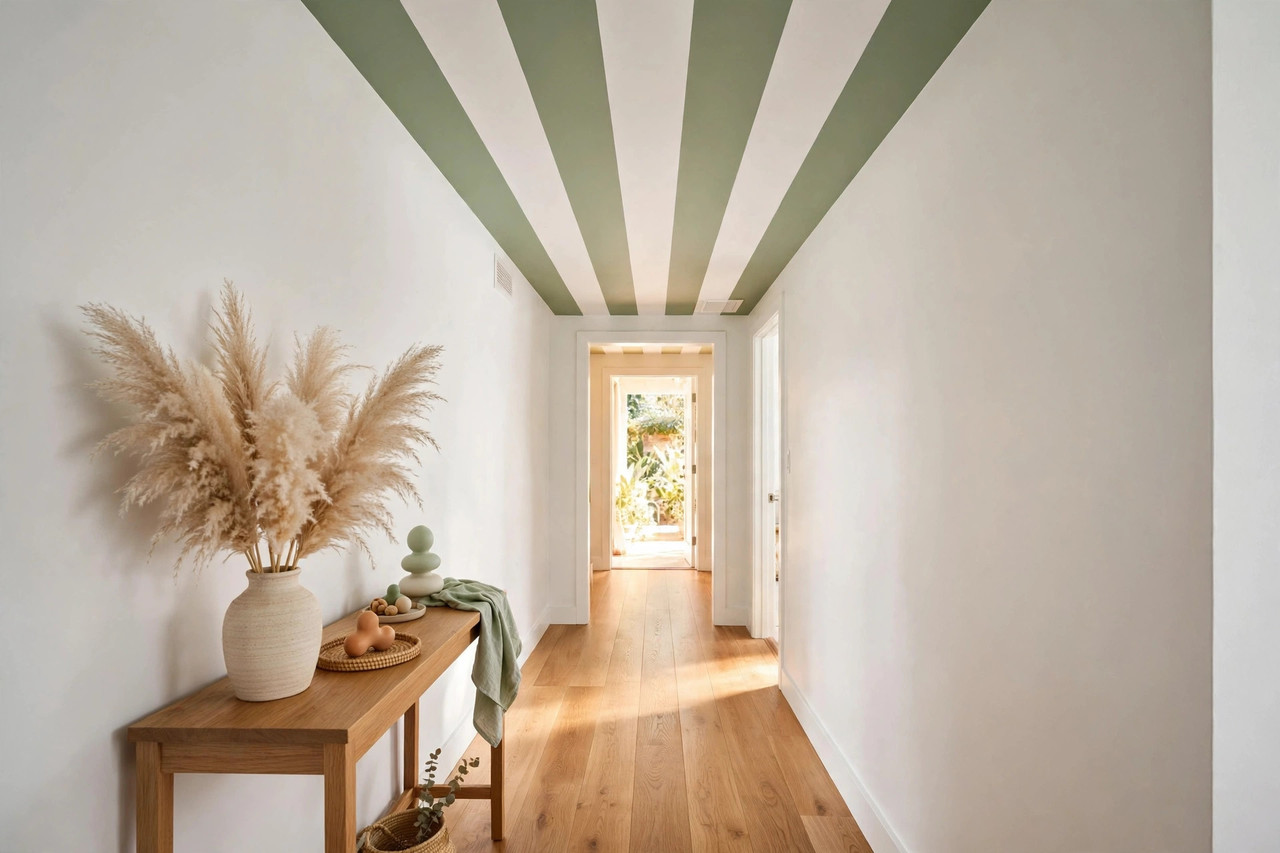
Ceilings are "fifth walls" that most people leave white out of habit, which is exactly why stripes land so well — the surprise does the decorating. They work best in rooms that are small, plain, or both: hallways, powder rooms, kids' bedrooms, and home offices. Direction matters: run the stripes along the room's longest dimension to stretch it visually, or run them across a narrow hallway's width to make it feel wider.
For stripe width, 9–14 inches feels classic and tailored; 14–24 inches reads bold and graphic. Scale the width to the room — wide stripes in a tiny powder room can feel cartoonish, while narrow stripes in a big bedroom can look fussy. And if you catch the painting bug, this pairs well with another paint-based weekend project: our no-carve pumpkin decorating ideas.
Materials and Tools You'll Need
- Ceiling paint for the base — flat or matte, which hides imperfections. White or a light neutral is the classic base.
- Stripe color paint — one quart covers roughly 100 sq ft, enough for most ceilings since you're only painting half the surface. Eggshell finish gives the stripes a subtle sheen difference against a flat base.
- Painter's tape — 1.5-inch FrogTape or delicate-surface tape if your base coat is fresh. Don't cheap out here; the tape is the project.
- Laser level or 4-foot level, tape measure, and a pencil for marking.
- 9-inch roller with 3/8-inch nap, an angled sash brush for cutting in, and a paint tray.
- Drop cloths, a sturdy step ladder, a damp rag, and an old credit card for burnishing tape edges.
Color pairings that nail the 2026 FunHaus mood: warm white + terracotta, cream + caramel, sage green + soft white, or soft black + ivory if you want real drama in a small room.
Plan Your Stripe Math First (Don't Skip This)
Measure the ceiling's width — the dimension your stripes will run across. Decide your stripe width, then divide: if you get a fraction, adjust the stripe width until the math gives you an even number of full stripes. A sliver stripe at one edge is the number-one amateur giveaway. Example: a 10-foot (120-inch) ceiling divided by 12 inches gives you 10 perfect stripes — no awkward leftovers. Write the final stripe width down and mark from the center outward, or from one wall, checking that both edges land on full stripes.
The Steps
- Prep the room. Move furniture to the center and cover everything with drop cloths — ceiling paint drips downward by definition. Remove vent covers and light fixture trim, wipe the ceiling with a damp cloth to remove dust, and patch any cracks. Let patches dry fully and sand them smooth.
- Paint the base coat. Roll two coats if you're changing color, cutting in the edges with the angled brush first. Let the base coat dry at least 24 hours before taping — fresh paint plus regular tape equals peeled paint. If you must tape sooner, use delicate-surface tape.
- Mark your stripes. Using your tape measure and the stripe width you calculated, make small pencil marks along two opposite edges of the ceiling. Connect them with the laser level (or snap a chalk line for long runs). Double-check the math before any tape goes up.
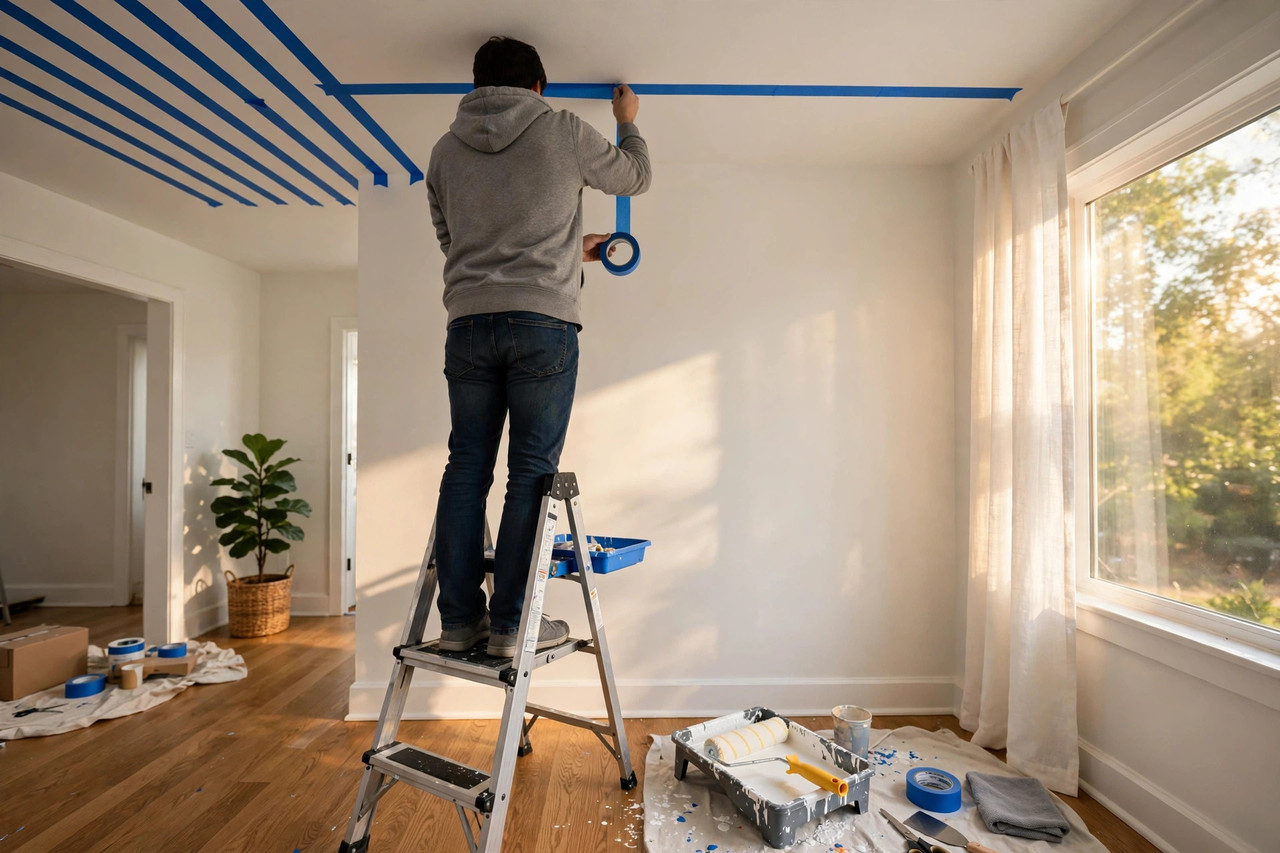
- Tape the stripes. Tape along the outside of each stripe's edges — the tape covers the base-color areas, leaving the stripe lanes exposed. Work one stripe at a time, pressing the tape down firmly, then burnish every edge with the credit card. Finish by running a damp rag along the tape edges; quality tapes have a sealant that activates with moisture and blocks bleed-through.
- Seal the tape with the base color. This is the professional trick most tutorials skip: paint a thin coat of your base color over the tape edges and let it dry. Any paint that seeps under the tape is now the base color — invisible. This seal-and-paint technique is exactly what experienced DIYers swear by, as shown in this striped-wall tutorial, and it works the same on ceilings.
- Paint the stripes. Roll the stripe color into the exposed lanes — two thin coats beat one thick coat every time. Cut in the edges with the angled brush first, then roll. Keep the roller lightly loaded; a dripping roller is how paint gets forced under tape.
- Pull the tape while the paint is wet. Within an hour of the final coat, pull each strip slowly at a 45-degree angle back over itself. Waiting until the paint fully dries risks tearing the fresh edge. This is the most satisfying sixty seconds of the whole project.
- Touch up. Step back and inspect in daylight. Fix tiny bleeds with a small brush and the base color; fix nicks with the stripe color. A few imperfections at ceiling height are invisible from the floor — don't chase perfection past the point of diminishing returns.
5 Mistakes That Ruin Striped Ceilings
- Taping over uncured paint. Wait the full 24 hours (longer in humidity), or the tape will pull the base coat off in sheets.
- Skipping the burnish and seal. Tape that's merely laid down, not pressed and sealed, bleeds. The credit card and base-color seal coat are non-negotiable.
- Pulling tape after the paint dries. Dry paint bonds to the tape edge and tears. Wet pull, always.
- Overloading the roller. Excess paint is what seeps under tape edges. Two light coats, not one heavy one.
- Bad stripe math. A 3-inch sliver stripe where the ceiling meets the wall announces "DIY" in the worst way. Measure twice, adjust the width, tape once.
One more caution: heavy popcorn or knockdown texture defeats crisp lines because paint wicks along the texture bumps. Light orange-peel texture is manageable with careful sealing, but if your ceiling is heavily textured, either skim-coat it first or choose a smooth-ceiling room for this project.
The Renter-Friendly Version
Can't paint? You can still get the look. Cut removable wallpaper into stripe-width bands and apply them directly to the ceiling — the seams read as stripes from below. Test one stripe for 48 hours first to confirm it removes cleanly from your ceiling's paint. A hallway ceiling costs roughly $60–$100 in removable paper, takes an afternoon, and comes down without a trace. Another option: fabric panels attached with liquid starch, which peels off with water — best for small powder rooms.
Cost and Time
Budget if you own a ladder: one quart of stripe-color paint ($15–$25), a roll of quality painter's tape ($10–$14), and roller supplies ($15–$20) — under $60 total. Timeline: Saturday for the base coat and taping, Sunday for the stripes. The taping is the slow part; the painting itself goes fast, which is why the stripe-math and tape-seal steps deserve most of your attention.
Once the ceiling is done, the room below it deserves a little love too — our fall desk organization ideas are a good next project for a striped-ceiling home office, and the no-cost fall living room refresh keeps the momentum going without spending more.
Striped Ceiling FAQ
How wide should ceiling stripes be?
9–14 inches reads classic and tailored; 14–24 inches reads bold and graphic. Match the scale to the room: narrower stripes in small rooms, wider stripes in large ones. Always adjust so the ceiling divides into full stripes with no slivers at the edges.
Will stripes make my ceiling look lower?
High-contrast, dark stripes can visually lower a ceiling, so in rooms under 8 feet, keep the contrast gentle — tone-on-tone (flat base, eggshell stripe in a close shade) gives the pattern without the compression. In rooms with 9-foot-plus ceilings, go as bold as you like.
Can I paint stripes on a textured ceiling?
Light orange-peel texture works if you burnish and seal the tape carefully. Heavy knockdown or popcorn texture will bleed no matter what you do — skim-coat first or pick a different room.
What paint finish is best for a ceiling?
Flat or matte for the base — it hides imperfections and doesn't glare under lights. For the stripes, use the same flat or step up one sheen to eggshell; the slight sheen difference adds depth even in closely matched colors.


Comments
Post a Comment