
12 DIY Room Divider Ideas for Small Spaces That Need No Renovation
One room is often asked to be two: a studio that is bedroom and living room, a spare room that is office and guest room, a shared bedroom that needs a corner of privacy. The best diy room divider ideas for small spaces solve that without a renovation, a landlord dispute or a wall you will regret — folding screens, curtain tracks, bookshelves turned sideways and slatted panels you can build in a weekend and remove in an afternoon. The divider does not need to be a wall. It needs to mark a boundary your eye and your habits respect.
You do not need building skills or a big budget. Most of these projects cost between $0 and $200, need no power tools or only basic ones, and are renter-friendly by design. Below are twelve ideas with real heights, clearances, material sizes, costs and watch-outs, so the divider you build stands steady, lets the light through and leaves the room feeling bigger, not chopped up.
Before you build anything, decide what the divider has to separate and what it must not block. Our guide to easy DIY pegboard organization ideas shows how a single panel can work double duty — the same thinking applies here, because the best divider in a small space is one that also stores, displays or grows something.
Measure First: 30 Inches of Clearance, 7 Feet of Height, Light Before Privacy
Rule one: protect the walkway. Keep at least 30 inches of clear traffic space past any divider — the routes to the door, the bathroom and the kitchen must stay honest, or the divider becomes an obstacle you curse daily. Mark the divider's footprint and the 30-inch lane beside it with painter's tape and live with the outline for a few days before building.
Rule two: respect the stability limit. Freestanding dividers are most stable at a maximum of about 7 feet tall; taller panels need a ceiling track, a tension system or a wall fixing to be safe. Divider guides such as The Spruce on creative DIY room divider ideas and This Old House on creative room divider ideas return to the same safety basics: wide or weighted bases on carpet, felt pads against tipping, locking casters on anything mobile, and bookshelf dividers secured to a wall stud so they cannot tip. A divider that can fall is worse than no divider at all, especially with children or pets in the room.
Rule three: let light travel. In a small space, the divider that blocks light makes both sides feel smaller and darker. Linen fabric, wooden slats, open shelving and plants all divide while light passes — which is why they dominate the ideas below. And be honest about sound: dividers give visual privacy only; none of these will stop a phone call being heard, and planning a sleep zone beside a television zone needs a conversation, not just a screen.
12 DIY Room Divider Ideas for Small Spaces That Need No Renovation
Work in order: tape the footprint and walkway first, pick the lightest divider that gives the privacy you actually need, then secure it properly. Every idea below can be removed without filling a wall of holes.
1. Build a Folding Fabric Screen, the Classic Weekend Divider
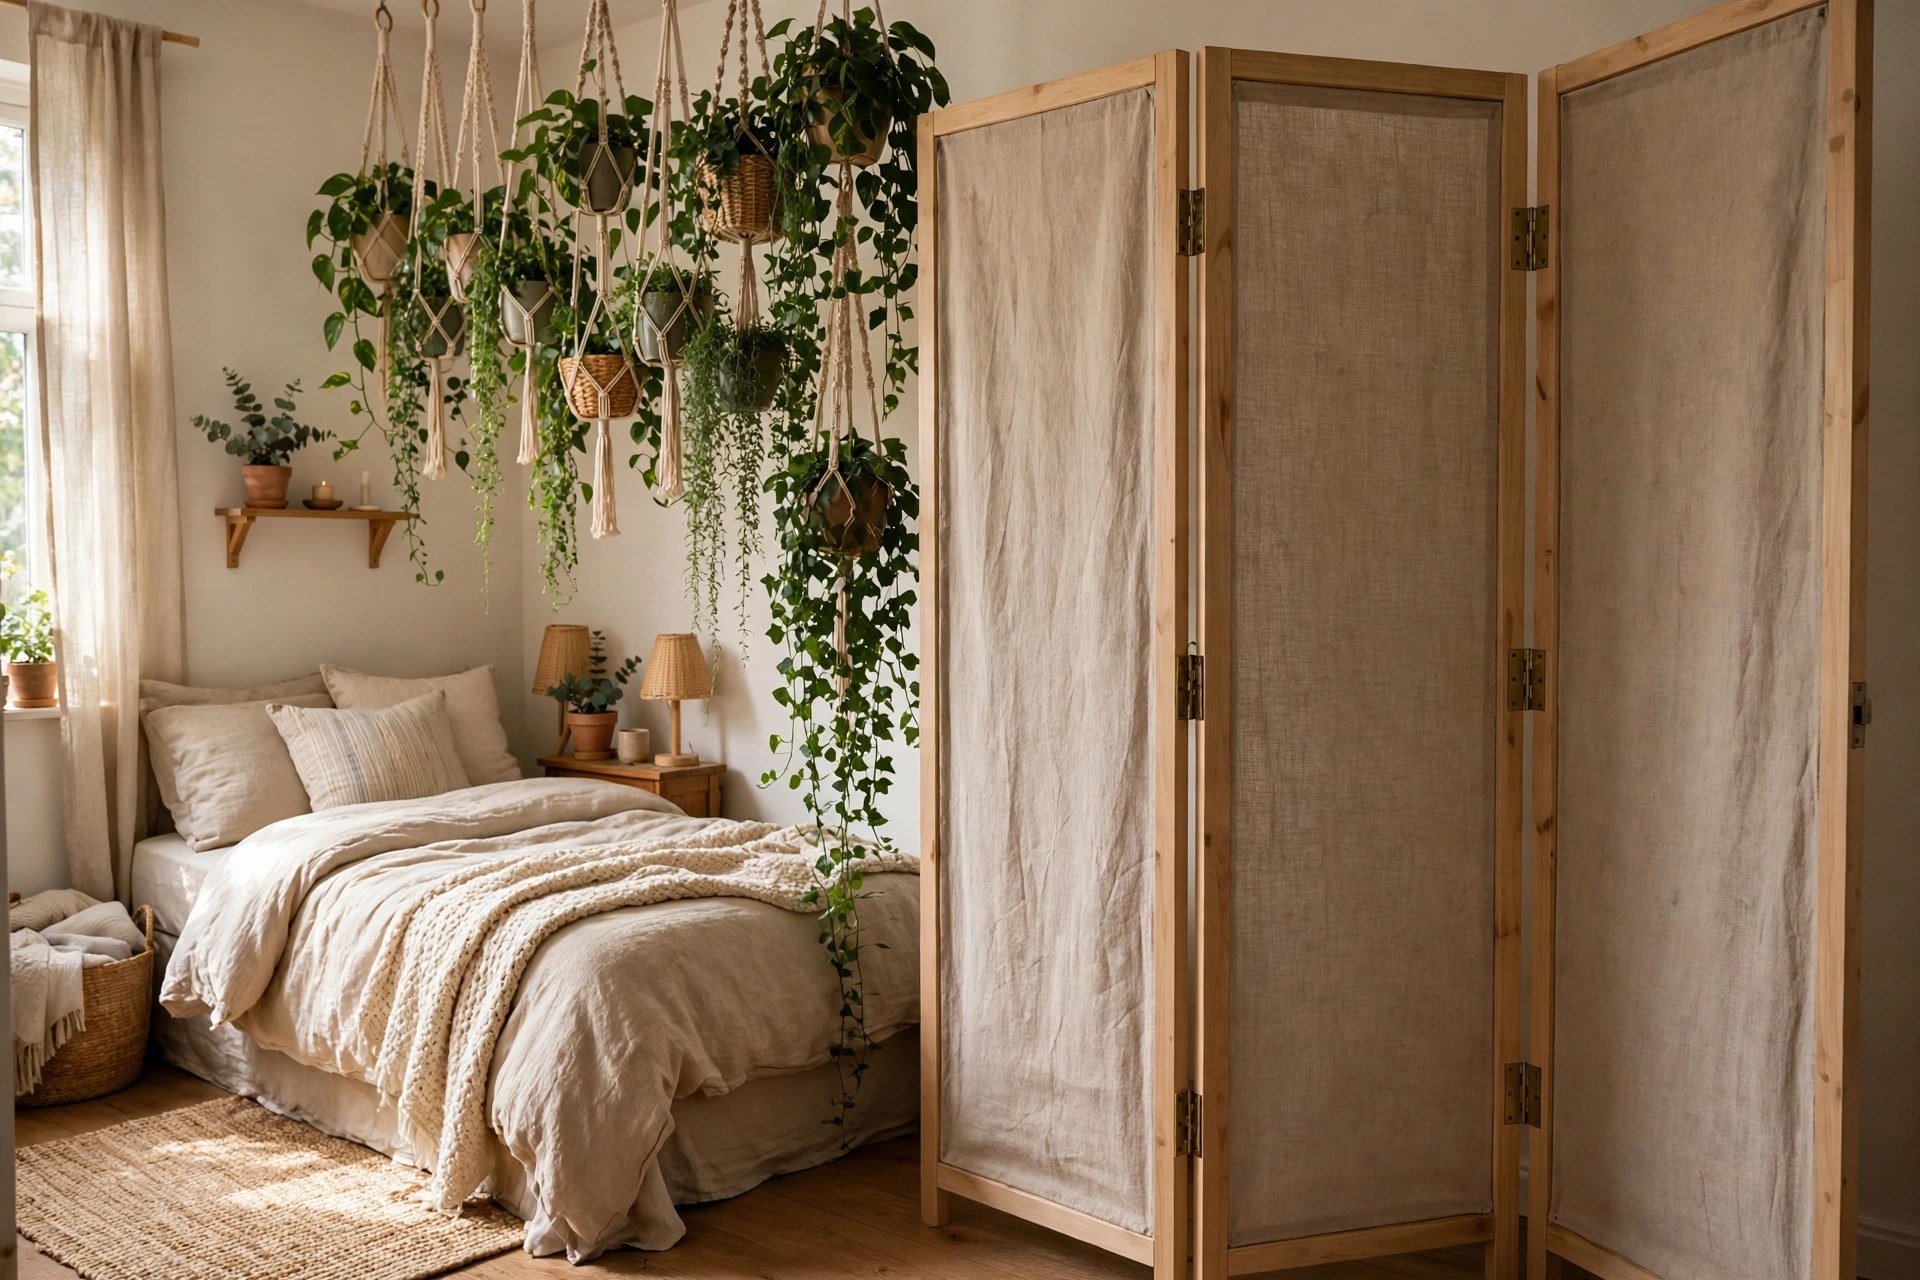
The folding screen is the oldest divider for a reason: it opens in seconds, folds flat behind a door, and needs no fixing of any kind. A basic four-panel folding screen costs about $20 to $50 ready-made, and the DIY version — fabric stapled onto hinged wooden panel frames — costs about the same while matching your room exactly. Build frames from light timber, stretch and staple your fabric, and mount the hinges on alternating sides so the screen folds in a zigzag and stands by itself. Three panels suit most small rooms; four panels span about 60 to 70 inches when zigzagged. Choose a fabric with body — canvas, heavy linen — so it does not billow. Watch-out: a screen in a straight line falls over; it must stand zigzagged, and on carpet give it a moment's check after vacuuming day, when everything in the room has been nudged.
2. Hang a Curtain Divider on a Ceiling Track or Tension Rod
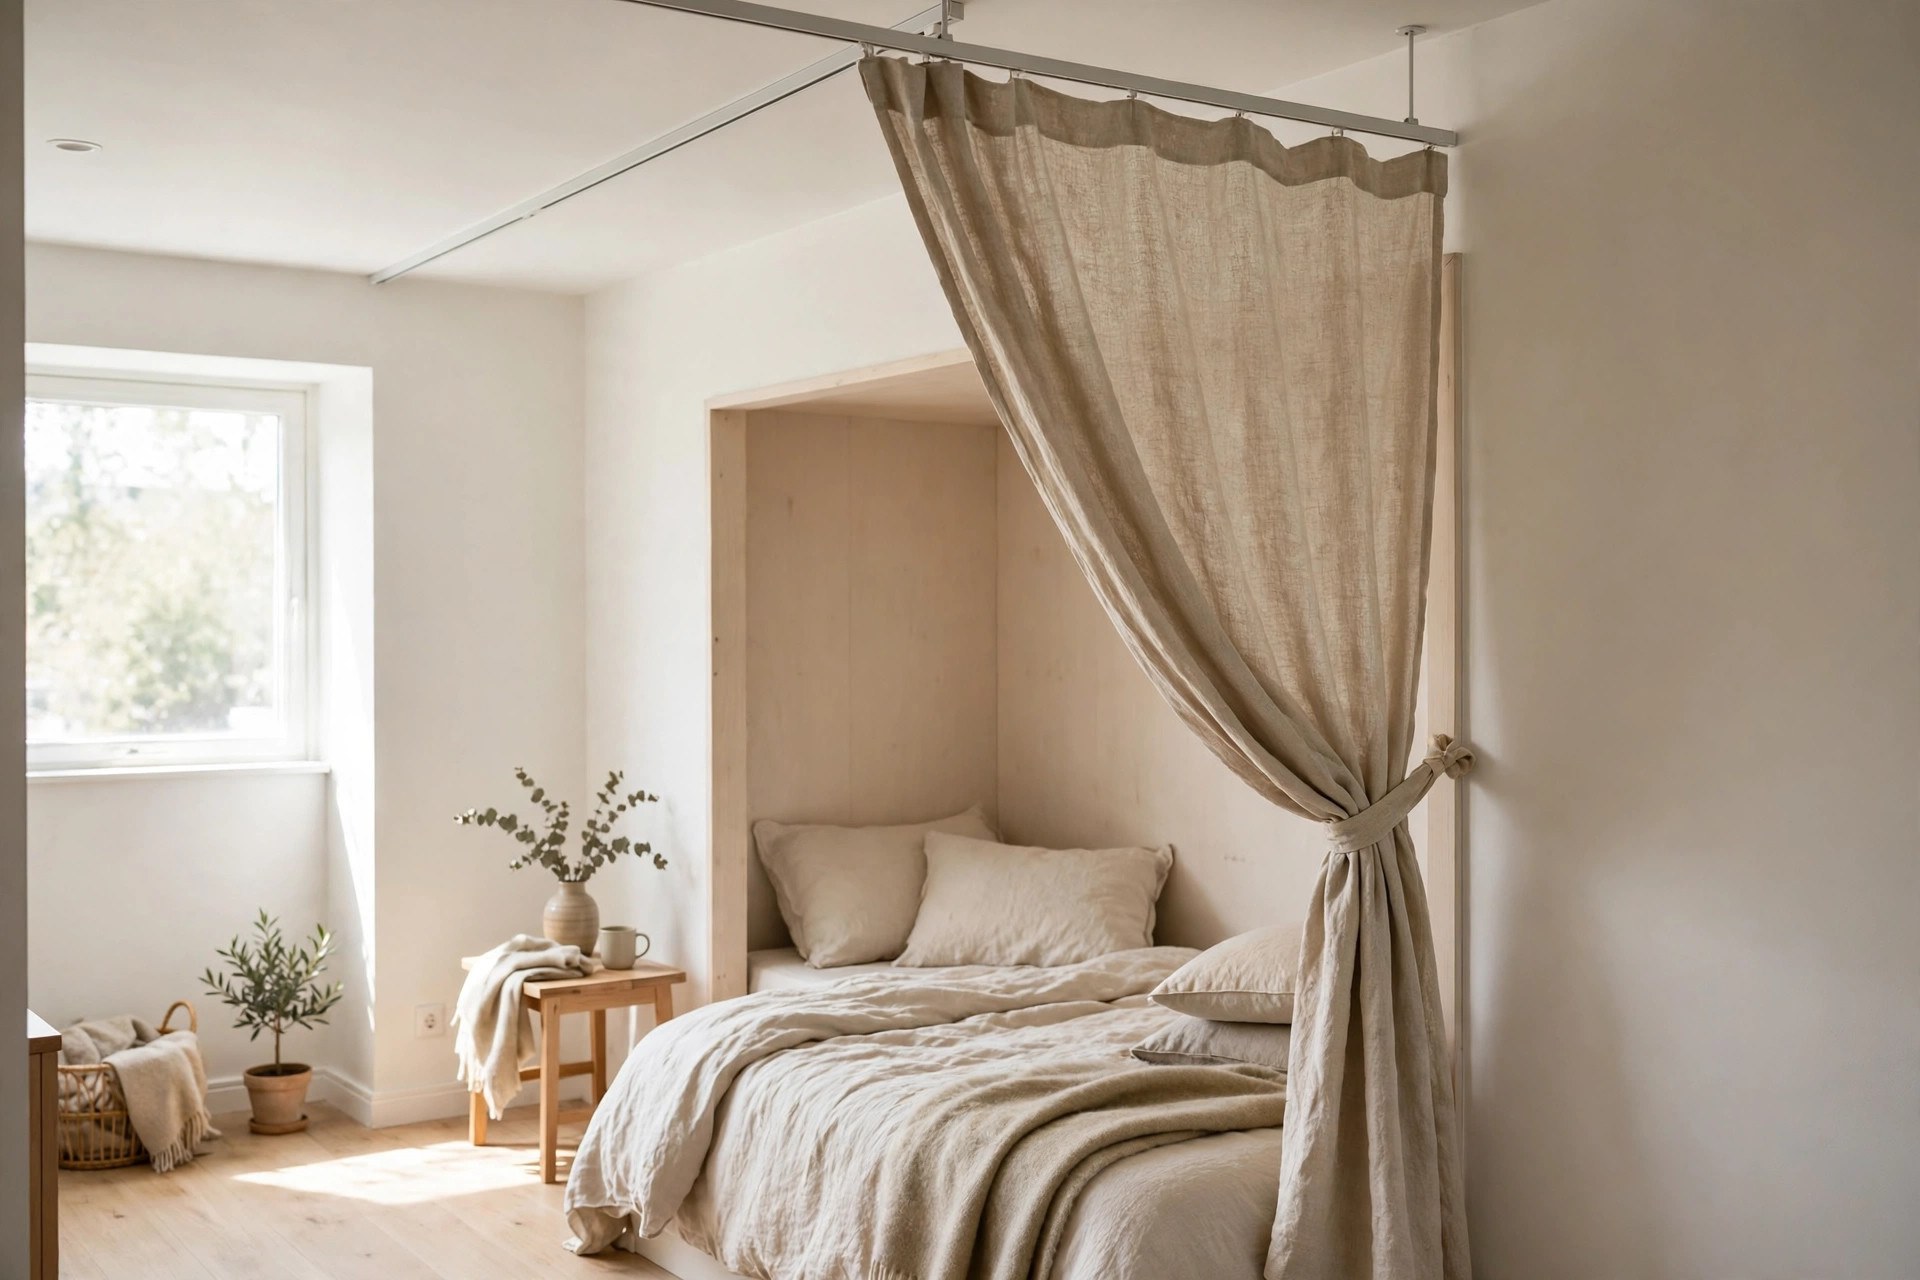
The softest and cheapest real divider is a curtain. A ceiling-mounted track lets a curtain glide open and closed across a whole room; a heavy-duty tension rod — the longest run about 8 to 10 feet — does the same in doorways and alcoves with zero drilling, often installed at about 80 inches high. Tie-back curtains frame a bed alcove beautifully: open by day so the studio feels whole, closed at night for a private sleeping nook. Two curtain panels and a rod or track cost about $25 to $60. Choose sheer or linen fabric where you want light and glow, blackout-weight fabric only where sleep privacy truly needs it. Watch-out: treat lightweight fabrics in homes where local rules require it, keep curtain hems an inch off the floor so they glide, and remember a curtain stops eyes, not sound or cooking smells.
3. Turn an Open Bookshelf Sideways Into a Storage Divider
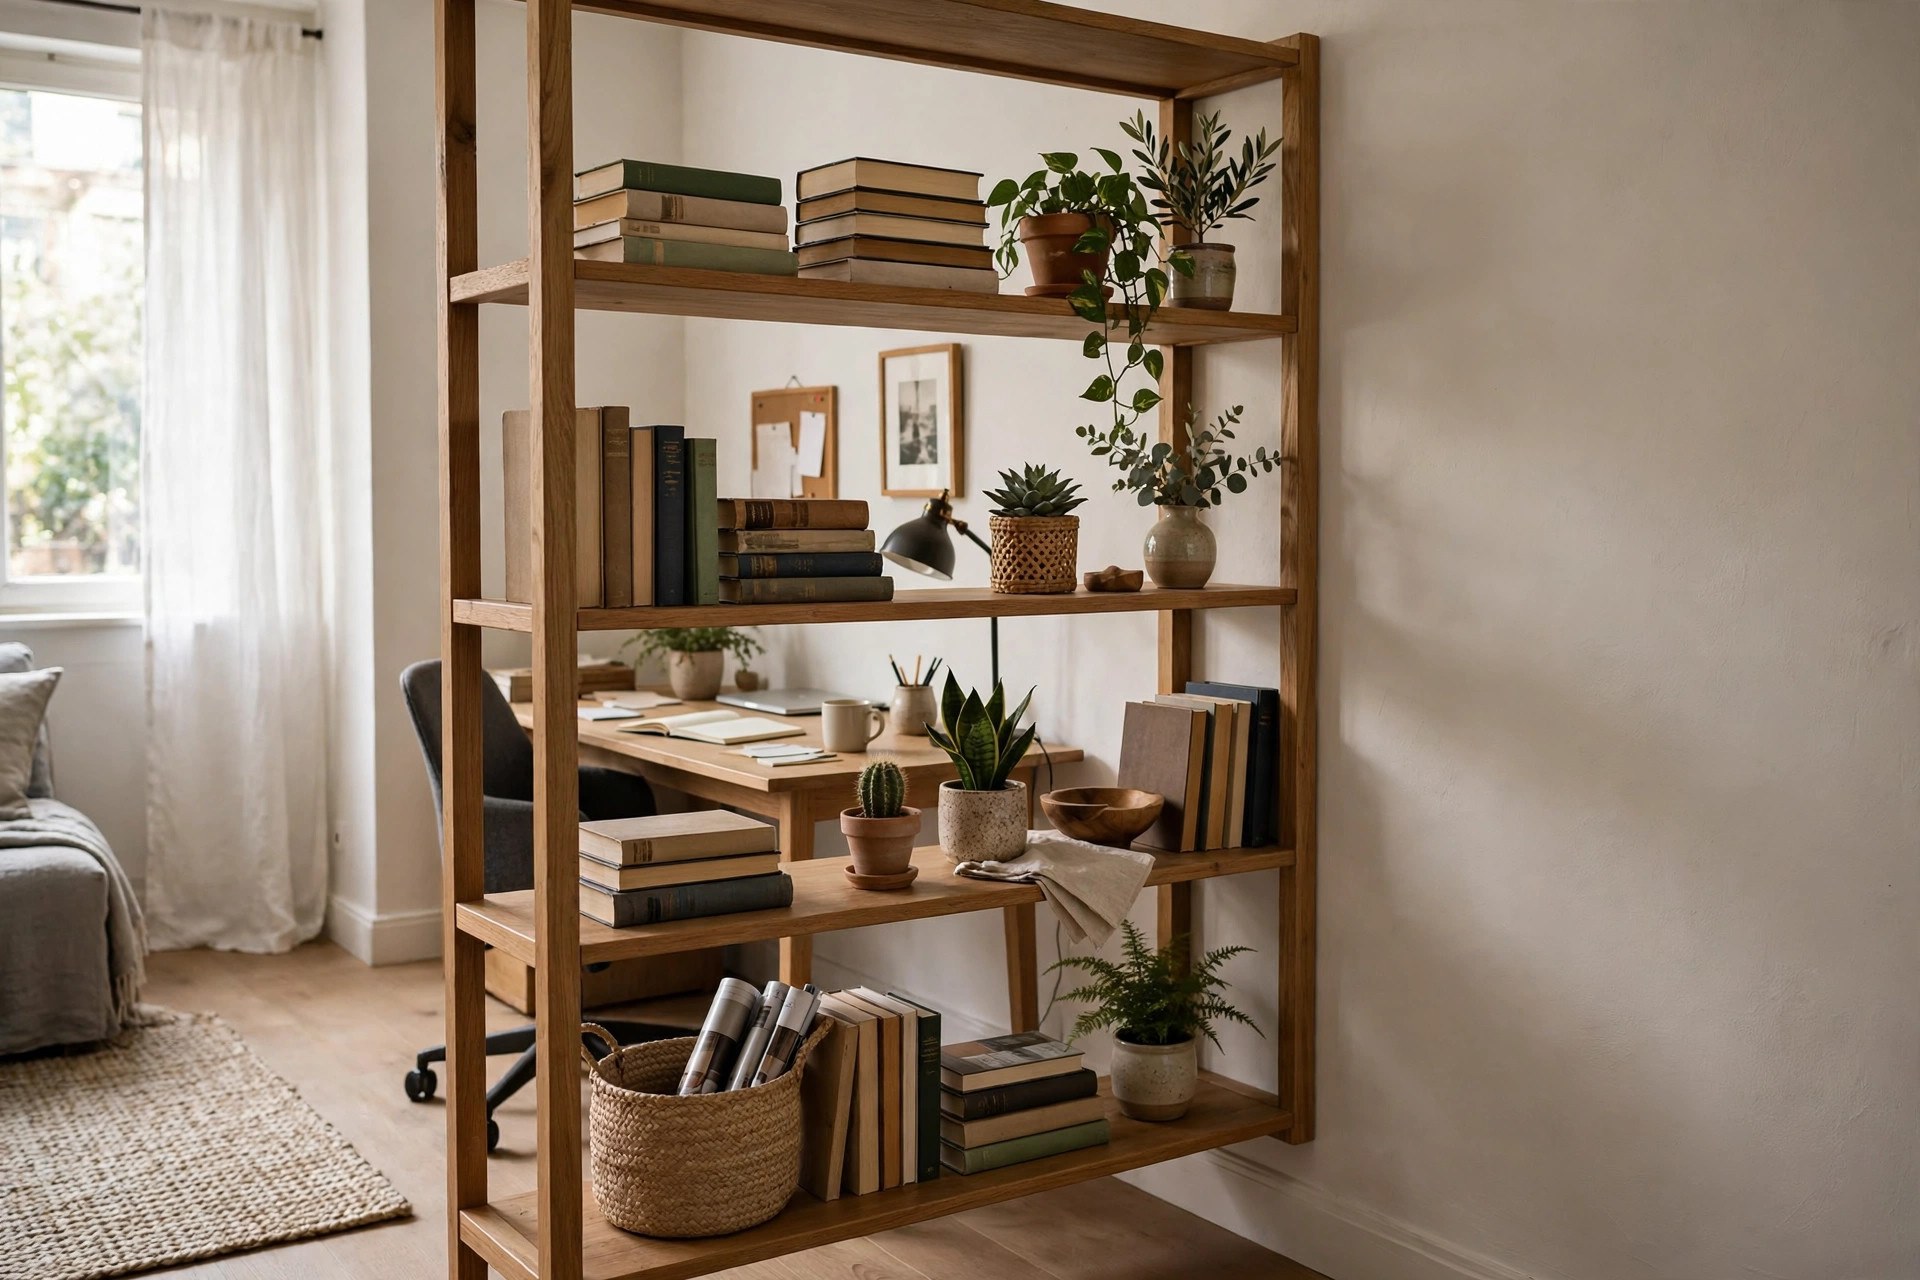
A bookshelf placed perpendicular to the wall is the hardest-working divider in a small home: it zones the room and adds a wall of storage at the same time. Choose a sturdy open-backed unit — open shelves let light pass and can be styled from both sides — and fill it with a mix of books, closed baskets and plants so neither side looks like a back. The safety step is not optional: secure the unit so it cannot tip, with metal L brackets into a wall stud at the top, exactly as you would anchor any tall furniture. A suitable shelf unit costs about $60 to $150. Our DIY bookshelf makeover ideas can turn a plain unit into one worth looking at from both sides. Watch-out: keep heavy items on the lowest shelves, and never let a bookshelf divider stand unanchored in a home with climbing children.
4. Build a Wooden Slat Panel That Divides Without Darkening
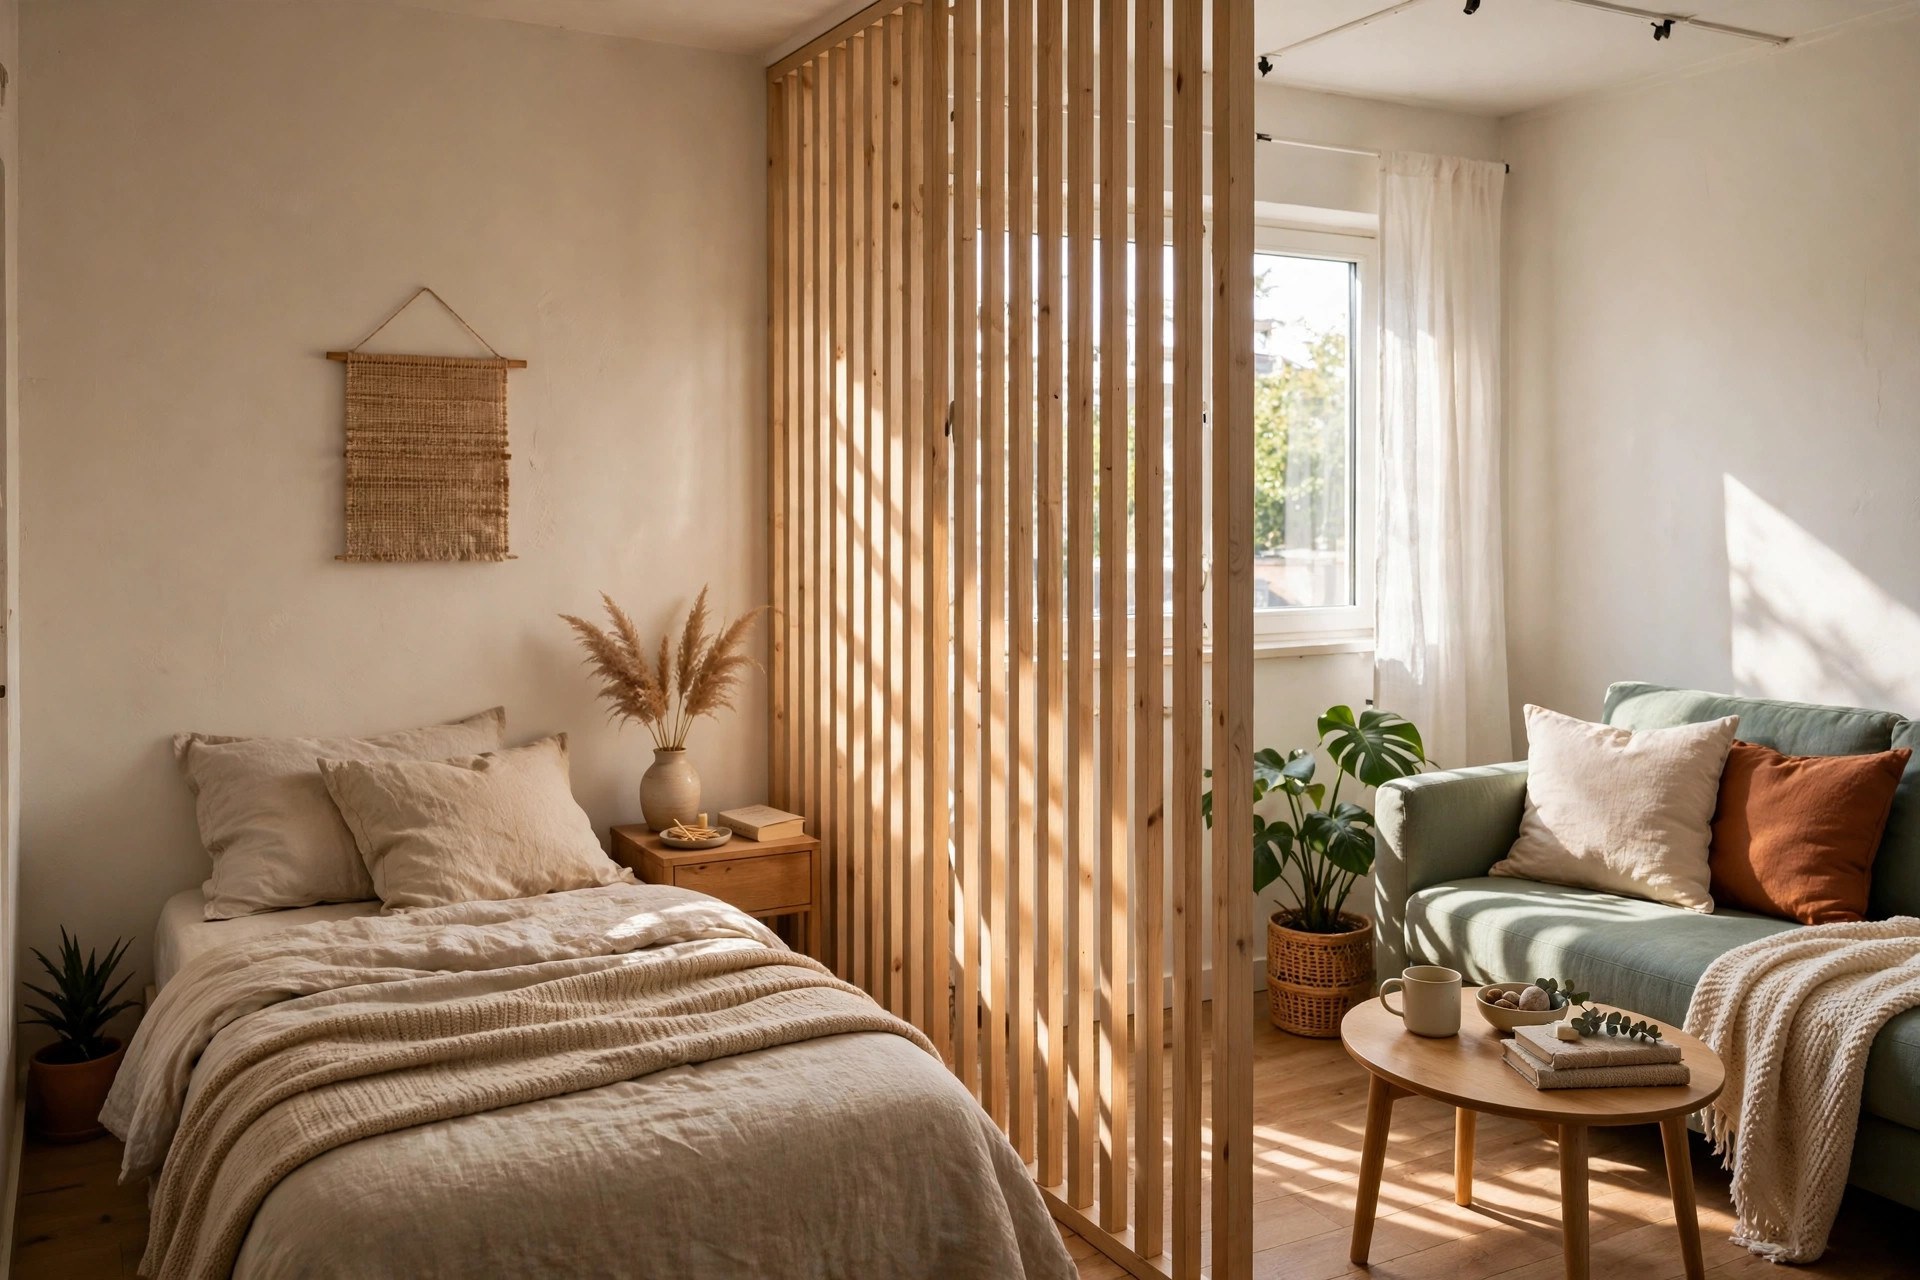
Vertical wooden slats give the most architectural result on this list: real separation, a warm material, and light and air flowing through the gaps. Build a simple frame, fix evenly spaced slats — gaps of about 1 to 2 inches balance privacy and light — and either stand the panel on wide feet, hang it from a ceiling track, or fix it between floor and ceiling with tension. A single panel of about 36 to 48 inches wide often divides better than a full-width wall of slats, because it marks the boundary while leaving the room visually connected. Materials for one panel run about $40 to $90 in basic pine, less in reclaimed timber. Paint or stain it to match the room's wood tones. Watch-out: measure slat spacing against small fingers and pet heads if either live with you, and sand every edge — a divider at the centre of a room gets touched from both sides.
5. Make a Mobile Divider on Locking Wheels From One Sheet of Plywood
When the zones in a room change by the hour — office by day, guest room by night — a divider on wheels is the answer. The classic build takes a 4 by 8 foot sheet of plywood, cut it in half to make two panels of about 4 by 4 feet, join them with hinges so the divider folds, and screw locking caster wheels to the bottom corners. Locking casters matter: unlock them to move the divider, lock them and it stands as a wall. One side can be painted, papered or fitted with a cork board face to work as a pinboard in the office zone. Materials cost about $50 to $90. Watch-out: a wheeled divider on a slope or thick rug will wander or resist; test it on your real floor, and keep the panels' total height modest — around 5 to 6 feet — so the wheeled base stays stable.
6. Hang a Macramé or Rope Divider for Texture Without Weight
A knotted macramé hanging, or a simpler version of vertical ropes fixed between a wooden dowel and a weighted base bar, divides a room the way a beaded curtain does: softly, with movement and texture, and with almost total light flow. It is the right choice where the boundary is psychological more than private — a reading corner in a living room, a dressing area in a bedroom. A large macramé hanging costs about $30 to $80 to buy or make; a rope version can be assembled for under $30. Hang it from a ceiling hook rated for the weight or from a tension rod between walls. Watch-out: rope and macramé dividers tangle with curious pets and small children, and they collect dust — a monthly shake outside and an occasional vacuum with a brush attachment keeps them fresh.
7. Grow a Living Divider From Plant Stands and Trailing Plants
A row of tall plant stands with lush plants is a divider that improves the air and the mood while it zones the room. The proven formula uses roughly 70-inch tall plant stands placed side by side with about three plants per stand, mixing one tall plant, one bushy plant and one trailing plant for a screen with no gaps at any height. The stands are freestanding, so the green wall can move with the seasons or the furniture. Three stands with plants cost about $60 to $120, less if you propagate what you own. Hanging plants work the same trick from above where floor space is precious. Watch-out: a plant divider commits you to watering every plant at its own rhythm in a hard-to-reach row — group plants with similar thirst together, and put the thirstiest at the accessible end.
8. Repurpose Pallets or an Old Door Into a Rustic Screen
Reclaimed materials make dividers with more character than anything flat-packed. Two or three wooden pallets, sanded, hinged together and stood zigzag, become a rustic screen with built-in pockets for small plants and books; a salvaged door or a pair of old shutters hinged into a screen brings instant architecture. A barn-door style divider on a track is the bigger version of the same idea, with DIY kits available for under $200. Sourcing is the main cost control: pallets are often free from local businesses, doors turn up cheaply at salvage yards. Watch-out: clean and inspect reclaimed wood properly — sand out splinters, check for protruding nails, and only use pallets stamped heat-treated, never chemically treated, indoors.
9. Stretch Fabric Panels on Light Frames for a Custom Art Divider
If you want the divider itself to be the room's artwork, stretch bold fabric — a patterned linen, a block print, a plain canvas you paint yourself — over light wooden stretcher frames and hinge two or three together, exactly like the folding screen build but with the fabric chosen as art first. Fabric panels cost about $15 to $35 each in materials and weigh almost nothing, so this is the easiest divider to store flat and lend to another room. Because both faces show, either stretch fabric on both sides of the frame or back the panel with plain lining. For more panel-based projects, our easy DIY floating shelf ideas use the same basic frame-and-fix skills. Watch-out: thin fabric glows when light sits behind it, which is beautiful at dusk and revealing at night — line any panel that divides a sleeping or dressing zone.
10. Use a Pegboard Panel Divider That Stores on Both Sides
A large pegboard panel in a simple frame is a divider that works for a living: hooks, small shelves and baskets make the office side a tool and stationery wall, while the other side holds hats, bags or kitchen gear in a studio. Build the frame from timber, fix the pegboard inside it, and stand it on wide feet or hang it from a track. A 24 by 48 inch pegboard panel costs about $25 to $50 complete with hooks. This is the natural partner to a desk zone, where everything the desk needs can live on the divider instead of the desktop. Watch-out: pegboard loads add up — keep the panel's total hanging weight modest and evenly spread, and anchor or weight the base well because a top-heavy pegboard on small feet is a tip risk.
11. Divide With a Shoji-Style Paper Screen for Soft, Glowing Light
A lightweight wooden frame with translucent paper or fabric panels, in the shoji tradition, gives privacy with a glow: light passes as a soft diffusion, silhouettes soften, and a bedroom or meditation corner gains calm rather than darkness. Build frames from thin timber battens, fix translucent material with battens or staples, and hinge three panels together. Materials cost about $35 to $70. The effect is strongest with a lamp or window behind the screen, which turns the divider into the room's evening light feature. Watch-out: paper panels and real life are a fragile mix — use tough translucent fabric or acrylic sheet in busy homes, keep the screen away from radiators and candles, and treat it as the least child-and-pet-proof idea on this list.
12. Fake It With Layout First: Rugs, Lighting and a Console Before You Build
The last idea builds nothing, and it should always be tried first. A rug under one zone, a pendant or lamp change over the other, and a low console, bench or the back of a sofa placed as a boundary can divide a room surprisingly firmly — our eyes read floor and light changes as walls. Live with the taped footprint and the furniture boundary for a week. If the zones hold, you may only need the lightest real divider, like a curtain or a plant row. If they do not, you now know exactly where the boundary must be and how private it must feel, which makes every build above a surer success. Cost: $0, plus an afternoon of rearranging. Watch-out: a furniture boundary still owes you the 30-inch walkway — a sofa back that divides the room but blocks the route to the door has divided you from your own home.
Mistakes That Make a Divider Shrink the Room
Blocking the light and the walkway. A solid, dark, full-width divider turns one small room into two smaller, darker ones, and a divider that eats the 30-inch traffic lane makes the whole home harder to live in. Choose slats, linen, open shelves or plants first, keep the boundary partial where you can, and browse the pegboard guide again for dividers that store as well as separate.
Skipping the safety fixings. An unanchored bookshelf divider, a screen standing in a straight line, unlocked casters on a slope — every divider accident is a fixing skipped to save ten minutes. Anchor to a stud, weight the base, lock the wheels, and check the rest of the DIY Projects collection for builds that are tested to stand safely before they are styled.
Questions People Ask
What is the cheapest DIY room divider?
A curtain on a tension rod or a rearranged furniture boundary costs the least — from $0 to about $25. A folding fabric screen you build yourself runs about $20 to $50, the same as a basic ready-made four-panel screen.
How much space should I leave around a room divider?
Keep at least 30 inches of clear walkway past the divider on its traffic side, and tape the footprint plus that lane on the floor for a few days before you build, so the layout is tested by real life first.
Are room dividers renter-friendly?
Yes, most are: folding screens, bookshelf dividers, wheeled panels and tension-rod curtains need no drilling at all. Freestanding dividers are safest at about 7 feet tall or less, and anything tall or heavy, like a bookshelf, must still be anchored so it cannot tip.
Which divider lets the most light through?
Wooden slats, linen curtains, open bookshelves and plant rows divide while light passes. A shoji-style screen diffuses light into a glow. Opaque fabric and solid panels give the most privacy but darken both sides, so use them only where privacy truly wins.
Tape the footprint, keep 30 inches clear, let the light through and anchor anything tall — and one hard-working room becomes two calm zones you can un-build in an afternoon whenever life changes again.


Comments
Post a Comment