
12 Easy DIY Board and Batten Wall Ideas That Look Custom
Board and batten is the rare wall treatment that looks like a carpenter built your house that way, yet goes up with a saw, a level, and a free weekend. If you have been saving diy board and batten wall ideas and wondering whether you can actually pull one off, the honest answer is yes. The whole system is just flat boards on the wall, vertical battens over the seams, caulk, and paint.
What separates a custom-looking wall from a wobbly one is not talent. It is a layout planned on paper first, even spacing, and ten unglamorous minutes caulking every seam. This guide gives you the shared build method once, with real measurements and costs, then twelve ways to use it.
Before You Start: Tools, Materials, and What It Really Costs
For one standard 12-foot accent wall, budget $150 to $350 in materials and one weekend. Battens are almost always 1x3 boards (actually 2.5 inches wide) or 1x4 boards (actually 3.5 inches wide), in primed MDF or pine. MDF runs about $10 to $18 per 8-foot board, paints the smoothest, and is the budget pick everywhere except bathrooms, where moisture disqualifies it. Pine costs a little more and shrugs off dings better. Use a 1x4 or 1x6 for the top and bottom rails so the verticals land on something solid.
Tools: tape measure, 4-foot level, miter or circular saw, 18-gauge brad nailer (2-inch nails), stud finder, construction adhesive, paintable caulk, wood filler, 120-grit sandpaper, primer, and satin or semi-gloss trim paint. Tutorials like Amenity Home's board and batten guide publish similar lists with per-item prices, handy for checking local store numbers.
One planning rule matters more than everything else: decide spacing from the wall, not from a photo. Battens spaced 12 to 18 inches apart on center look right on almost any interior wall, with 12 to 16 inches the sweet spot under 8-foot ceilings. Measure the wall, mark a batten at each end and around every door and window, then divide what remains into equal spaces. Never start at one corner and work across at a fixed 16 inches. The last panel will betray you, narrow and obviously wrong.
The Basic Build: 6 Steps Every Version Shares
Step 1: Plan and mark. Sketch the wall to scale, finalize equal spacing, and mark every stud. Cut a scrap of wood to your exact gap width. That spacer jig keeps you honest all wall long.
Step 2: Install the rails. Glue and nail the bottom rail along the baseboard line and the top rail at your chosen height, dead level. For wainscot, 36 to 48 inches works; for drama, run the top rail 20 inches below the ceiling, or go full height.
Step 3: Add the vertical battens. Work from the center outward with the spacer jig. Adhesive plus two brad nails per stud crossing holds each batten. Check plumb every third board; small drifts compound.
Step 4: Cap and trim. A flat 1x2 or 1x3 cap on the top rail gives the wall its finished, furniture-like edge, and makes hooks and shelves possible later.
Step 5: Fill, sand, and caulk. Fill nail holes, sand flush, then caulk every seam where board meets wall. This step, not the lumber, is the difference between DIY and custom. Skipped caulk leaves shadow lines that cheapen the whole wall.
Step 6: Prime and paint. Prime any raw wood or MDF edges, then two coats of satin or semi-gloss. Semi-gloss reads as proper trim, wipes clean, and catches light along each batten edge in a way flat paint never does.
12 DIY Board and Batten Wall Ideas That Look Custom
Same six steps, twelve different walls. Pick by room, then steal the measurements.
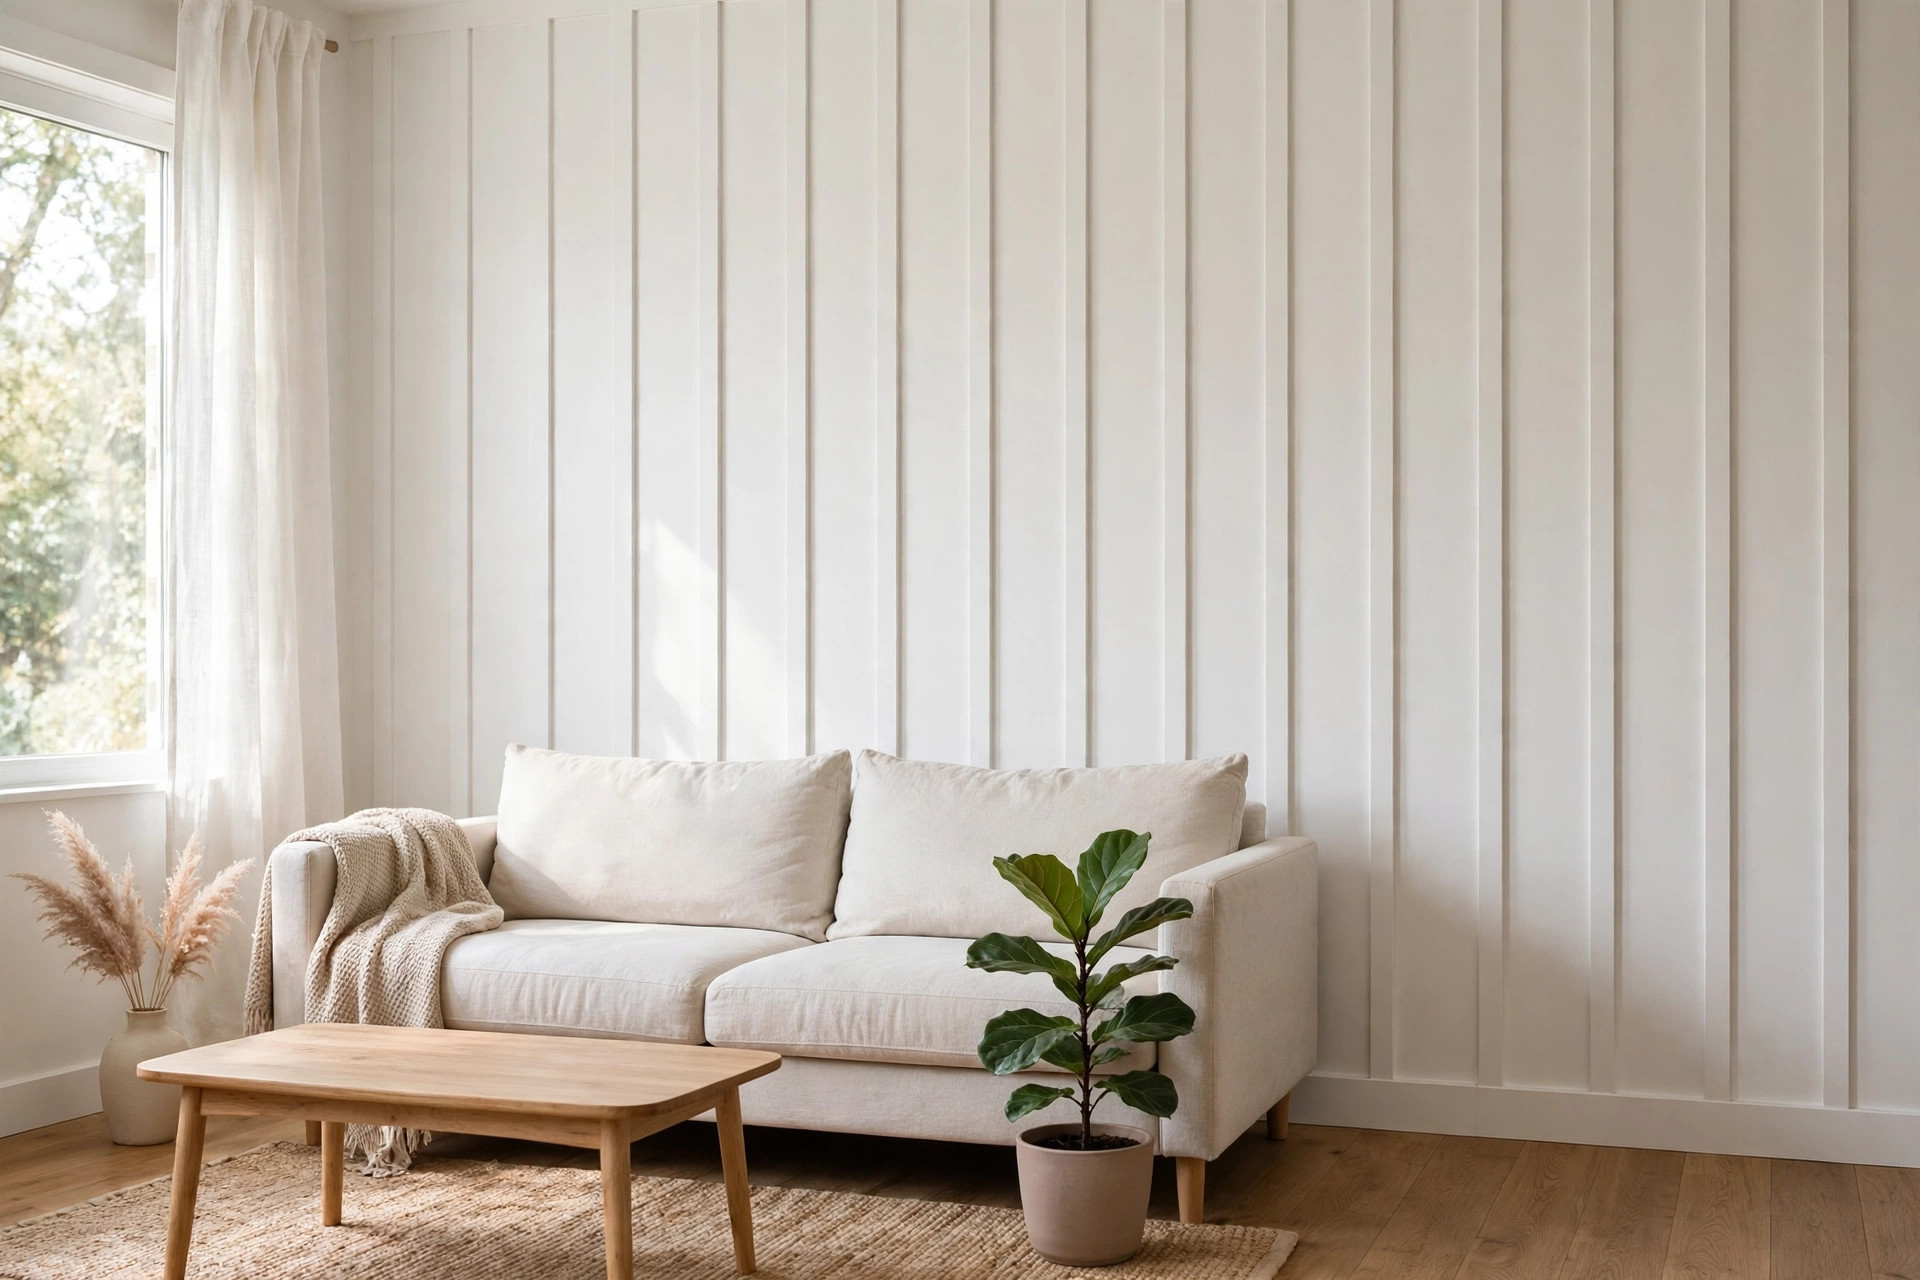
1. The Classic Full-Height Living Room Wall
The benchmark. Floor-to-ceiling battens at 14 to 16 inches on center, 1x3 MDF, one warm white. Full height makes an 8-foot ceiling feel taller because the eye follows the verticals up. Cost for a 12-foot wall: about $200 to $300. Watch out: full-height battens expose how unlevel your ceiling is. Hide the gap under simple crown or a painted caulk line.
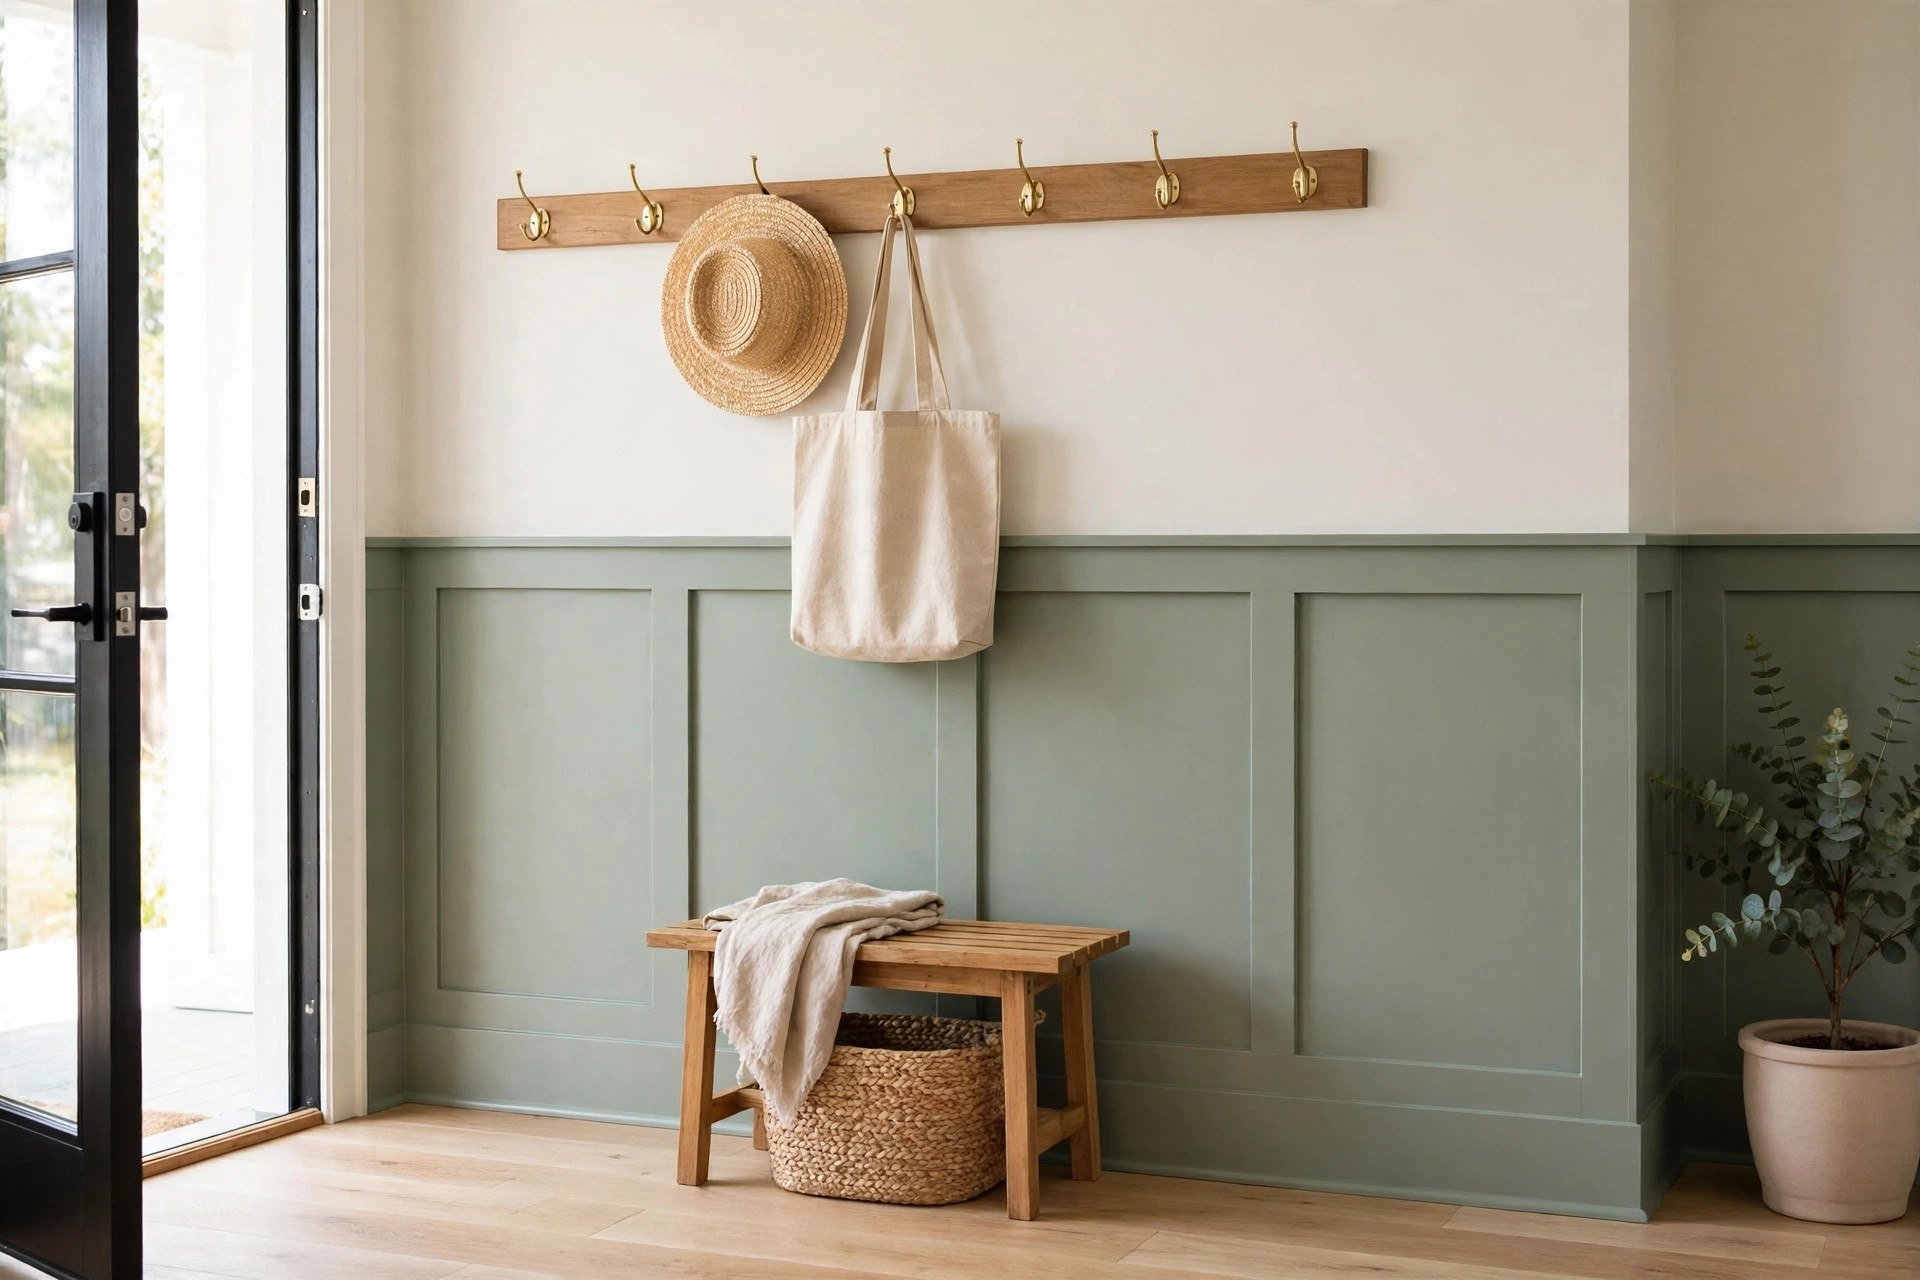
2. Half-Height Entryway Wainscot With Hooks
Stop the wall at 42 to 48 inches, add the cap rail, and screw hooks straight into that solid rail for coats, hats, and bags. The hardest-working version per dollar: about $120 to $200 for a 10-foot entry. Sage, clay, and deep green all earn their keep here. Watch out: hooks must land in the rail or a stud, not a hollow batten face, or the first heavy coat bag wins.
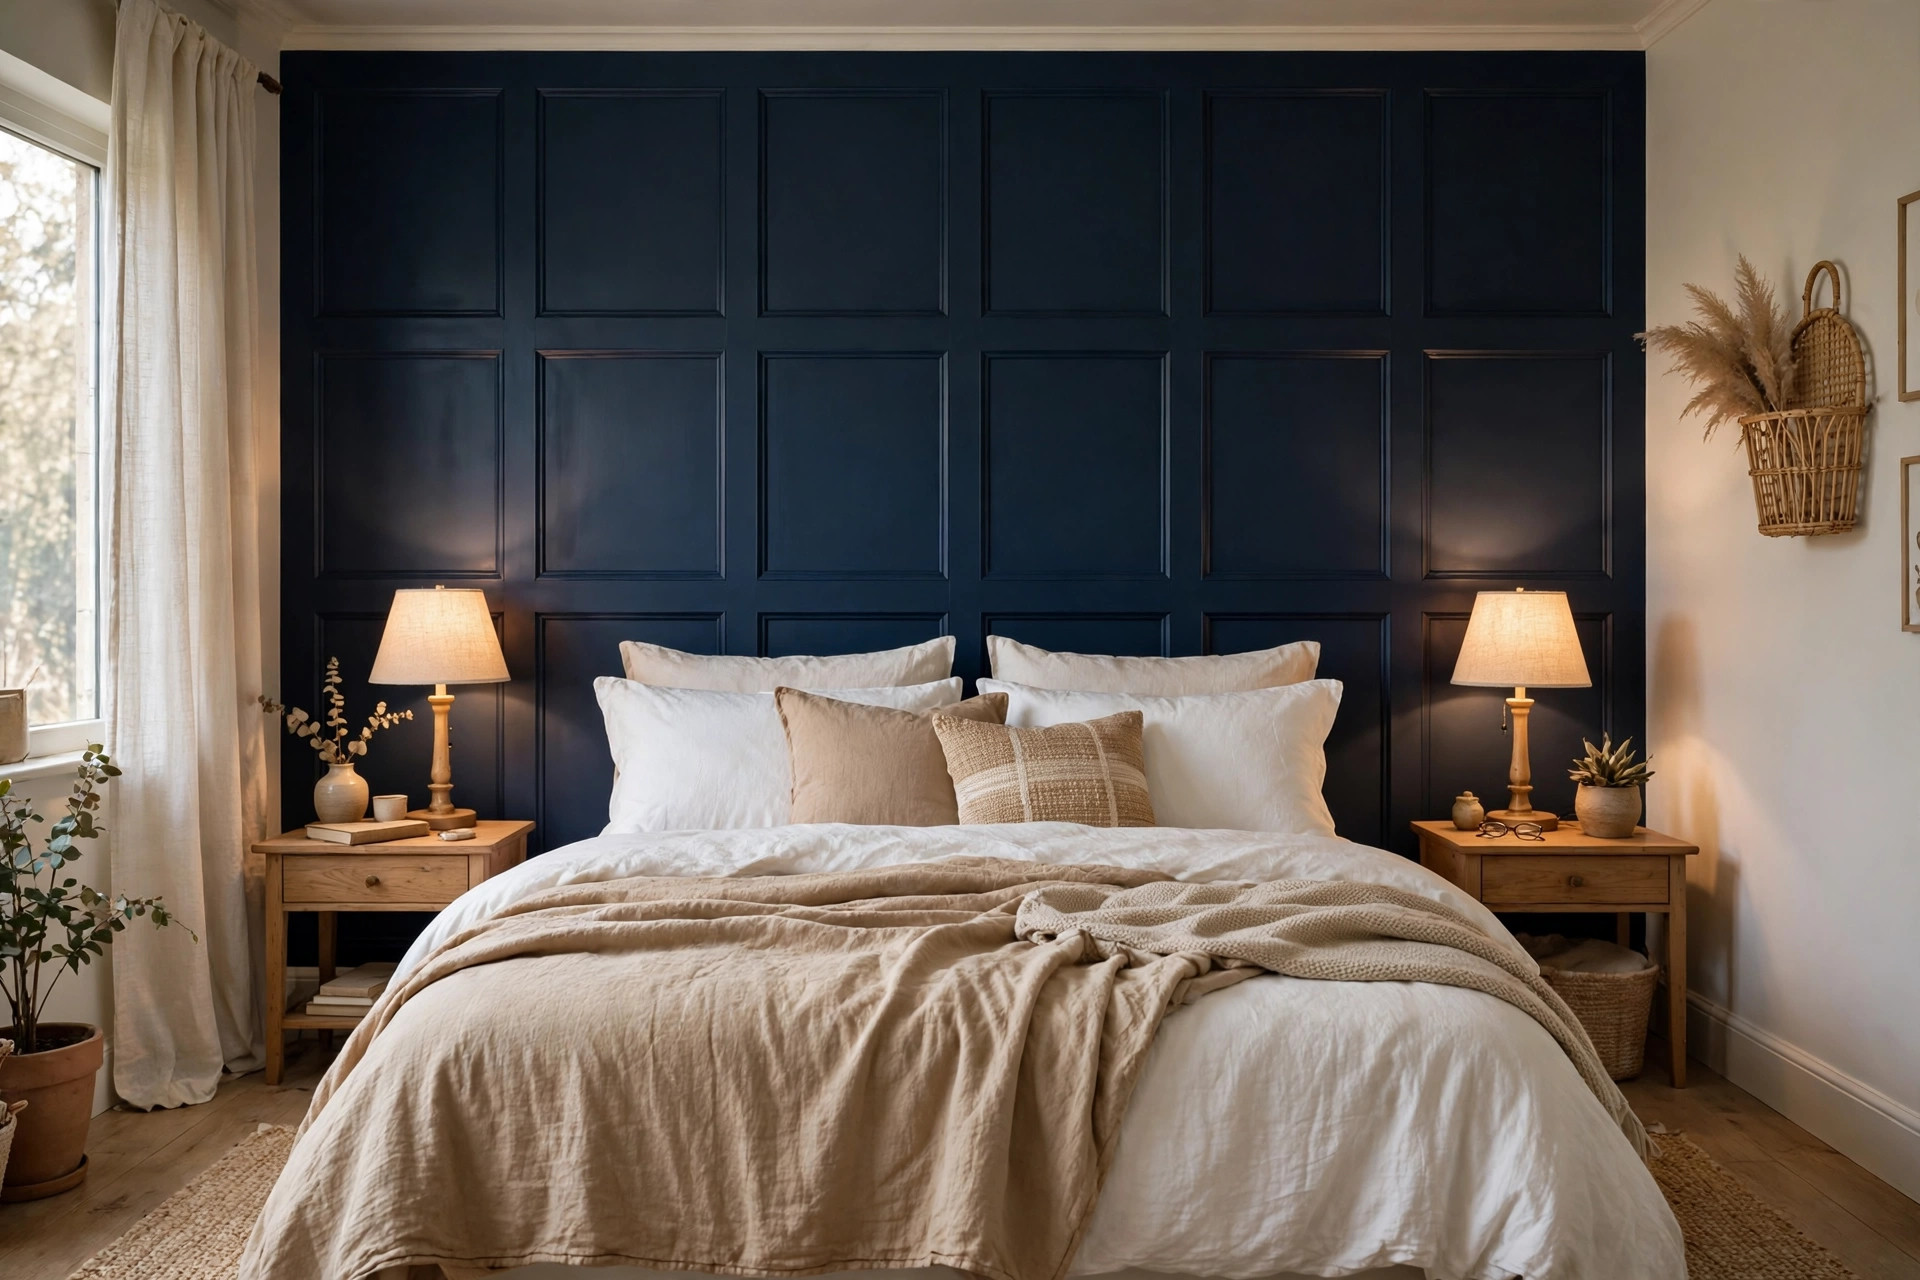
3. A Grid Wall Behind the Bed
Add horizontal rails to the verticals and you get the square grid high-end bedrooms use instead of a headboard. Panels of roughly 24 by 24 inches suit a queen bed wall; go deep navy, charcoal, or forest and let white bedding do the contrast. Budget $180 to $320. First lay out the wall around the bed using our guide to small bedroom layouts that make a room feel bigger, so the grid centers on the bed, not the wall's midpoint. Watch out: a grid doubles your cuts and caulk lines, so it is a full weekend, not a Saturday.
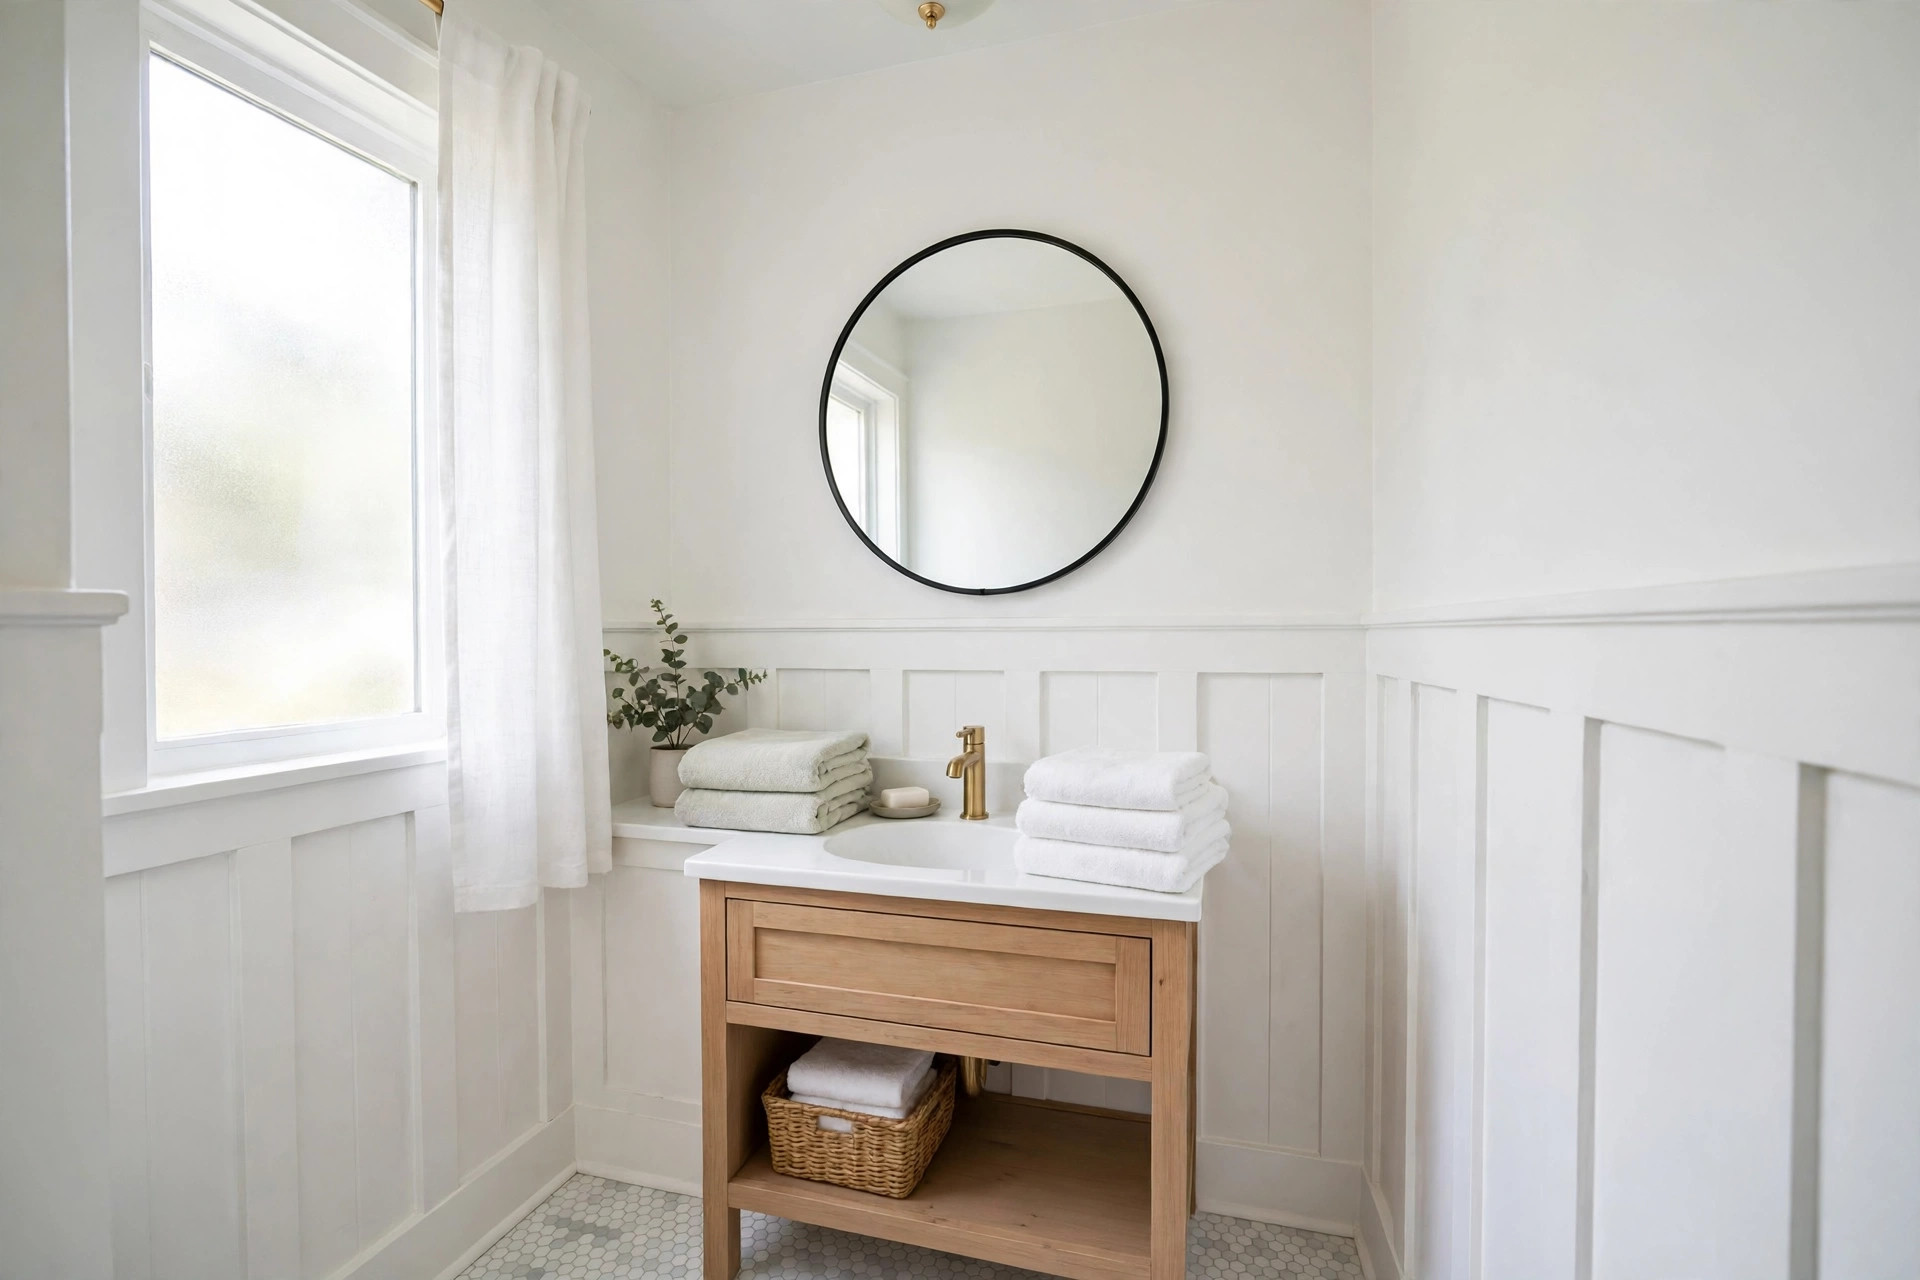
4. Bathroom Wainscot That Can Handle Steam
In a bathroom, swap MDF for PVC boards or solid pine, stop at 48 inches, and finish with semi-gloss paint. The wraparound version makes a small bath feel deliberately designed; this bathroom board and batten tutorial shows the full method. Around $150 in materials, closer to $90 if paint is already in the garage. Watch out: seal the bottom rail's caulk line perfectly. That seam is where splashes sit.
5. A Narrow Hallway That Finally Earns Its Keep
Hallways are dark, flat, and ignored, which makes them the cheapest transformation in the house. Half-height battens at a tighter 12 inches on center add rhythm without crowding a 36-inch-wide passage. About $100 to $180 for a 12-foot run. Watch out: skip the protruding cap rail in a narrow hall. A flush top rail saves bruised hips.
6. The Staircase Wall, Following the Slope
Rake the top rail parallel to the handrail, about 36 inches above the tread nosings, and cut each batten's top at the stair angle. It looks advanced and is really just patient measuring, with a cardboard template for the angle. Cost: $150 to $280. Watch out: never use the first batten as the template for the rest. Old stairs are rarely perfectly even.
7. Two-Tone and Color-Drenched Versions
Paint the batten wall a rich color against soft white walls for instant architecture, or drench everything, wall, battens, and trim, in one color for the calm, cocooned version currently everywhere. Drenched walls hide imperfect caulking, making this the forgiving first project. Paint adds $40 to $70. Watch out: dark colors show dust and every filler bump, so sand like you mean it.
8. Wide-Spaced Modern Battens
Push spacing to the full 18 inches and step up to 1x4 battens for a leaner, modern rhythm that suits plain furniture and big art. Fewer boards, less money: $120 to $220, and the fastest install on this list. Watch out: at wide spacing, one crooked batten has nowhere to hide. Snap chalk lines and check every board.
9. Skinny Battens on a Serious Budget
Use 1x2 lattice strips or rip 1x3s in half and the material bill for a 10-foot wall can land under $75. The finer profile suits small rooms where full-size battens would shout. Watch out: thin strips warp easily. Store them flat, weighted, for 48 hours, and reject any piece that twists when you sight down its length.
10. A Panel Wall Built for Art
Treat each batten panel as a ready-made frame and hang one piece of art, centered, inside each one. A short hallway suddenly reads as a gallery. Keep frames one size and one finish; our favorite sources and sizes are in these easy DIY wall art ideas anyone can make. Watch out: hang art from the wall or rail, not from a batten alone.
11. Battens Behind Floating Shelves and a TV
Run the batten wall first, then mount shelves or the TV through it. The vertical lines stop a media wall looking like boxes stuck on drywall, and shelf styling gains a built-in grid. Add $80 to $200 for shelves; the sturdy mounting method is in our DIY floating shelves build guide. Watch out: find the studs before the battens go up and photograph the marks. Afterwards, the battens hide all your evidence.
12. The Renter-Friendly, Low-Commitment Version
Renter versions trade nails for removable-rated construction adhesive, or use ultra-light PVC battens that come down with gentle heat. Keep your paint color code. Cost: $90 to $160. Watch out: adhesive strength varies wildly. Test one batten behind a door for a week first, and get the landlord's yes in writing.
Mistakes That Make Board and Batten Look Cheap
Uneven end panels. Starting from one corner at fixed spacing guarantees a skinny last panel. Always divide the wall into equal spaces, even if that means 13.5 inches instead of a round 14.
Skipping caulk. Unfilled seams cast thin shadows that read as gaps. Caulk is $6 a tube and twenty minutes. It is the whole ballgame.
MDF in a wet room. MDF swells at the first serious steam. Bathrooms get PVC or pine, no exceptions.
Flat paint. Satin or semi-gloss gives battens the crisp, light-catching edge that sells the illusion of millwork.
Frequently Asked Questions
How far apart should battens be spaced?
Between 12 and 18 inches on center covers almost every interior wall: 12 to 16 inches under 8-foot ceilings, up to 18 on tall or wide walls. Whatever number you start with, adjust it so every gap ends up exactly equal.
What size boards are best for board and batten?
Primed 1x3 MDF is the most common batten: cheap, smooth, and easy to cut. Choose 1x4 for a bolder, more modern wall, pine where dings are likely, and PVC in bathrooms. Rails are usually the same board laid horizontally, with a 1x2 or 1x3 cap on top.
How much does a DIY board and batten wall cost?
Most single accent walls land between $150 and $350 in materials, paint included. A skinny-batten wall can come in under $75, a small bathroom around $150, and large or grid layouts up to $650. Labor is the saving: a carpenter would charge several times the material bill.
Can I install board and batten over textured walls?
Light texture, yes, with adhesive doing most of the holding. Heavy texture telegraphs through and makes battens sit unevenly; then skin the wall first with thin MDF or plywood panels, and batten over the smooth surface.
Do I have to remove my baseboards?
Usually not. If your baseboard is at least as thick as your battens and fairly flat, run the battens down to it and caulk the joint. If it is thin or heavily curved, swapping it for a simple 1x4 or 1x6 board gives a much cleaner result.
Start with one wall, the entryway for the fastest win, and plan the spacing before you buy a single board. A tape measure, a spacer jig, and a tube of caulk are most of the secret. The rest is a weekend.


Comments
Post a Comment