
DIY Floating Shelves for Small Spaces: Build Guide + 7 Ideas
A floating shelf is a promise: a clean slab of wood, no brackets in sight, holding your books and ceramics like it grew out of the wall. When one fails — sagging, tilting, or in the worst case sliding off its rods with everything on it — it almost never fails because of the wood. It fails because someone skipped the bracket math. This guide walks through the full build the way the shelf actually carries weight: studs first, bracket second, pretty board last. Then come seven ways to use the shelves in small spaces, with the load each spot can honestly handle.
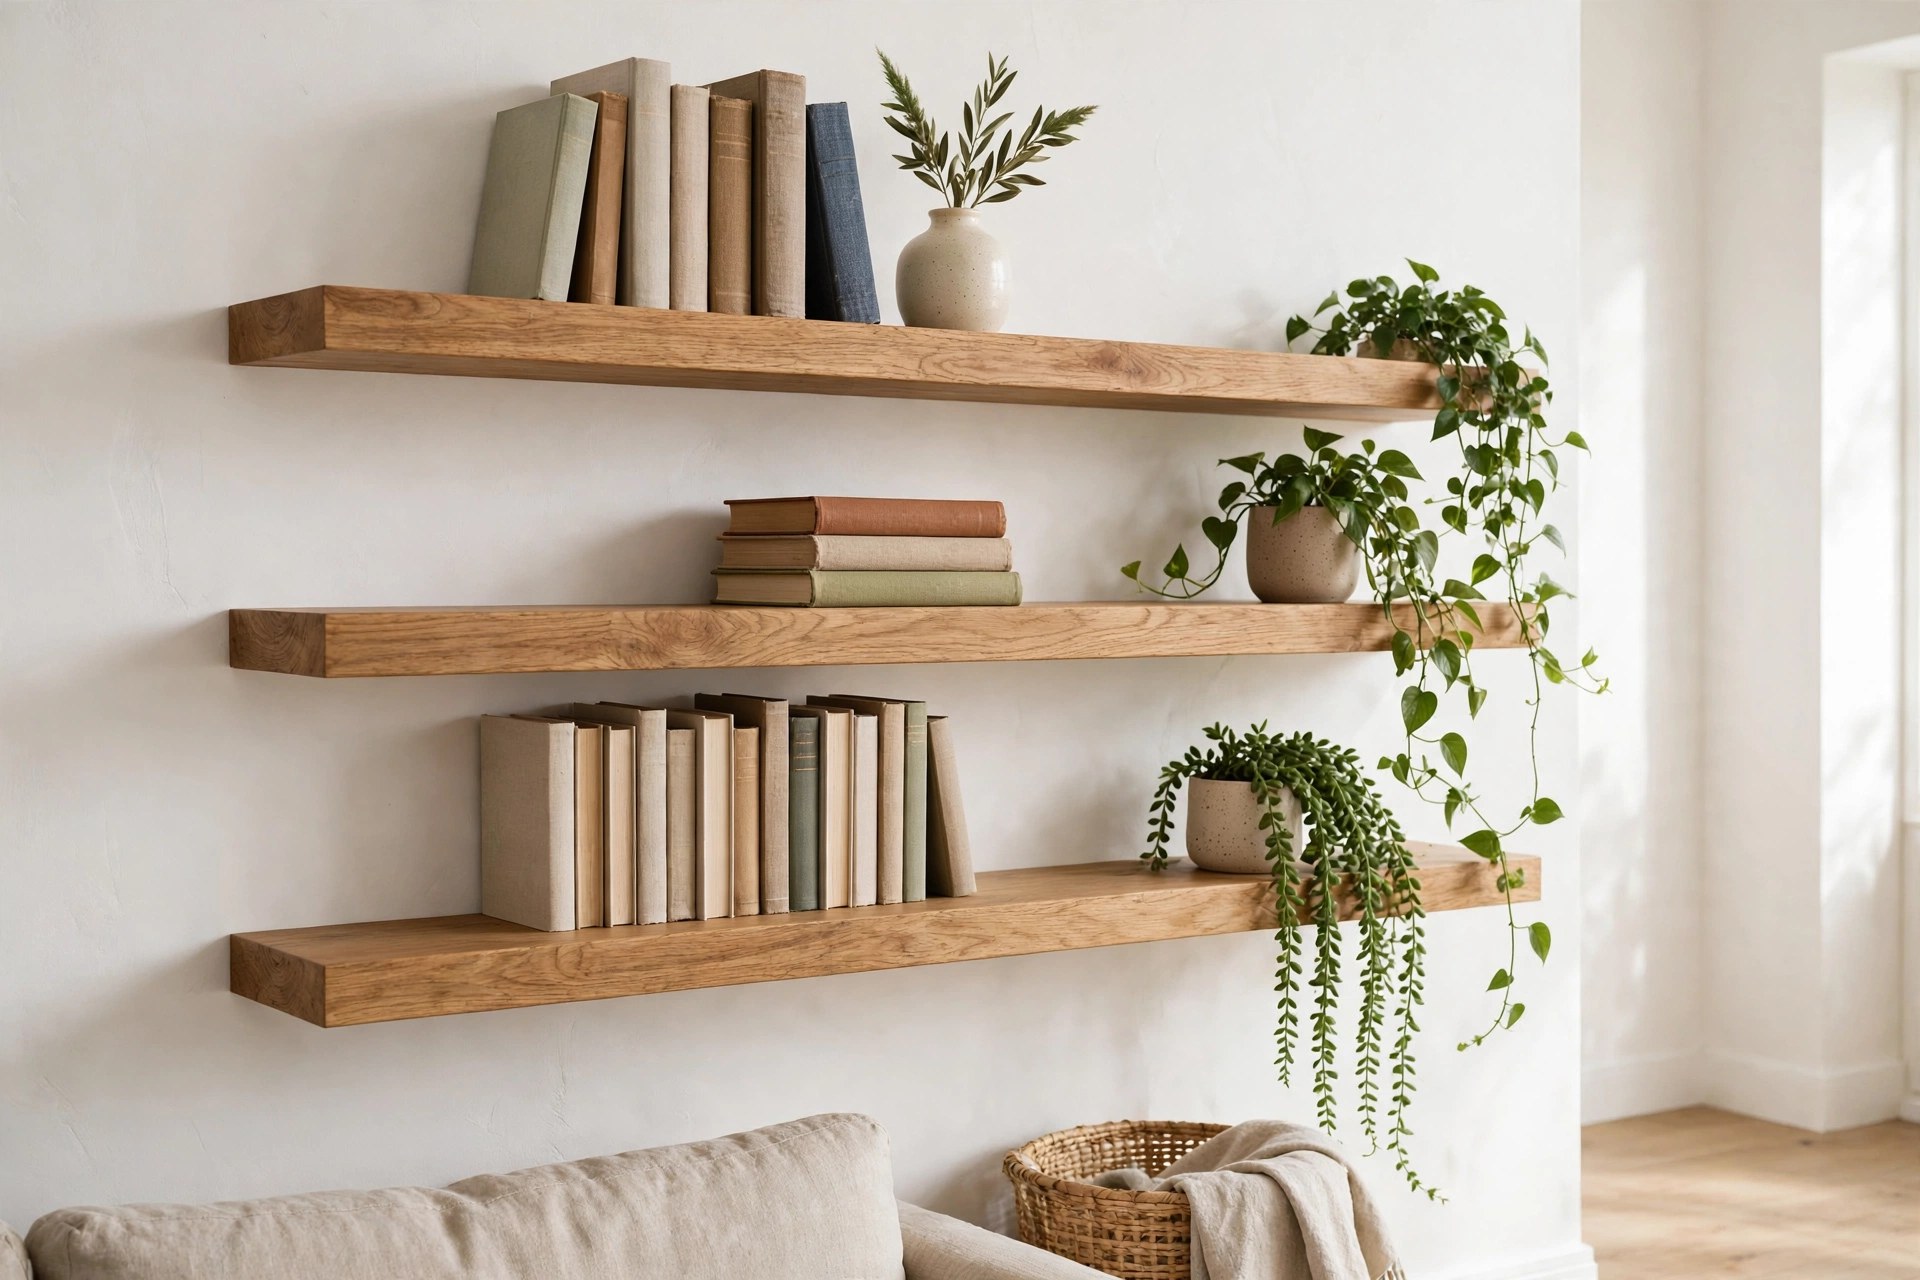
How a Floating Shelf Really Holds Weight
Inside every floating shelf is a steel bracket: a flat back plate screwed to the wall, with horizontal rods (usually 4 to 6 inches long, about 1/2 inch thick) that slide into holes drilled in the back of the shelf. The shelf is a sleeve; the bracket is the structure. That means capacity comes from three things only — how many studs the plate is screwed into, how far the rods reach into the shelf (aim for at least 70–80% of the shelf's depth), and how thick and stiff the shelf itself is.
The numbers worth memorizing: each stud a bracket is anchored into adds roughly 45–50 lb of safe capacity. A shelf spanning two studs (standard 16-inch stud spacing means any shelf 24 inches or longer can usually catch two) is a 90–100 lb shelf — plenty for books. A shelf on drywall anchors alone is a 10–25 lb shelf no matter what the board looks like, and should hold plants and picture frames, not a row of hardcovers. Toggle bolts are the strongest anchor fallback (roughly 30–50 lb per pair in 1/2-inch drywall) but treat them as a supplement to at least one stud, not a substitute.
Tools and Materials (One Shelf, About $35–$80)
- Hidden rod bracket kit, sized to your shelf length — $12–$25. Buy the bracket first; its rod spacing decides where your holes go.
- Shelf board: a solid pine or oak board 1.5–2 inches thick, or materials for a hollow box (below). Pine 2 x 10 at 36 inches runs about $20–$35; oak roughly double.
- Stud finder ($15–$25), a 24-inch level, drill/driver, and a drill press or drill guide if you have one — rod holes must be straight.
- Screws: 3-inch #10 construction screws or lag screws for the bracket plate, 2 per stud.
- Sandpaper (120 then 220 grit), wood finish (oil, stain, or paint), painter's tape, pencil.
For reference, a comparable ready-made floating shelf retails at $60–$150, and you will not know what its bracket is rated for. Building your own costs less and lets you pick the bracket by its rating, not by its product photo.
The Build, Step by Step
Step 1: Find and mark the studs
Run the stud finder across your planned shelf line and mark both edges of every stud with painter's tape, then confirm one by driving a thin nail or screw in an inconspicuous spot — finders lie, especially on plaster. Choose a shelf length that crosses two studs wherever possible. Mark the shelf's height line with the level and tape; for shelves above a counter or desk, leave 15–18 inches of clearance below the shelf for the tallest thing that will sit under it.
Step 2: Mount the bracket plate — with a ledger trick
Screw a straight scrap board (a "ledger") temporarily along your level line, just under where the bracket plate will sit. Resting the plate on the ledger while you drive the first screws keeps it dead level and frees a hand. Drill pilot holes into the studs (1/8 inch for #10 screws in pine studs), drive two 3-inch screws per stud, and check the rods with the level: rods that tilt down even slightly will make the shelf face droop; rods that tilt up a hair (about 1–2 degrees) actually settle level under load. Remove the ledger and patch its two screw holes later — they will hide behind the shelf.
Step 3: Prepare the shelf — two honest methods
Solid board method (simplest): mark the rod positions on the back edge of your board by holding it against the mounted bracket, then drill holes the diameter of the rods (usually 1/2 inch) to a depth about 1/4 inch deeper than the rod length. Straightness is everything: a hole that wanders makes the shelf bind halfway on. Use a drill guide, or clamp a scrap block with a pre-drilled straight hole to the board as a jig. Drill a small set-screw hole up through the bottom of the board at one rod position — a short screw there locks the shelf so it cannot slide off.
Hollow box method (lighter, thicker look): build a shallow box — a frame of 1 x 2 or 2 x 2 lumber with 1/4-inch plywood skins top and bottom — that slides over a wooden cleat or the same rod bracket. The box can be 2.5–3 inches thick while weighing a third of a solid slab, which is how designers get those chunky shelves that still hang safely. Glue and brad-nail the skins, fill the seams, and finish the box as one piece.
Step 4: Fit, lock, and load-test before you style
Slide the shelf onto the rods. It should push home flush to the wall with firm hand pressure; if it stops short, a hole is shallow or angled — pull it off and fix the hole rather than hammering, which bends rods. Drive the set screw from below. Then do the step everyone skips: load the shelf with books or weights equal to what it will carry, and leave it 24 hours. Check for droop with the level next day. A shelf that passes the overnight test will hold for years; a shelf that creeps even 1/8 inch is telling you a rod is bending or a screw is in drywall, not stud.
Sizing Cheat Sheet
- Depth: 8–10 inches suits most rooms. Six inches is enough for paperbacks and spices; 12 inches holds dinner plates and large art books but multiplies the leverage on the bracket — go deeper only with a heavy-duty bracket and two studs.
- Thickness: 1.5–2 inches reads as a real floating shelf. Thinner boards look like ledges and flex; the chunky 2.5–3 inch look needs the hollow box method.
- Spacing between stacked shelves: 12–14 inches for books and kitchen jars, 15–18 inches if tall vases or a coffee maker sit on the lower surface.
- Height: the top shelf should be reachable without a stool — center it no higher than about 72 inches for everyday items.
7 Floating Shelf Ideas for Small Spaces
1. The entryway catch-all
One 24–30 inch shelf at about 54 inches high, near the door: keys and mail in a small bowl, a framed print leaning behind, a hook rail underneath for bags. Load is light (under 10 lb), so this is the one spot where a single stud plus a toggle bolt is acceptable. It replaces a console table in entryways too narrow for furniture.
2. Above the toilet in a small bathroom
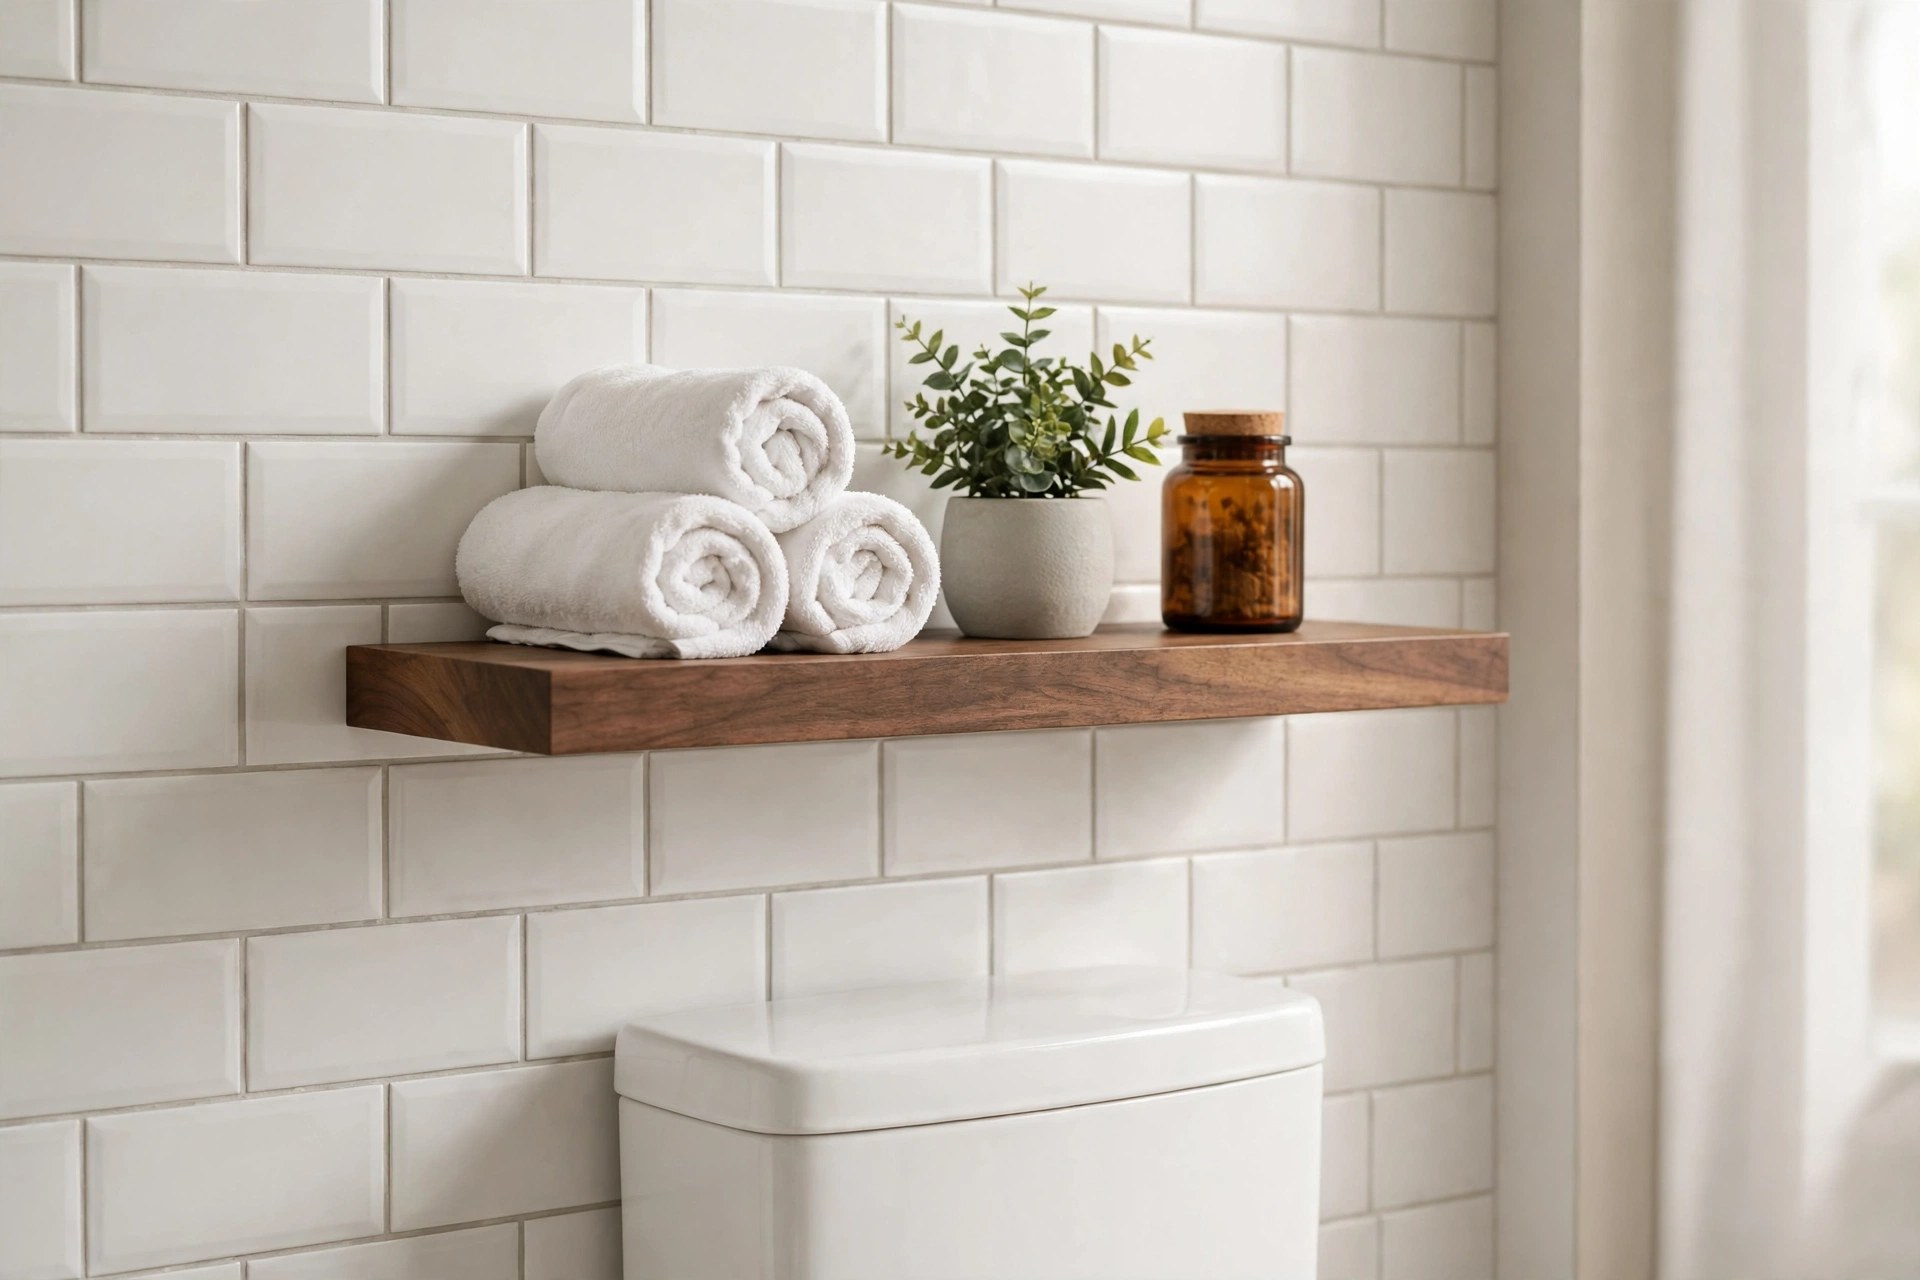
The wall above the toilet tank fits a 24-inch shelf (check your tank-to-wall depth first — most shelves at 6–8 inches deep clear it fine) holding rolled towels, a plant, and a lidded jar. Bathroom loads are light, but humidity is not: seal all six sides of the board, or use the hollow box in PVC-friendly paint. Full styling ideas live in our over-toilet storage ideas.
3. Kitchen jar shelves instead of one more cabinet
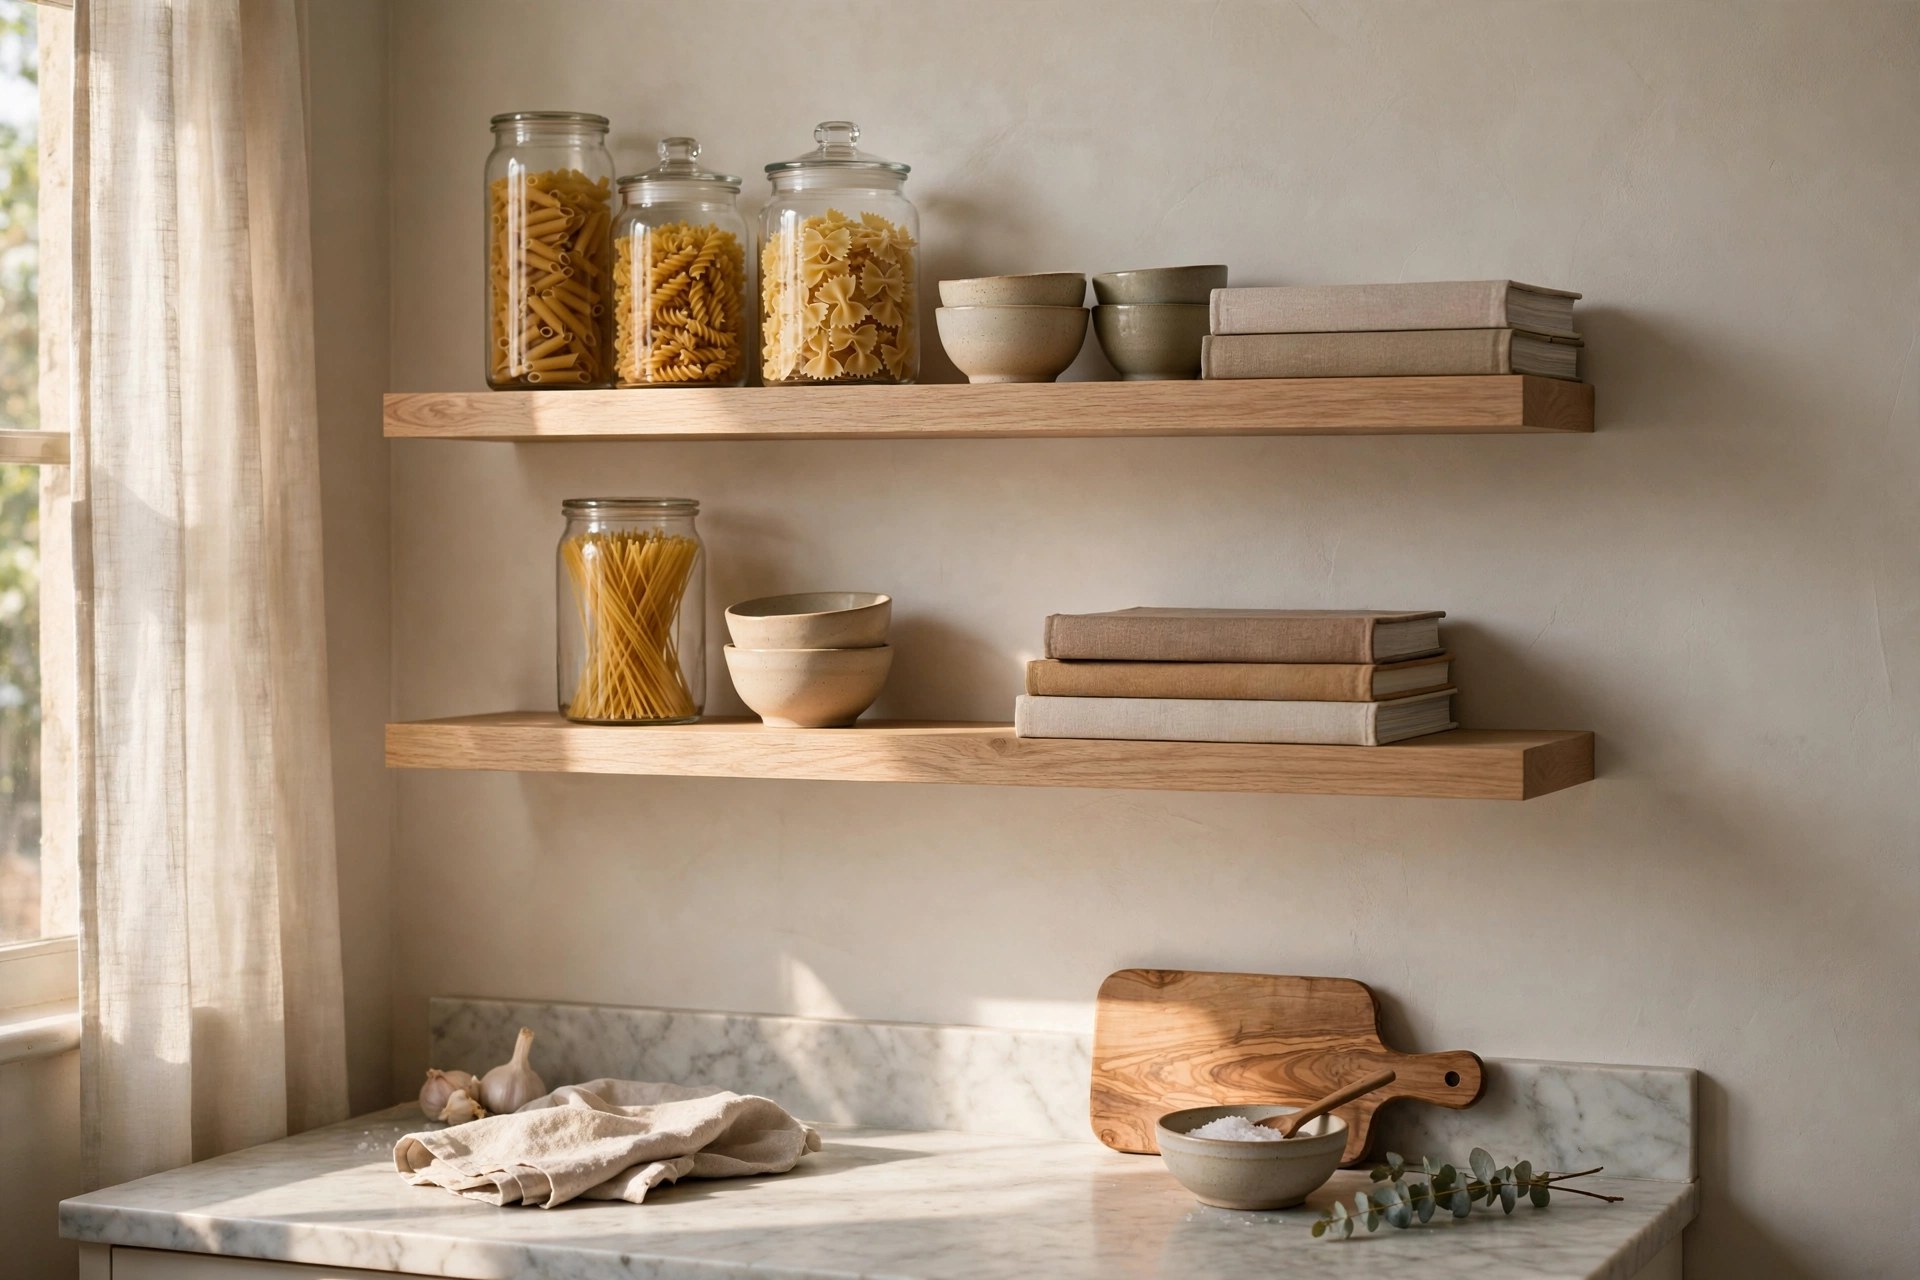
Two 30–36 inch shelves over the counter hold the jars and bowls you use daily, and free a whole cabinet. This is a real load — a shelf of full glass jars can reach 30–40 lb — so two studs and the load test are non-negotiable. Keep jars under 10 inches tall on the lower shelf so the 15–18 inch counter-to-shelf gap still fits a kettle. More on making open kitchen shelves stay tidy in our small kitchen open shelving ideas.
4. The above-desk office shelf
One shelf 12–14 inches above desk height (bottom edge around 48–54 inches from the floor) holds reference books, a printer's paper tray, and the boxes that otherwise colonize the desk. Keep heavy books directly over the bracket rods' span, not cantilevered at the ends.
5. A closet nook converted to a mini library
Inside a shallow closet or the dead space beside a chimney breast, three short shelves (18–24 inches) turn an awkward slot into a book nook. Short spans are forgiving — even one stud per shelf works at this length — and closet walls are usually stud-rich.
6. The reading-corner book ledge
A picture ledge is a floating shelf with a lip: add a 1/2-inch strip along the front edge of a 4–5 inch deep shelf and books stand face-out without sliding. Beside a reading chair, one 30-inch ledge holds the current rotation of books and a small lamp. It pairs naturally with a full small bedroom reading corner.
7. A plant shelf in the light
One shelf under a window or across a bright corner, loaded with small pots, solves the small-space plant problem: plants get light, floors and sills stay clear. Water is the enemy of wood finishes — stand every pot on a cork or metal tray, and choose the hollow-box build here so a leak does not swell a solid board. Keep total load honest: five wet 6-inch pots can weigh 15–20 lb.

Three Ways Floating Shelves Fail (and the Fixes)
- The slow sag: rods too short for the shelf depth, or screws in drywall pretending to be in studs. Fix: rods reaching 70–80% of shelf depth, two studs, and the 24-hour load test to catch it early.
- The forward tip: heavy items parked at the front edge multiply leverage. Load heavy things against the wall; the front third of any floating shelf is for light objects only.
- The slide-off: no set screw, and a bumped shelf walks off its rods over months. One small screw from below, up into a rod hole, ends it permanently.
One safety note that outranks styling: never hang a loaded floating shelf where a failure lands on a sleeper — above a bed's headboard or a crib is picture-ledge territory with screwed-in frames, not floating shelves.
Floating Shelf Questions
How much weight can a DIY floating shelf hold?
With a rated hidden bracket anchored into two studs, plan on 90–100 lb total, spread close to the wall. One stud halves that. Drywall anchors alone: keep it under 25 lb and decorative.
What is the best wood for a first floating shelf?
Pine — cheap, light, cuts and drills cleanly, and forgiving of a beginner's mistakes. Move to oak or walnut when you want the wood itself to be the finish and the load is heavier; plywood is best reserved for the hollow-box build, where its stability helps.
Can I install floating shelves in a rental?
Cautiously. The bracket needs real screw holes in studs — typically two to four 1/8-inch holes per shelf, which patch invisibly with filler at move-out, but check your lease first. Where drilling is banned, a leaning shelf or rail system gives a similar look with no holes at all; if you want more no-drill options, start with our easy DIY floating shelf ideas for small rooms.


Comments
Post a Comment