
12 Small Kitchen Open Shelving Ideas That Stay Tidy
Open shelves get blamed for looking messy, but the shelves in the photos you save are not styled by magic. They follow rules: daily dishes within easy reach, two or three tidy groupings per shelf, and a third of every shelf left deliberately empty. The small kitchen open shelving ideas below turn those rules into measurements you can copy, mounting height, shelf spacing, grouping counts and a simple dust rule that works in your favour.
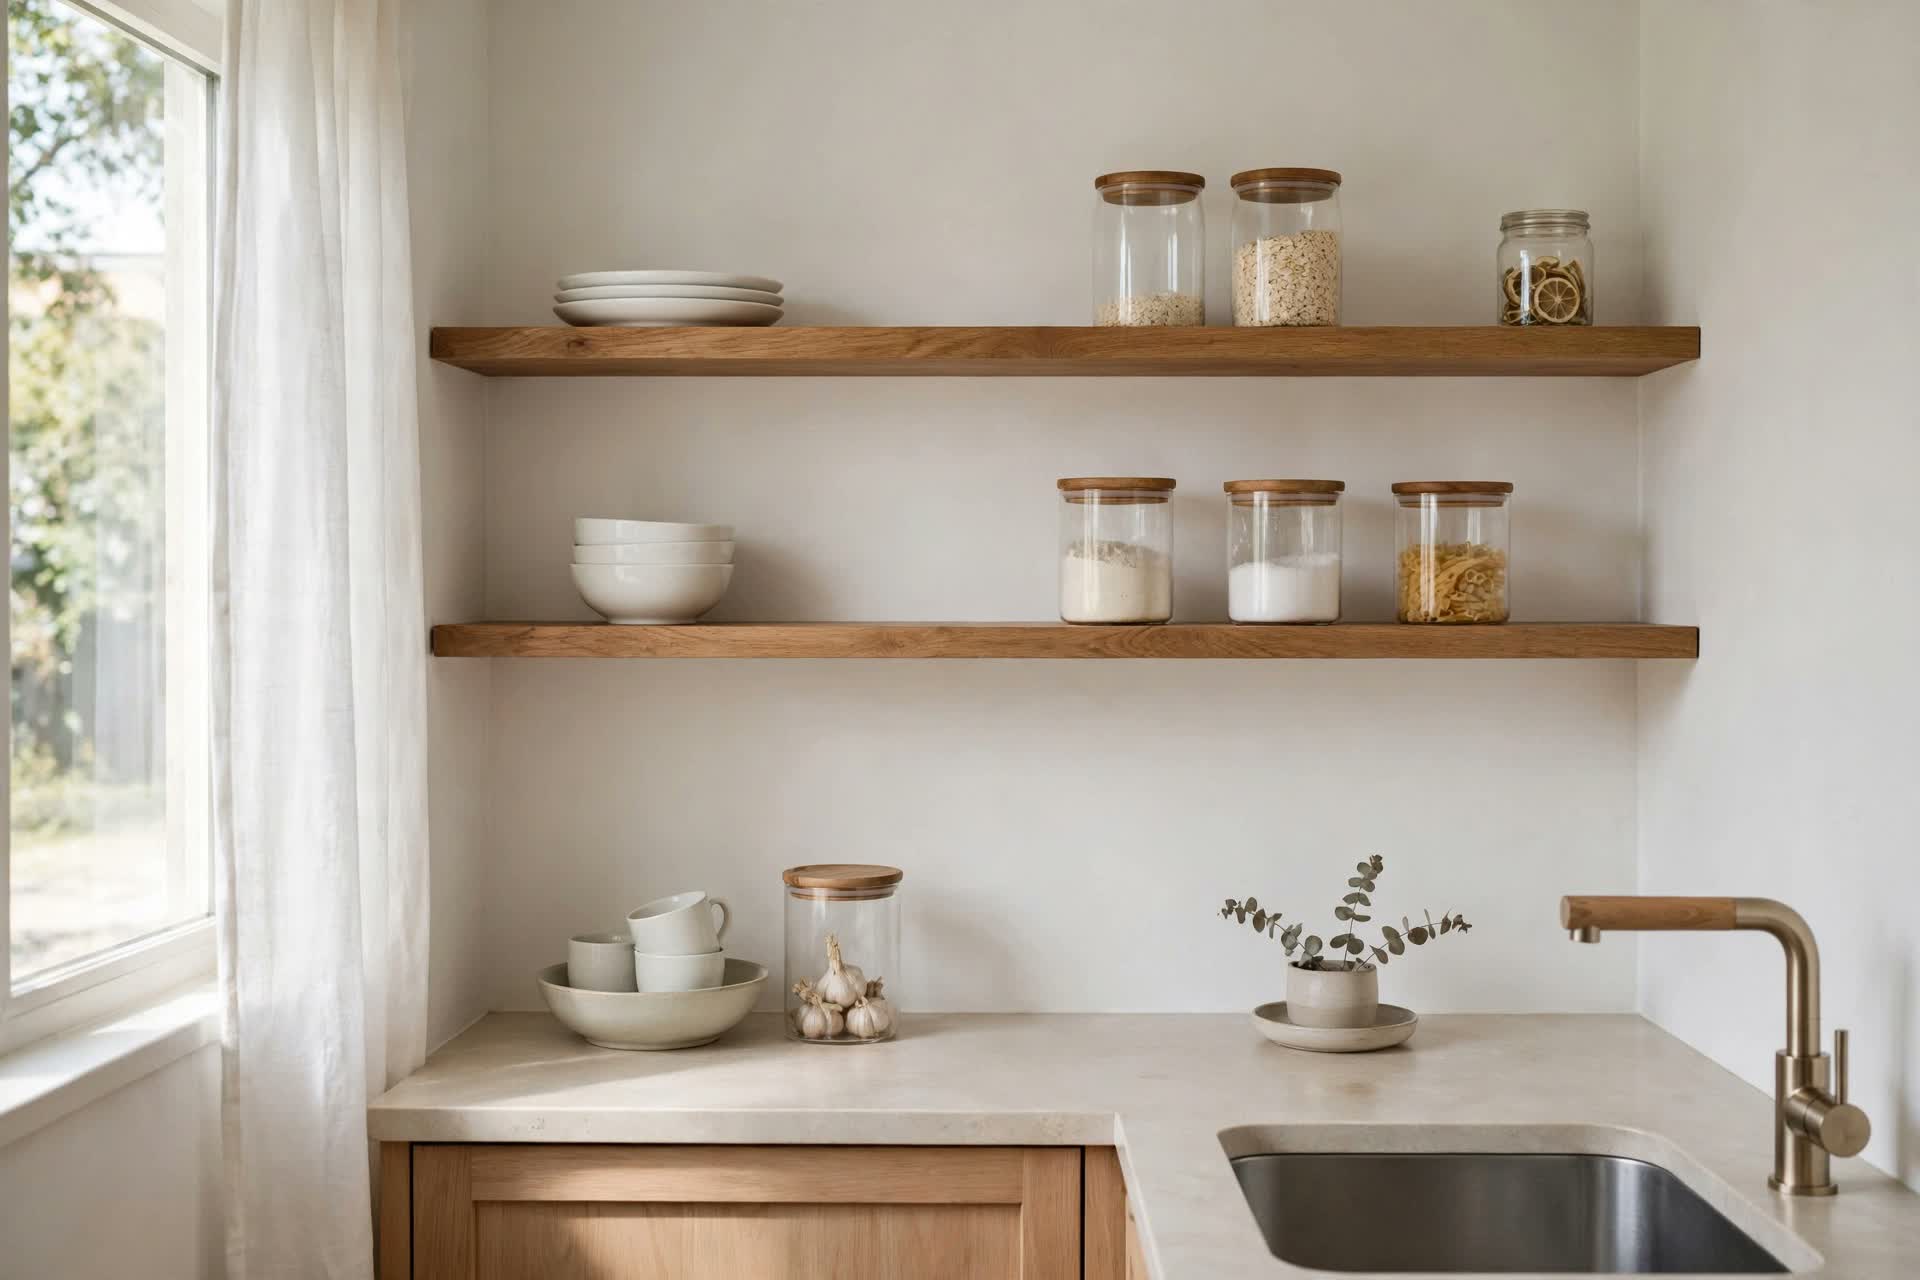
Plan First: The Heights and Counts Behind Every Idea Below
Open shelving fails at the planning stage more often than the styling stage. Three numbers decide whether your shelves feel generous or chaotic, so settle them before you drill anything.
- Mounting height: the lowest shelf sits 18 to 20 inches above the countertop. That clears a kettle, a coffee maker and a tall faucet swing, while keeping everyday dishes reachable without a step. Higher than 20 inches and the bottom shelf becomes storage, not workspace support.
- Groupings: two to three groupings per shelf, maximum. A grouping is one stack, one row or one tray. The moment a shelf holds five separate clusters, the eye reads clutter no matter how clean everything is.
- Negative space: leave roughly a third of every shelf empty. Empty space is not wasted storage; it is what makes the items you keep look chosen. In the smallest kitchens this rule, not shelf count, is the difference between airy and overloaded.
For the calm-look rules behind several ideas here, Velvet Abode's guide to open kitchen shelving without the clutter walks through grouping and restraint in a real working kitchen. For the wider small-kitchen layout these shelves sit inside, Decoria Living's small kitchen ideas cover the surrounding storage decisions.
12 Small Kitchen Open Shelving Ideas That Stay Tidy
1. Mount the Lowest Shelf 18 to 20 Inches Above the Counter
Height is destiny for open shelves. At 18 to 20 inches above the counter, the lowest shelf clears standard countertop appliances (most coffee makers are 14 to 17 inches tall) and still puts cereal bowls at a comfortable grab height for most adults. Go lower and the shelf steals prep space and collects splashes; go higher and everything on it needs a stretch or a stool, so it slowly fills with things you never use. Measure from the countertop surface, not the backsplash top, and check your tallest daily appliance against the gap before you drill.
2. Put the Items You Use Every Day on the Lowest Shelf
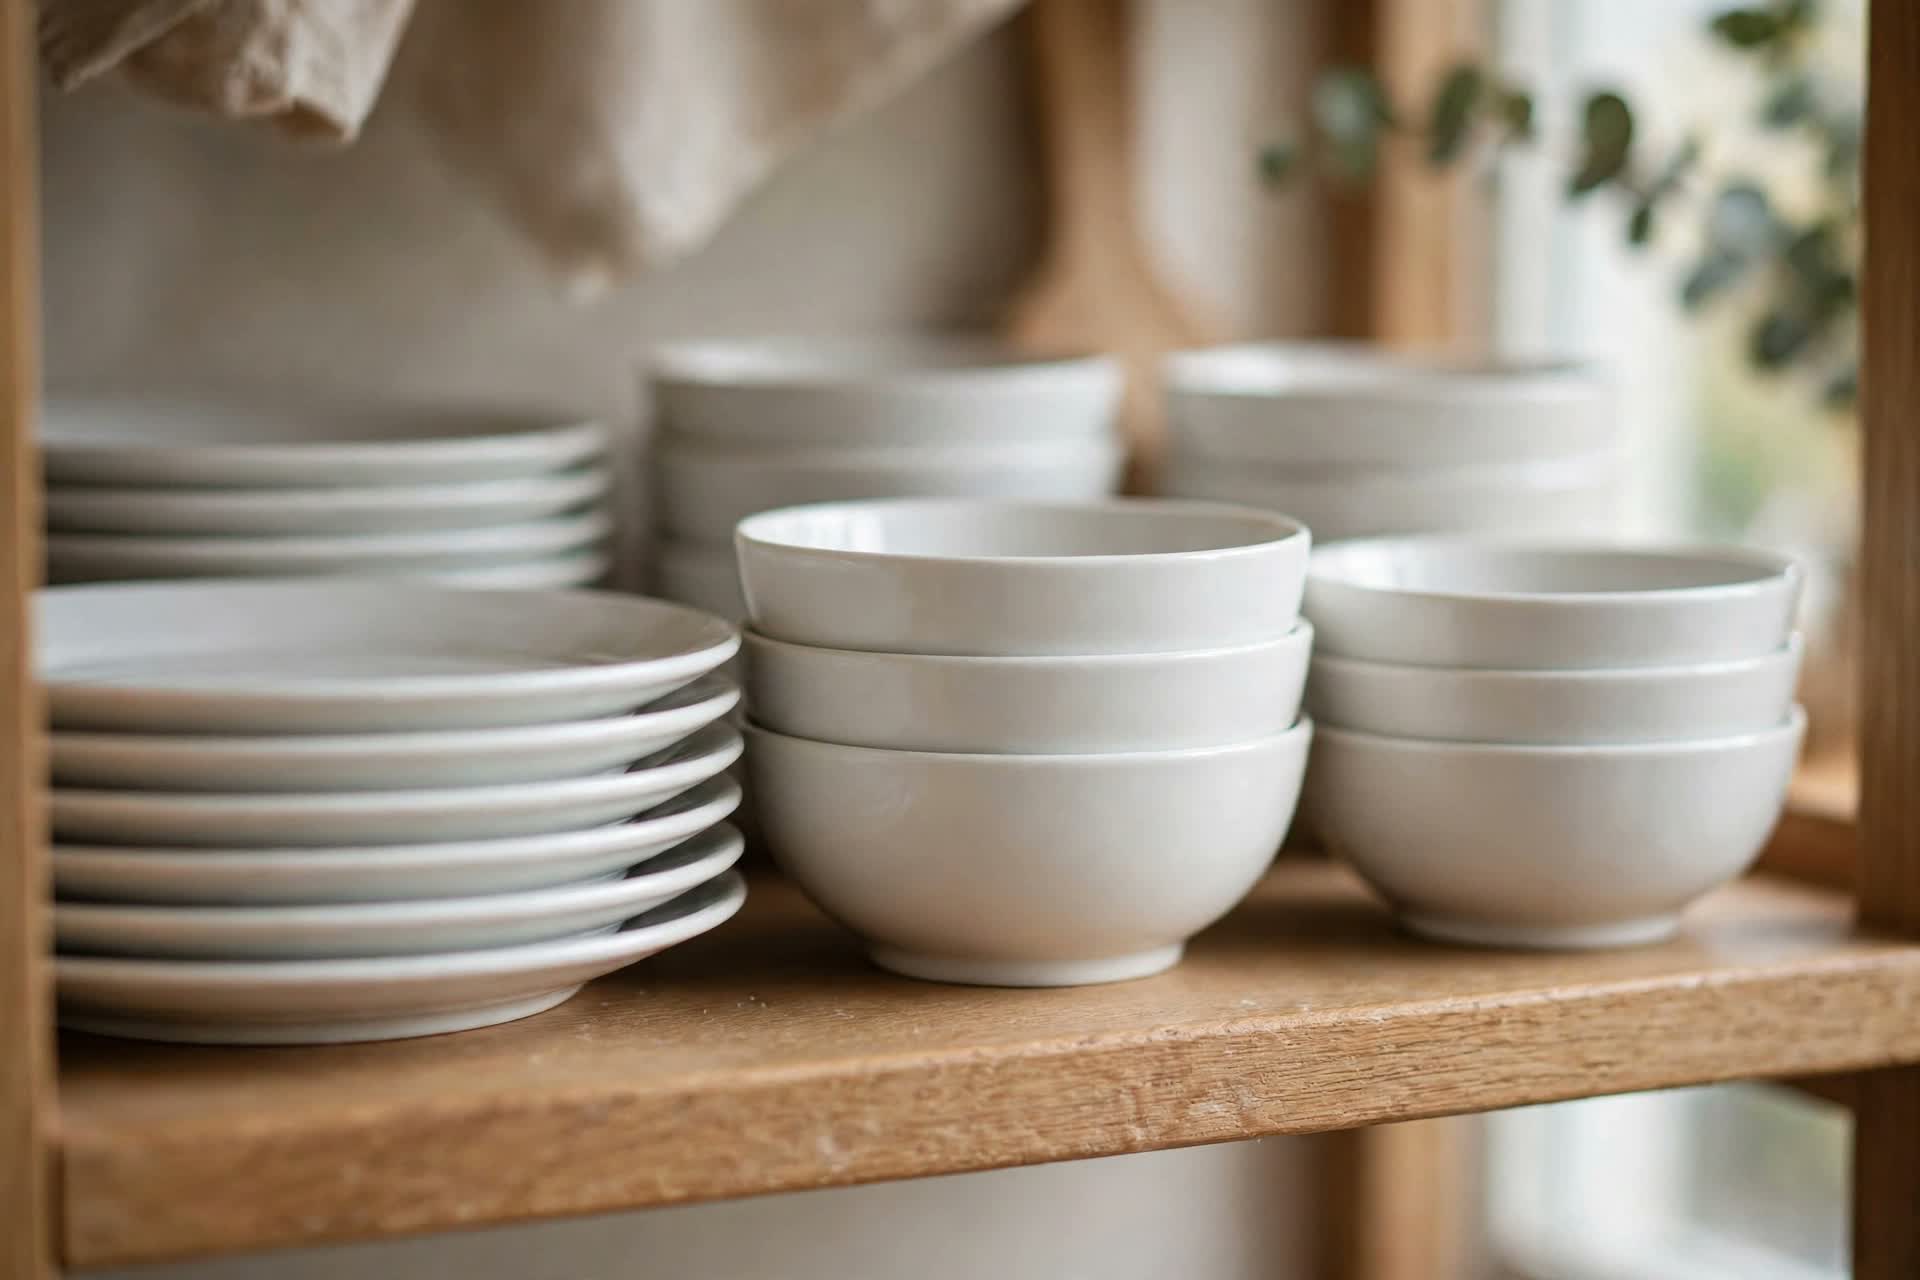
The lowest shelf is prime real estate, so it belongs to the daily rotation: everyday plates, cereal bowls, drinking glasses and the mugs that actually get used. Anything used weekly or less does not belong here. This placement also solves the dust question before it starts (idea 10): items washed daily never sit long enough to gather dust. Keep this shelf the fullest of the three, but still inside the grouping rule: plates as one stack, bowls as one stack, glasses as one row.
3. Cap Every Shelf at Two or Three Groupings
Count groupings, not items. A stack of eight plates is one grouping; a row of six glasses is one grouping; a tray of oils is one grouping. Two or three of those per shelf, separated by visible gaps of empty shelf, is the tidy formula. Six individual items spread evenly along a shelf, each in its own spot, is what reads as clutter in photographs of real kitchens. When a shelf starts to look busy, merge before you remove: glasses corralled onto a small tray become one grouping, and the shelf breathes again without losing a single item.
4. Leave a Third of Every Shelf Deliberately Empty
Negative space is a storage material. A shelf filled edge to edge signals a cupboard that overflowed; a shelf with a clear empty stretch signals intention. In practice: push your groupings together slightly tighter than feels natural and let one run of 8 to 12 inches sit empty, ideally at one end where it frames the arrangement. If you are also fighting for cupboard space behind doors, our guide to small kitchen pantry organization covers the closed-storage half of the same system.
5. Decant Into Matching Containers and Let Them Calm the Shelf
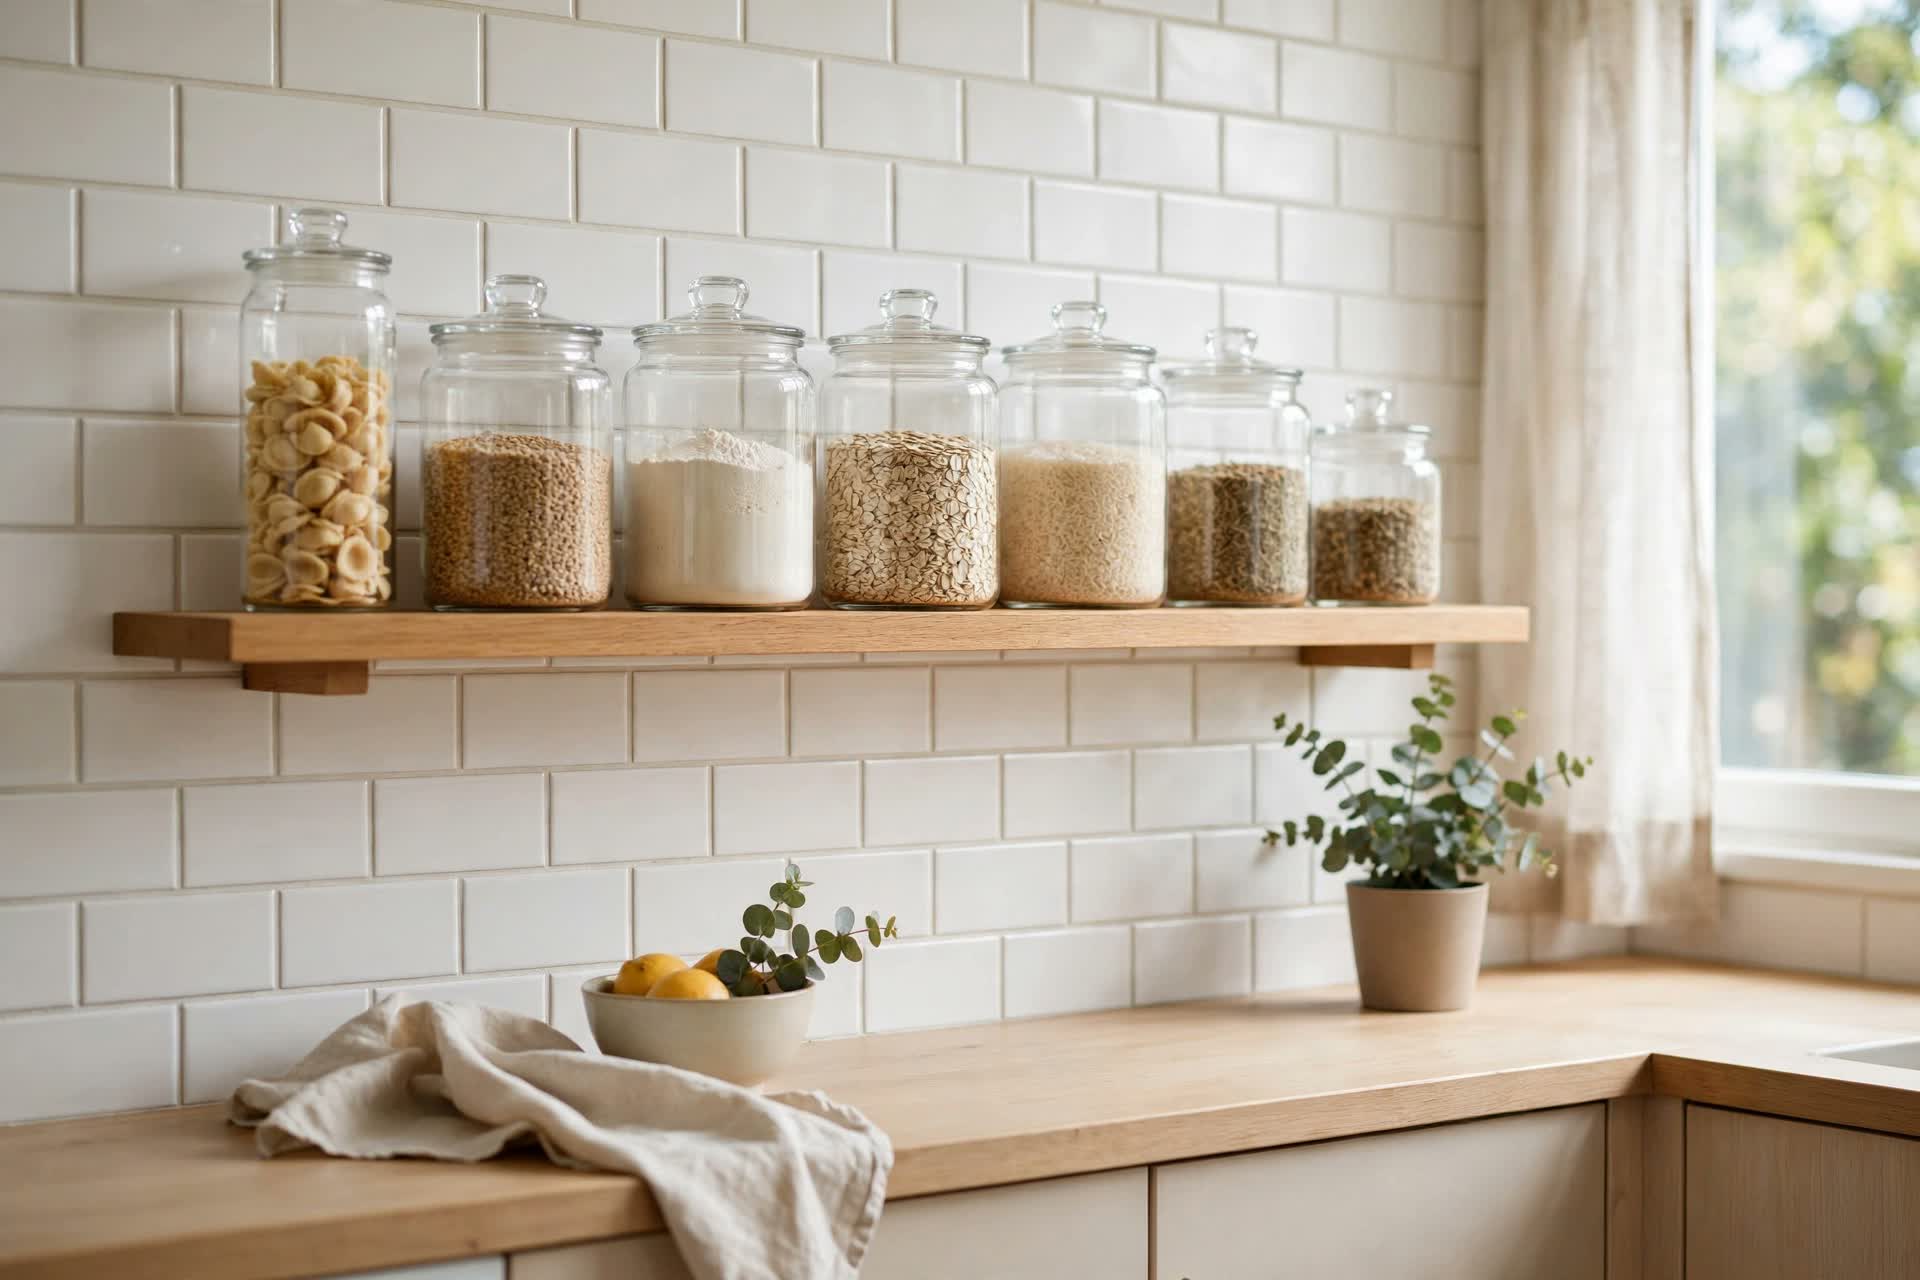
Half-empty bags, mismatched boxes and five different label designs are visual noise you can switch off in one step. Decant flour, rice, pasta, oats and coffee into one family of containers: same shape, same lid, clear glass or matte ceramic. A set of six matching jars runs $20 to $35 and instantly makes a shelf look composed, because the eye reads one repeated shape instead of twelve competing packages. Keep containers to the items you refill monthly; decanting the spice you buy once a year is effort without payoff.
6. Stack Some Things, Stand Others: Plates Flat, Boards Upright
All-stacked shelves look heavy; all-lined-up shelves look like a shop. Mix the two. Flat stacks work for plates, bowls and linens: short stacks of six to eight, never teetering towers of fifteen. Standing works for cutting boards, baking sheets, serving platters and cookbooks, filed upright between the wall and a heavy jar or held by a simple rack ($8 to $15). Standing items add height variation, which is what makes a shelf look styled rather than stored. Rule of thumb: daily items that nest get stacked; large flat pieces stand, doubling as a backdrop for smaller groupings.
7. Corral Loose Items on Trays So They Read as One
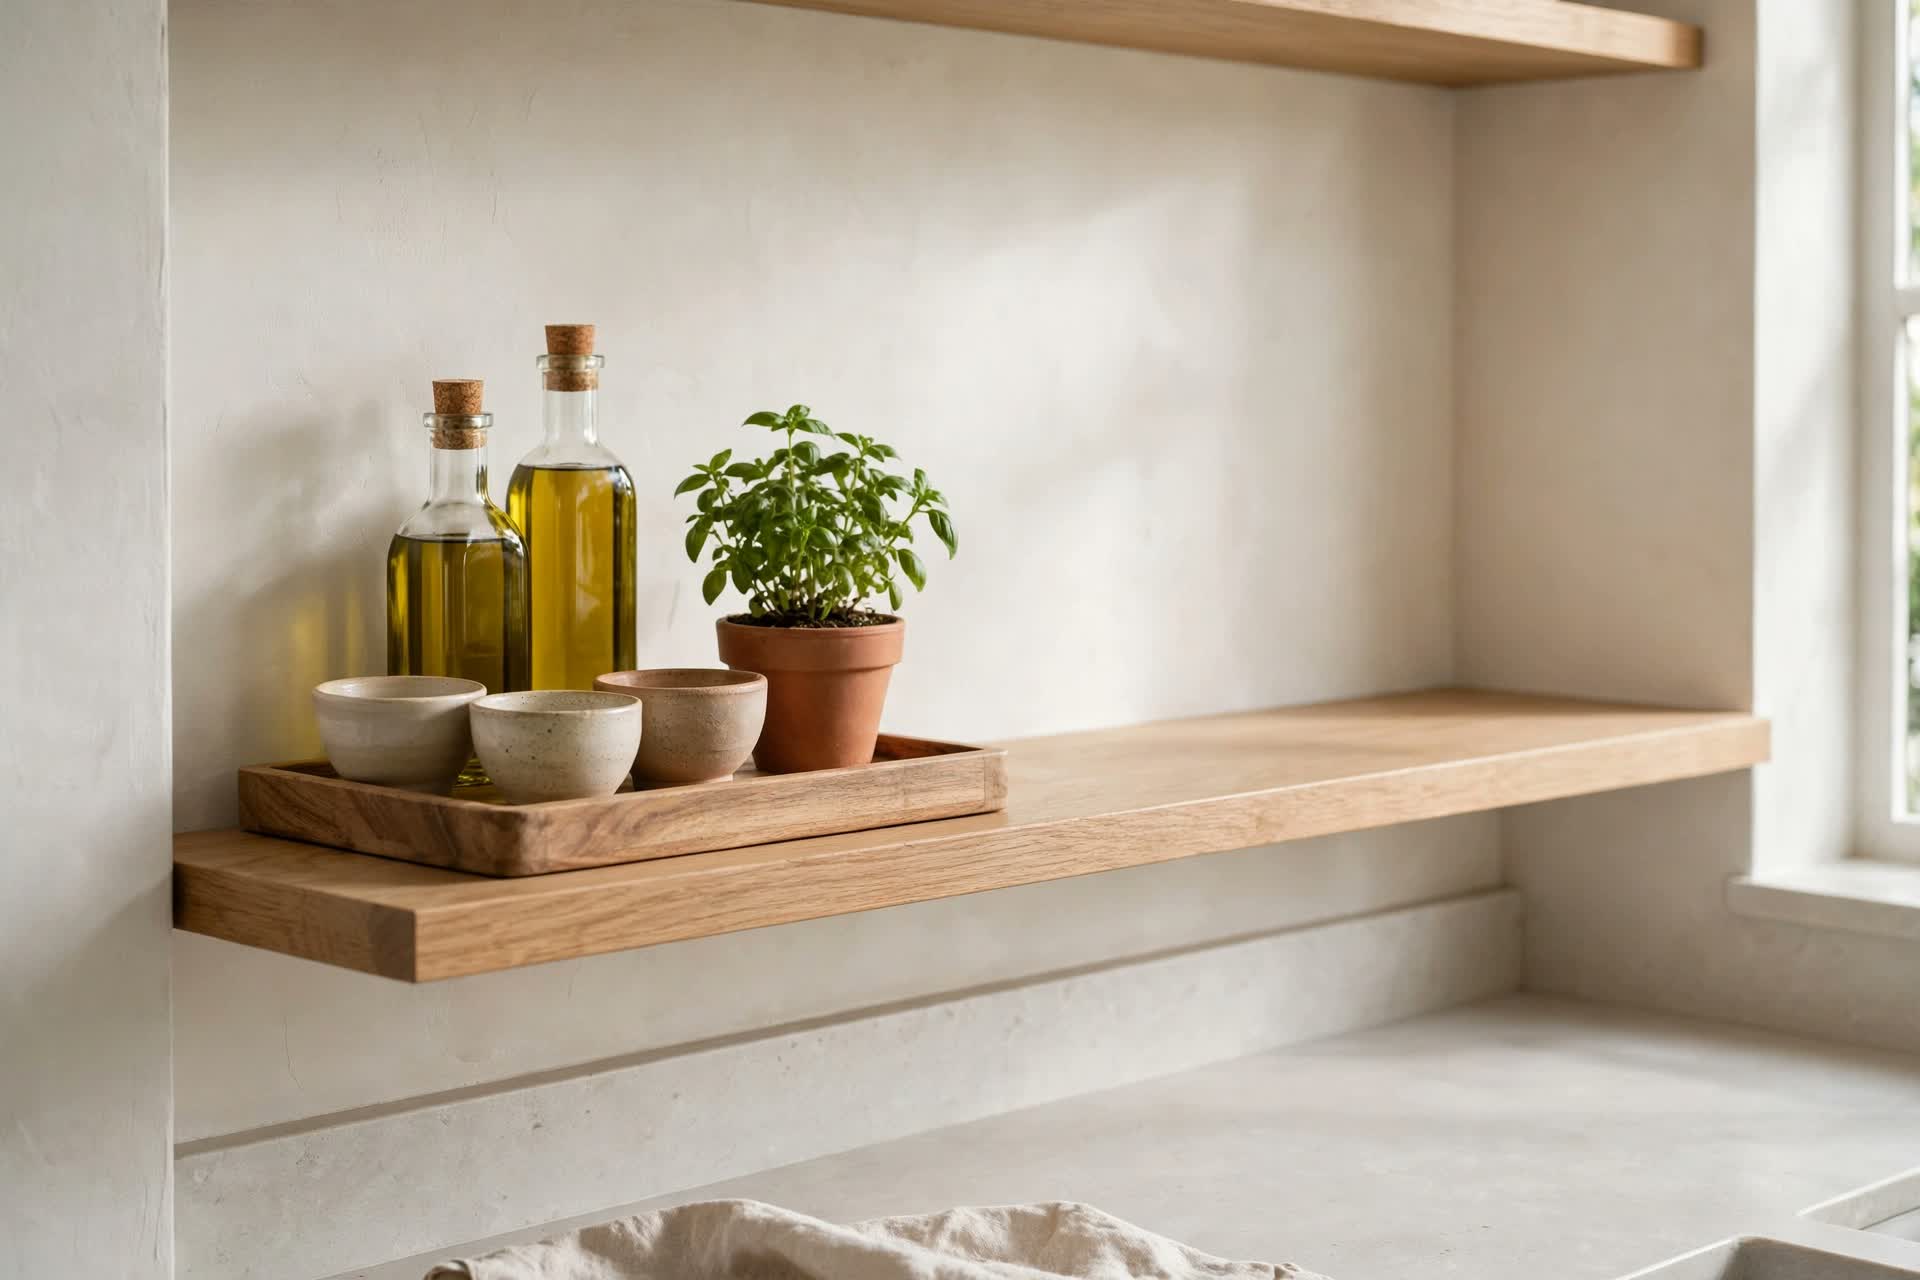
Oils, vinegars, salt, pepper and the honey jar are individually small and collectively chaotic. Put them on one tray, wooden, metal or woven, about 12 by 8 inches, and they become a single intentional grouping you can lift off the shelf to wipe underneath. Trays also protect the shelf itself: oil drips land on the tray, not the wood. Use one tray per shelf at most, placed beside the stove-side items it serves. The same trick works for a coffee station on the counter below the shelves: machine, cups above it, tray of supplies beside it, one vertical story. For more counter-level systems, see our small kitchen counter organization ideas.
8. Keep Heavy Items Low, Near the Brackets and Over Studs
Open shelves are only as strong as their fixings. Standard brackets screwed into studs (16 inches apart in most walls) can carry a working load; the same brackets in plain plasterboard anchors carry far less, and a shelf of stoneware is heavier than it looks: a stack of eight dinner plates alone is roughly 8 to 10 pounds. Keep the heavy groupings, cast iron, stoneware stacks, full jars, on the lowest shelf, positioned near brackets rather than mid-span, and install with at least every second bracket into a stud.
9. Send Light, Pretty and Rarely Used Items to the Top Shelf
The top shelf, usually 12 to 15 inches above the middle one, is display territory. It earns light things: the good serving jug, a row of small bowls, a plant in a light pot, the cake stand used monthly. Nothing up there should be heavy, breakable-and-daily, or needed when your hands are wet and hurried. Because it is seen more than used, this is the shelf where one beautiful object can sit almost alone with empty space around it, and that restraint at eye level is what visitors remember as the styled shelf.
10. Use the Dust Rule in Your Favour: Daily Use Means No Dust
The dust objection is real but selective. Dust settles on things that sit still. The plates and glasses you use and wash every day do not gather dust, because they are never still for more than a day. What gathers dust is the decorative shelf of rarely used items, which is why idea 9 keeps the top shelf light, high and easy to wipe, and why nothing dusty-prone (fabric baskets of linens, open flour sacks) belongs on open shelves at all. Practical routine: one pass of a dry cloth along the lowest shelf while you wipe the counter, and a monthly lift-the-trays wipe. That is the entire maintenance burden.
11. Add One Warm Accent per Shelf to Stop the Lab Look
All-white dishes in matching jars can tip from calm into clinical. One warm accent per shelf fixes it: a wooden cutting board standing at the back, a small terracotta pot with a herb, a woven basket holding linens, a brass rail hook with a linen towel. Keep it to one accent so it reads as a highlight, not a second collection. Wood tones also bridge the shelf and the counter if you have butcher block or a wooden worktop below.
12. Keep It With a Five-Minute Friday Reset
Shelves stay tidy through small corrections, not spring cleans. Once a week, five minutes: return the three things that migrated, re-stack the plate pile that leaned, count groupings per shelf and merge any shelf that crept past three, and wipe the lowest shelf. Apply one-in, one-out to shelf items the way you would a wardrobe: a new mug set means the chipped set leaves. Put the reset right after a habit you never skip, and the shelves will look in month six the way they looked in the installation photos.
Quick Picks: Match the Fix to Your Shelf Problem
Shelves look messy despite being clean? It is a grouping problem: apply ideas 3, 5 and 7, cap the groupings, match the containers, tray the loose items. Shelves feel cramped and dark? Idea 4: clear a third of one shelf completely and live with it for a week before refilling. Starting from nothing on a small budget? Two 36-inch shelves, brackets into studs, one set of matching jars and your existing daily dishes will get you eighty percent of the look for under $80. For a smaller stretch of open shelf, the coffee corner version is in our kitchen coffee station ideas.
Open Shelving Mistakes That Guarantee a Cluttered Look
Five mistakes recur in every messy-shelf photo: shelves mounted too high, so daily items migrate to the counter instead; five or six small groupings per shelf with no empty space anywhere; original packaging kept in all its competing colours; heavy stacks placed mid-span on anchors instead of studs, bowing the board within a year; and decorative rarely used items on the lowest shelf gathering dust while daily plates crowd the counter. Every one of them is a planning decision, which means every one is fixable in a weekend without buying new shelves. For more small-kitchen storage that works as a system, browse our Kitchen & Dining ideas archive.
Start with the lowest shelf this weekend: clear it completely, put back only what you used in the last three days, in no more than three groupings, and leave the end stretch empty.


Comments
Post a Comment