
12 Small Kitchen Drawer Organization Ideas That End the Jumble
You open the drawer for a spatula and get a tangled pile of tongs, three peelers, a broken whisk, and a measuring cup with no handle. That daily jumble is not a storage problem you solve by buying a bigger tray. The best small kitchen drawer organization ideas start with editing what you own, giving every drawer one clear job, and choosing inserts that fit your exact drawer — not the pretty photo online. Do that, and even two or three small drawers can feel calm, fast, and surprisingly spacious on a busy weeknight.
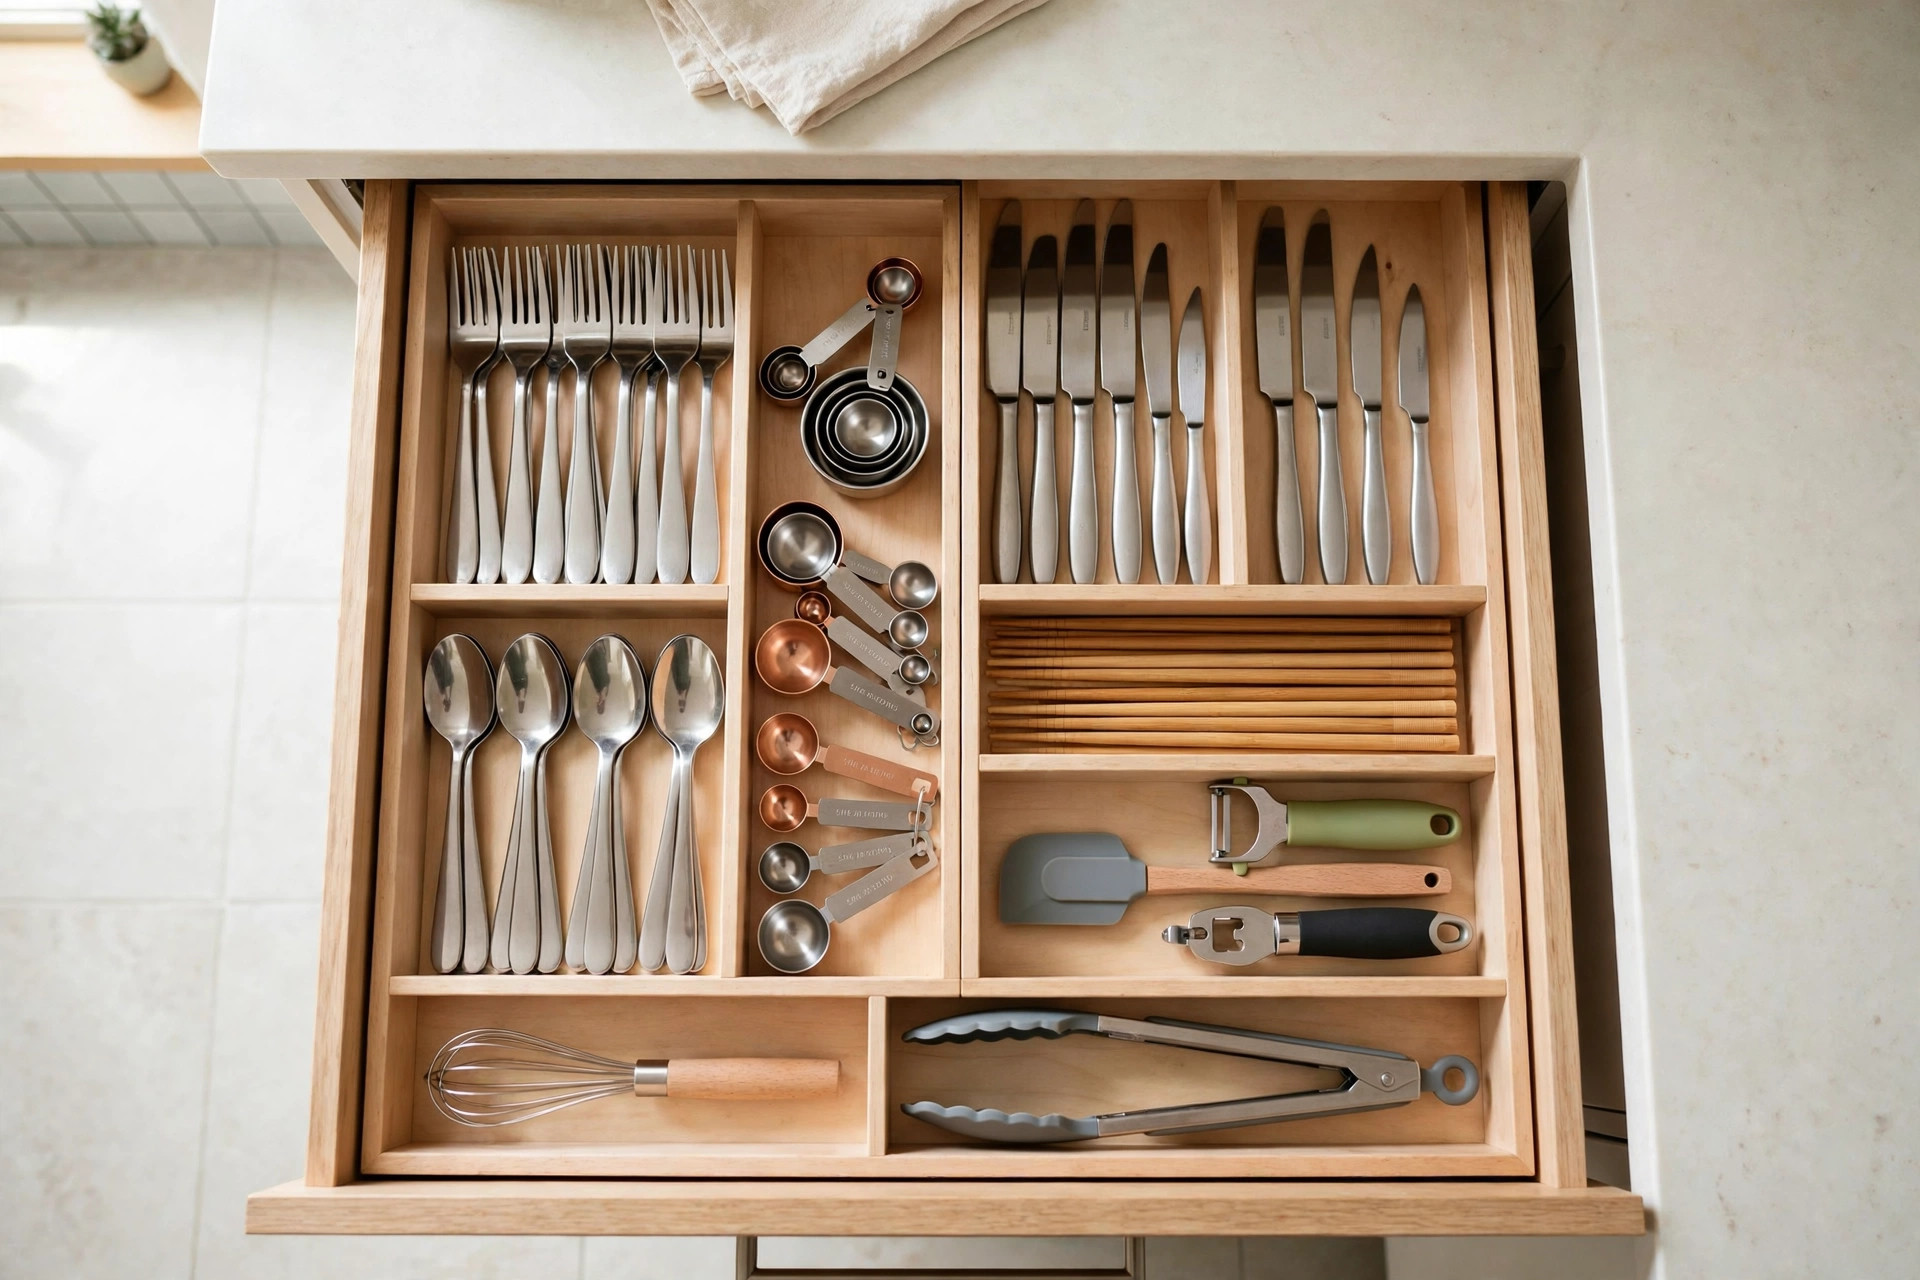
Plan First: Measure Your Drawers Before You Buy Anything
Empty one drawer completely onto the counter. Yes, all of it. Wipe the inside, then measure the interior — not the front panel — in three places: width, depth front to back, and height. Write the numbers on painter's tape stuck inside the drawer. Most organizing regrets happen because a tray was half an inch too wide, or a spice insert was too tall for the drawer to close. Shallow drawers around 3 to 4 inches deep suit flatware, spice jars lying flat, and slim tools. Medium drawers hold utensils and wraps. Deep drawers, roughly 10 to 12 inches, are the only sensible home for pots, mixing bowls, and tall boards.
Next, sort what came out into keep-here, keep-elsewhere, and let-go piles. Be honest about duplicates and single-use gadgets you have not touched in a year. If drawer space is your scarcest kitchen resource, every item inside has to earn it. This editing step pairs beautifully with our guide to small kitchen pantry organization ideas, because the same one-in, one-out thinking works for shelves, cupboards, and drawers alike. Only after this sort should you shop — and you will usually need far less than you expected.
12 Small Kitchen Drawer Organization Ideas That Actually Work
1. Apply the One-of-Each Rule and Donate the Duplicates
Keep one great version of each everyday tool: one peeler you love, one sturdy spatula, one pair of tongs that actually grips. Duplicates are the silent reason small drawers overflow — three wooden spoons become nine before you notice. Food52's editors make a similar case for ruthless editing in their guide to making the most of a single kitchen drawer. Donate usable extras, recycle broken tools, and keep a backup only if you cook for crowds weekly. Most households free up a full third of a drawer with this step alone, before spending a single dollar.
2. Zone Every Drawer by Prep, Cook, or Serve
Give each drawer a single job based on where you stand. Prep tools — knives, peelers, boards — belong near the sink and main counter. Cooking tools — spatulas, tongs, ladles — belong beside the stove. Serving pieces — salad servers, pie cutters, napkins — can live farther away, near the table or dining side. Zoning stops the cross-traffic where forks end up with foil and the garlic press hides under serving spoons. In a one-drawer kitchen, zone inside the drawer instead: prep on the left, cooking in the middle, serving on the right, divided into clear sections.
3. Use Adjustable Dividers Instead of Fixed Trays
Fixed trays waste space whenever their compartments do not match your tools. Spring-loaded bamboo or plastic dividers, usually $12 to $25 for a pack of four, slide to fit your drawer and create lanes exactly as wide as you need. Run two lengthwise for long utensils, or add a cross divider to make a small square for rubber bands and twist ties. Adjustable systems also move with you — when a tool leaves or a new one arrives, you nudge a divider instead of replacing the whole insert. For renters, they are ideal: no screws, no adhesive, nothing permanent.

4. Add a Two-Tier Sliding Insert to Deep Drawers
A deep drawer swallows small tools into a dark bottom layer. A two-tier sliding insert, typically $25 to $45, creates a shallow top tray that glides back to reveal the space below. Keep measuring spoons, thermometers, and clips on top; store bulkier items underneath. Measure height carefully here — the tray plus your tallest top item must still clear the drawer frame when closed. This one change often turns a junk-style deep drawer into the hardest-working drawer in the kitchen, especially in small apartments where every drawer has to do double duty.
5. Turn a Shallow Drawer Into a Spice Drawer
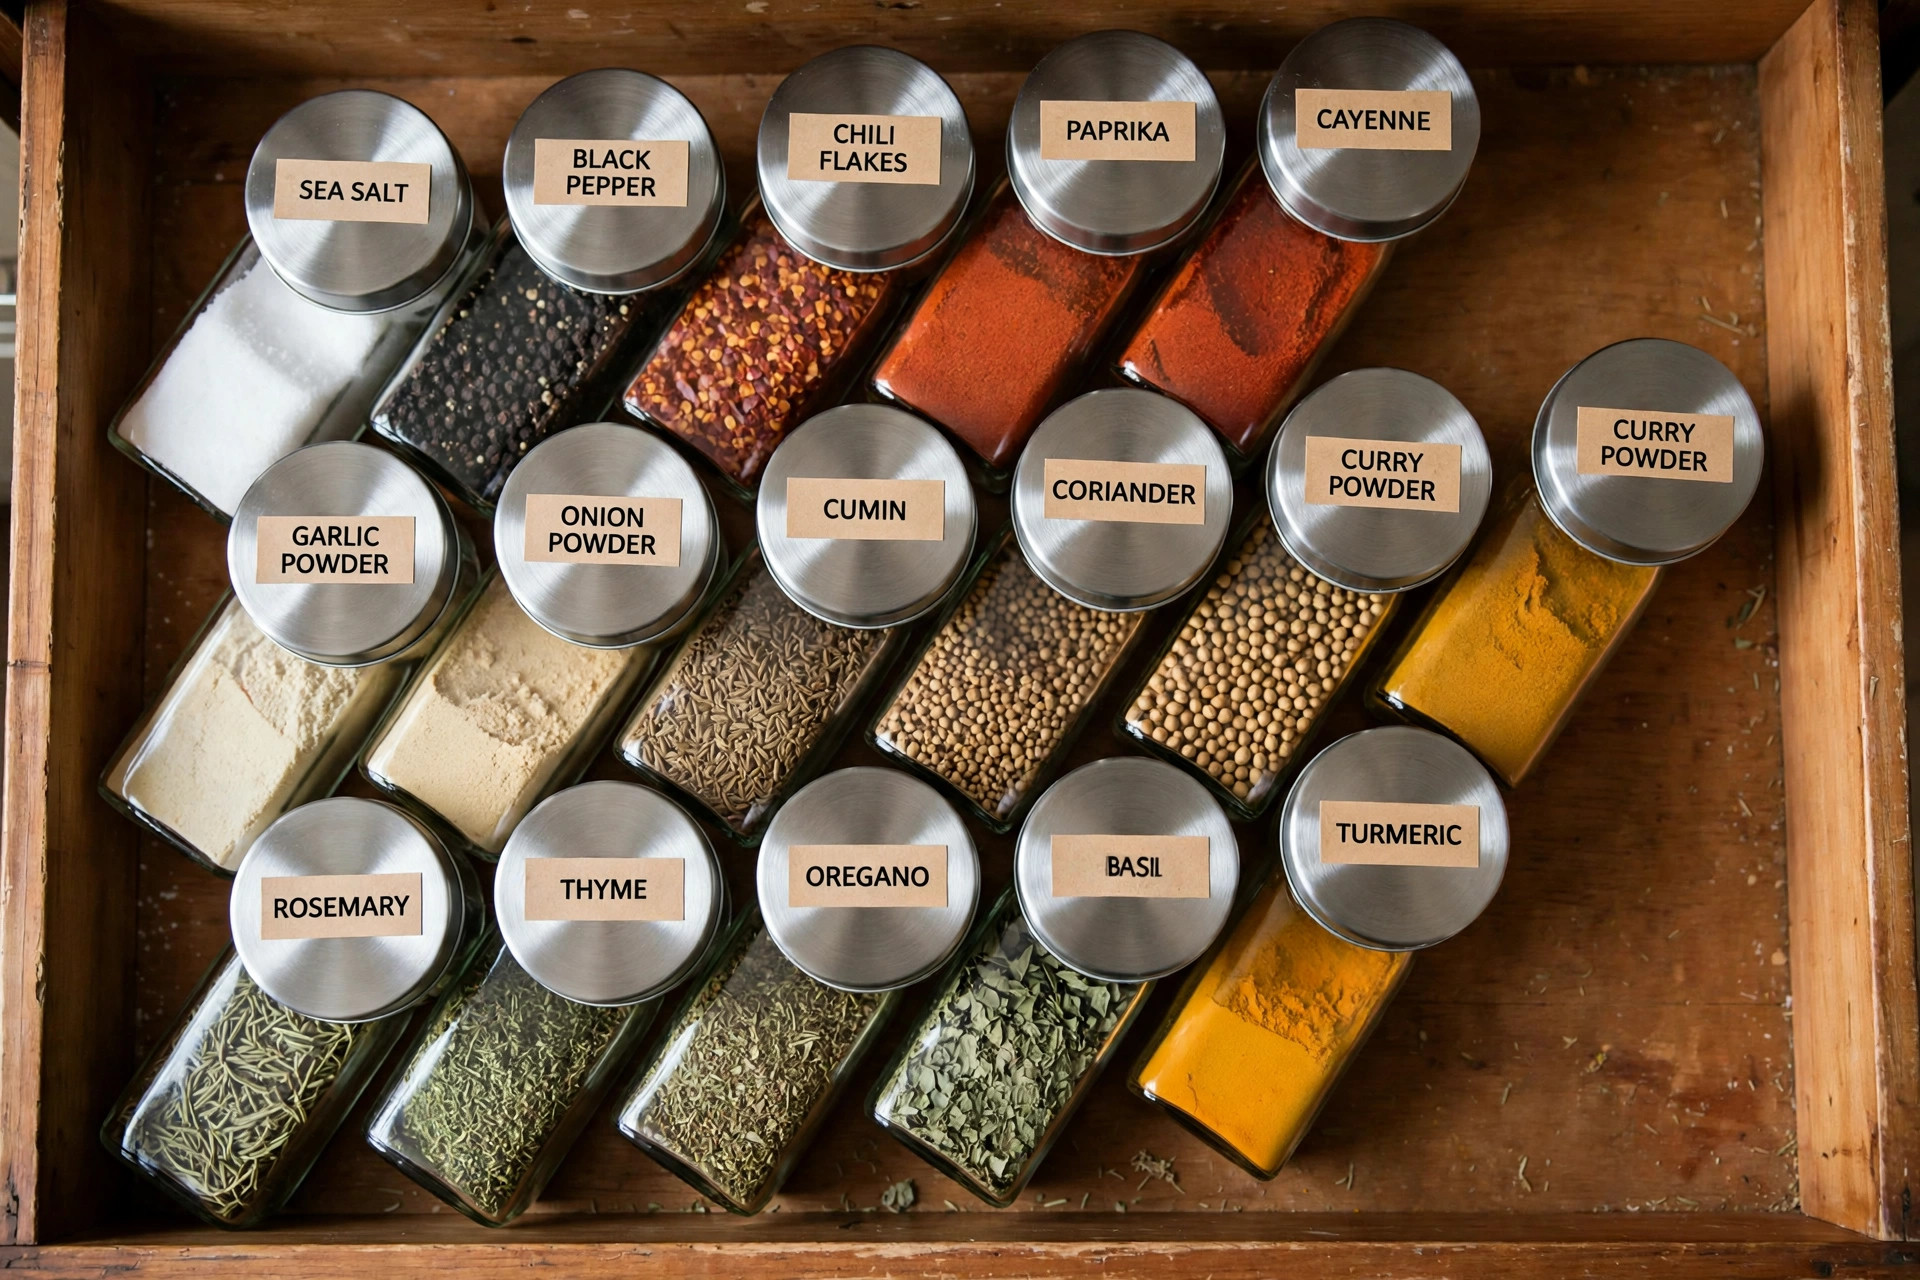
Move spices out of the cupboard and into a shallow drawer near the stove, and cooking gets faster immediately. Decant spices into uniform jars — matching jars, roughly $15 to $25 for a set of twelve, stop the rolling and visual chaos — and add clear labels on top. Lay jars flat or on a slightly angled insert so every label reads at a glance, no lifting or guessing. Arrange alphabetically or by how often you cook with them: daily spices nearest the front. Keep refills and bulk bags elsewhere so the drawer stays a working station, not a warehouse.
6. Store Knives in an In-Drawer Knife Block
Loose knives are dangerous, dull quickly, and eat space. An in-drawer knife block or slotted bamboo insert, usually $18 to $35, holds blades safely in individual slots with handles easy to grab. It frees the counter — no bulky block beside the stove — and keeps sharp edges away from searching fingers, a real concern in busy family kitchens. Choose an insert with slots sized for your largest chef's knife, and measure drawer depth before ordering. Pair it with the prep-zone rule: this drawer should sit within one step of your main chopping counter.
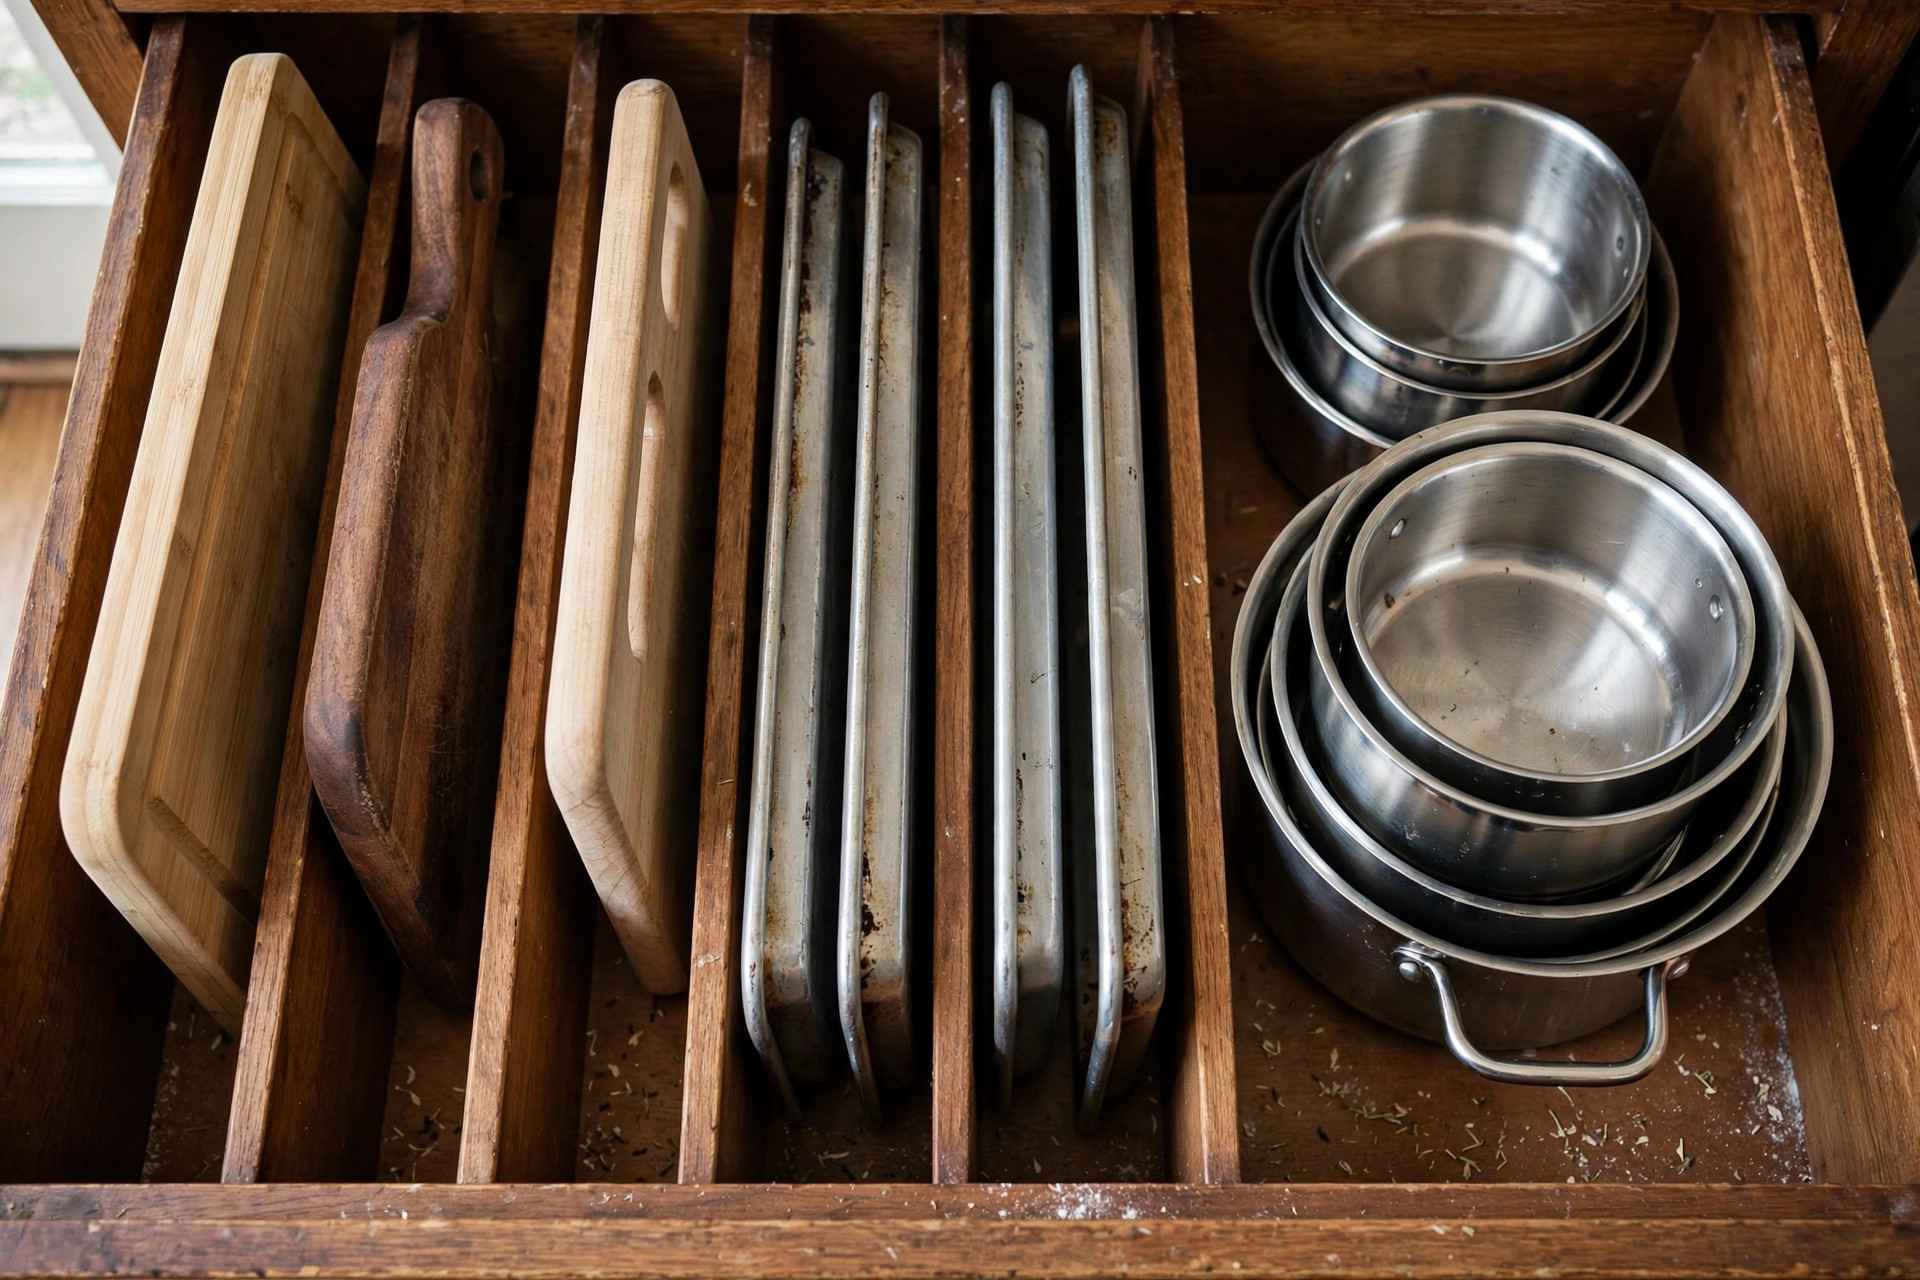
7. File Boards and Trays Vertically in a Deep Drawer
Cutting boards, baking trays, cooling racks, and lids should stand on edge like files in a cabinet, not stack in a heavy, sliding pile. Vertical file-style dividers, about $15 to $28, slot into a deep drawer and hold each board upright so you can pull one out without unloading the rest. This works especially well in a deep drawer under the oven or beside it. Add a small label to each divider slot if several boards look alike. Heavy stoneware platters still belong on a low shelf, but everyday boards and trays thrive filed this way.
8. Line Every Drawer With Non-Slip Liner
The cheapest upgrade on this list may be the most satisfying. Non-slip liner, around $8 to $14 a roll, keeps dividers, jars, and tools from skating every time the drawer opens. Cut it to size with scissors, lay it flat, and let it settle for an hour before loading the drawer. Liner also protects wood from knife nicks and spice spills, and it wipes clean in seconds. Choose a smooth, non-adhesive style so you can lift and wash it. It is a ten-minute job per drawer, and the quiet, steady result makes the whole system feel finished.
9. Nest Measuring Tools and Hang the Rest Inside
Measuring cups and spoons multiply quietly. Choose one nesting set — cups that stack inside each other and spoons on a ring — and let the extras go. A nesting set can cut the footprint of measuring tools by more than half. Store the set in the prep drawer, ideally in its own divider lane so the ring does not wander. If your set does not nest, corral it in one small open box inside the drawer rather than letting pieces roam free. The goal is simple: reach in once, lift the whole set, cook, and drop it back in one motion.
10. Corral Foil, Film, and Bags in a Dedicated Dispenser Drawer
Boxes of foil, cling film, parchment, and zip bags are awkward shapes that wreck tidy drawers. Give them one drawer of their own, ideally below the prep counter where you actually wrap and store food. Stack boxes on their sides like books so each label shows, or use a wrap dispenser or over-box organizer, typically $14 to $30, with a built-in cutter. Keep a small pair of scissors here too. When wraps live together, they stop colonizing the utensil drawer — and you stop buying a fourth roll of parchment you already own.
11. Label Sections So the System Survives Other People
A system only you understand will last about one weekend with family or guests helping in the kitchen. Small, clear labels fix that. Use a label maker or simple printed labels on the top edge of each divider section: Prep, Baking, Serve, Wraps. Labels are not about being fussy — they are instructions that work when you are not there to give them. For more layout inspiration, browse our wider Kitchen & Dining ideas and projects, and compare the creative layouts in these creative kitchen drawer organizer ideas for small-space tricks worth borrowing.
12. Keep Daily Tools in the Top Drawer Nearest Your Prep Zone
Your five most-used tools deserve the best real estate in the kitchen: the top drawer within one step of your main counter. That usually means a turning spatula, tongs, a wooden spoon, a peeler, and your everyday knife or shears. Everything else can live one drawer down or one step farther away. This sounds obvious, yet most jumbled drawers mix daily tools with holiday gadgets used twice a year. Swap them. When the daily five sit up front, visible at a glance, cooking feels calmer — and the drawer practically tidies itself because putting things back takes no thought.
Quick Picks: What to Buy First on a Small Budget
Short on cash? Start in this order. First, non-slip liner ($8 to $14) because it improves every drawer for almost nothing. Second, a pack of adjustable dividers ($12 to $25) for your worst utensil drawer. Third, uniform spice jars with labels ($15 to $25) if spices currently live in a chaotic cupboard. Add the in-drawer knife block ($18 to $35) when safety is the issue, and the two-tier insert ($25 to $45) only for a deep drawer you have measured twice. And if your counters are as crowded as your drawers, pair this project with our small kitchen counter organization ideas so the space you free up stays free. Renting, or short on fixed storage? Pair these drawers with our renter-friendly small kitchen storage ideas.
Mistakes That Bring the Jumble Back
The most common mistake is buying organizers before editing and measuring — inserts chosen for a fantasy drawer will not fit the real one. Second is mixing zones: once serving pieces creep into the prep drawer, the whole logic unravels within weeks. Third is keeping duplicates "just in case" — in a small kitchen, just-in-case storage is a daily tax on every meal. Fourth is skipping labels, then blaming the system when someone else puts things back wrong. Finally, avoid the all-at-once overhaul. Do one drawer a week, live with it, adjust the dividers, and let the habit stick. A drawer system you maintain beats a perfect one you abandon by February — and a calmer drawer, opened ten times a day, is a small upgrade you will feel at every single meal.


Comments
Post a Comment