
12 Small Kitchen Under-Cabinet Lighting Ideas That Brighten Worktops
A ceiling light in a small kitchen does the worst possible job: it stands behind you, so your own body shadows the worktop exactly where the knife is. The best small kitchen under cabinet lighting ideas fix that geometry. Light fitted under the wall cabinets, in front of you, lands directly on the chopping board — no shadow, no squinting, and a small kitchen that suddenly feels twice as bright without changing a single cabinet.
The good news is that most options are cheap, several are renter-friendly, and the entry level needs no wiring at all. Below are twelve setups with real colour temperatures, lengths, prices, and the placement rule that matters more than the product.
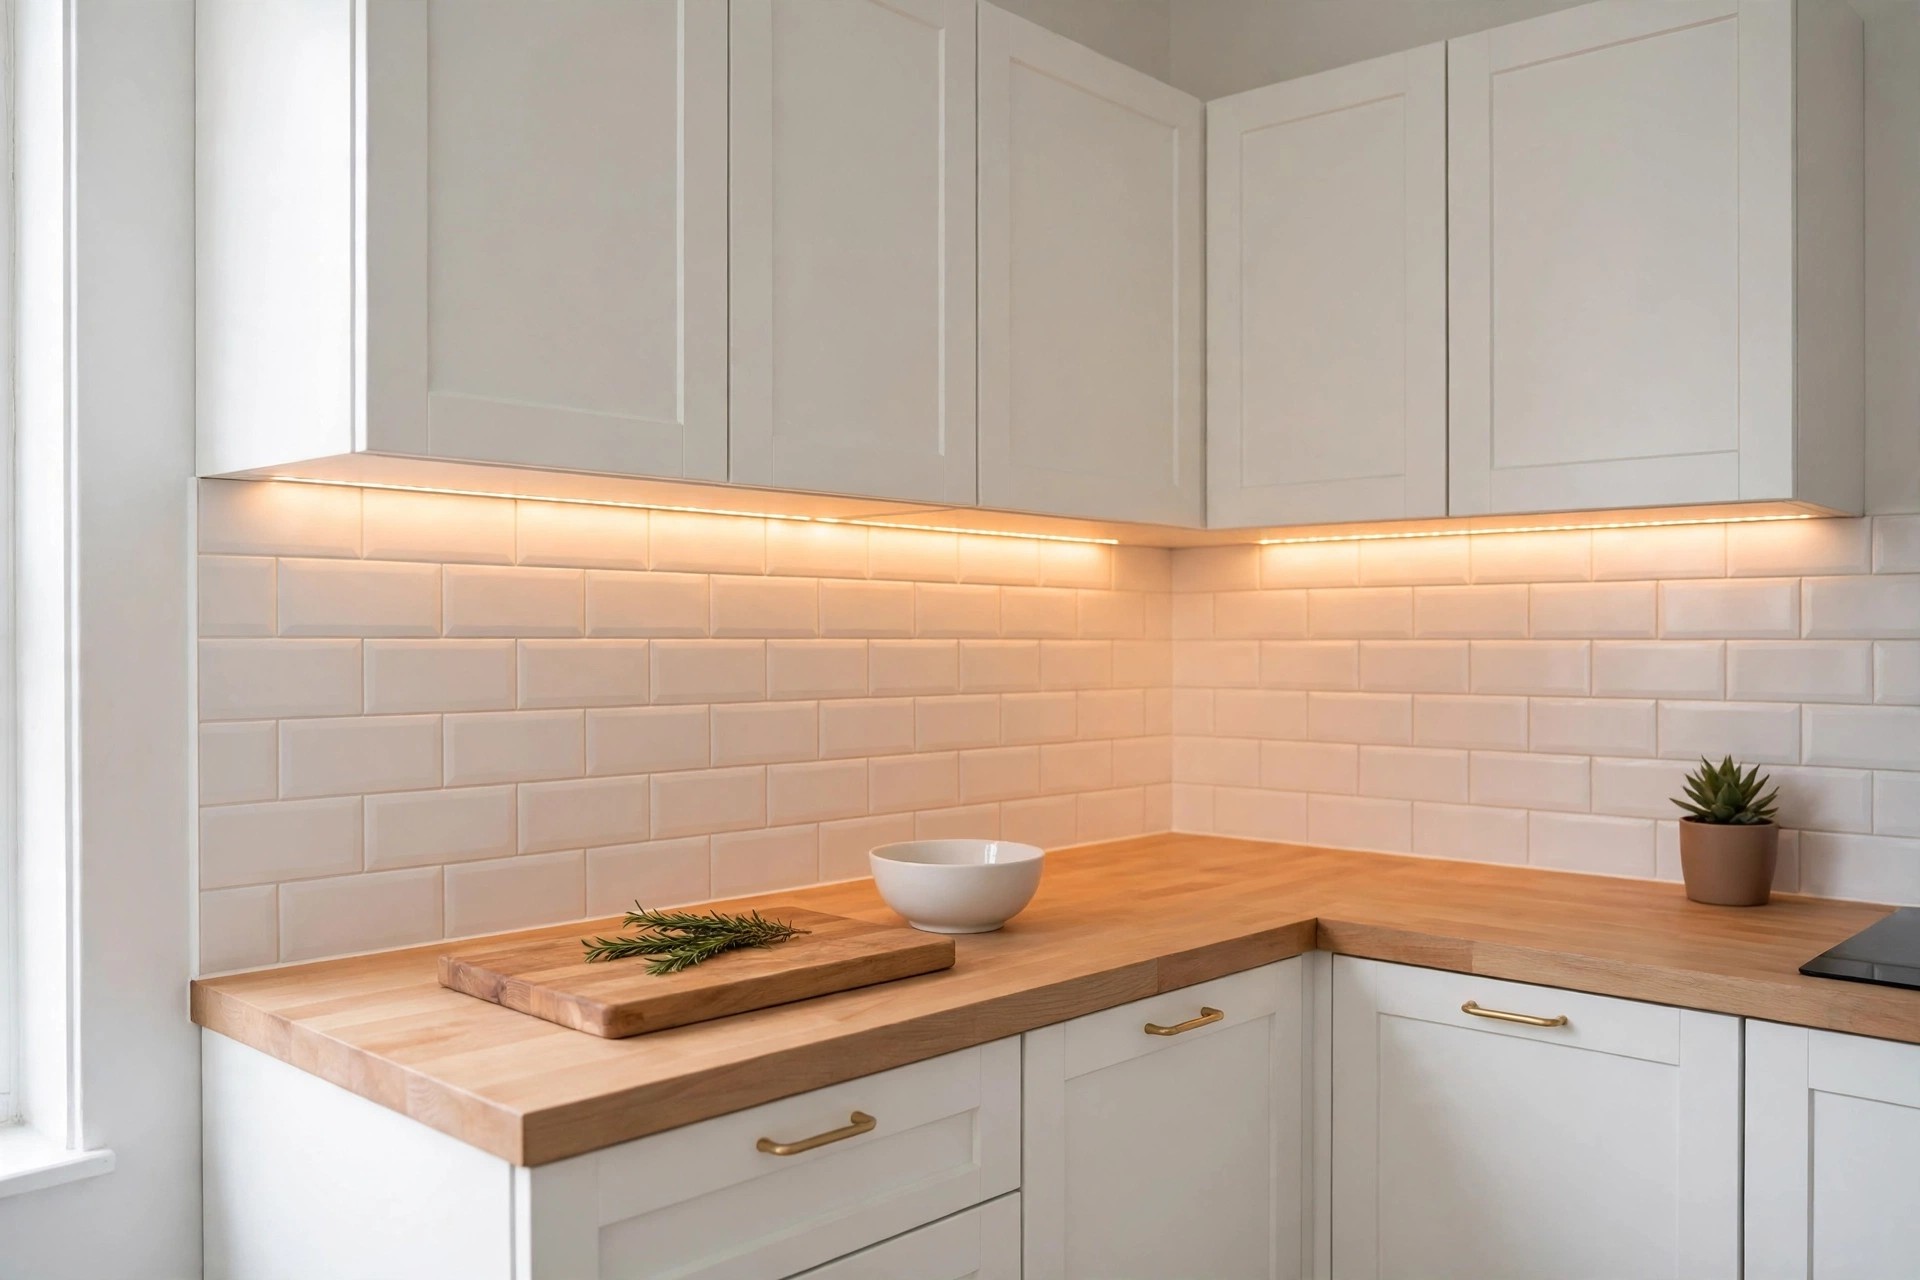
Under-cabinet light also changes how your other surfaces read — if you are planning the whole run, pair this with our small kitchen backsplash ideas that brighten a tiny kitchen, because the strip will be lighting that backsplash every evening.
Plan First: Placement, Colour Temperature, and Power
Placement first, because it decides everything. Fit the light near the front edge of the cabinet underside, not against the wall. A strip pushed to the back lights the backsplash and leaves the front half of the worktop — the part you actually use — in shade. Front placement throws light ahead of your hands and spreads it evenly to the wall. Guides like Checkatrade on small kitchen lighting ideas and Styled Bloom on small kitchen decor ideas for a clean, organized look agree: layered light — ambient, task, accent — is what makes a compact kitchen feel bigger, and under-cabinet task light is the layer that does the heavy lifting.
Colour temperature is the second decision. For worktops, 3000K to 4000K is the working range: 3000K keeps food and wood warm and natural, 4000K is crisper for detailed prep. Avoid mixing temperatures on the same run — two whites side by side always look like a mistake. Third, power: battery, plug-in, or hardwired, in rising order of cost and permanence. Renters should stay with the first two.
12 Small Kitchen Under-Cabinet Lighting Ideas That Brighten Worktops
Start at the top if you want the best result per pound spent; start at idea 6 or 7 if you cannot drill, wire, or wait.
1. A Continuous LED Strip in an Aluminium Profile With a Diffuser
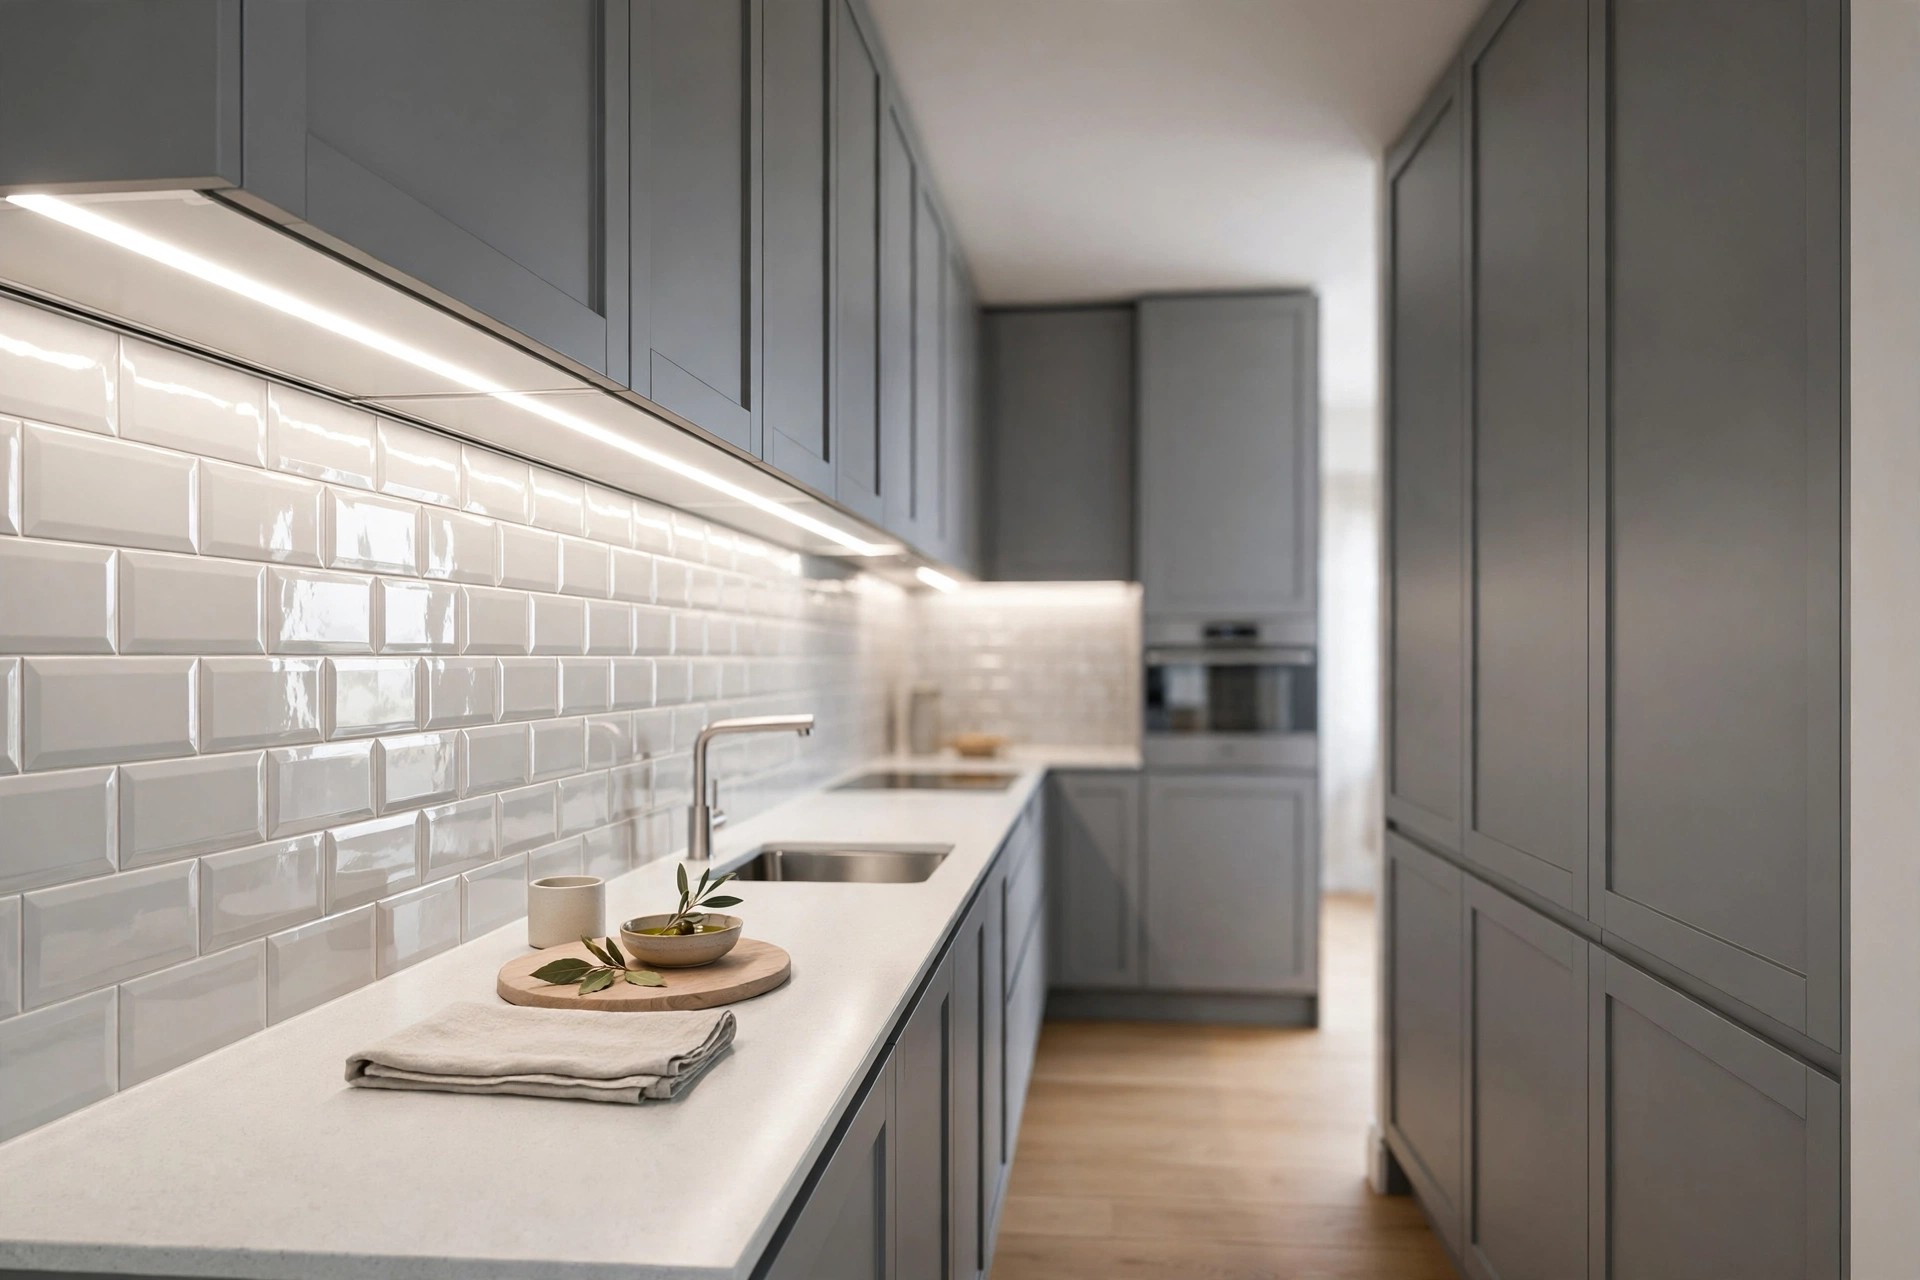
The best-looking option, full stop. The strip sits inside a slim aluminium channel with an opal diffuser, so you get one unbroken line of light instead of a row of dots reflecting in a glossy worktop. Profiles run the full cabinet length without gaps; budget $40 to $110 for a typical 8- to 10-foot run, plus the driver, which needs an accessible home inside a cabinet. Watch-out: on glossy quartz or glass, a bare strip without a diffuser reflects as a dotted line — the profile is not optional there.
2. A Simple Self-Adhesive LED Strip, Front-Lip Mounted
The ten-minute version of idea 1. Peel-and-stick strips cost $15 to $35 for 10 to 16 feet, plug into a normal socket, and mount along the front lip of the cabinet underside, where testing consistently shows they kill worktop shadow. Tunable-white versions shift from 2700K evenings to 4000K prep light from one remote. Watch-out: adhesive fails over steamy hobs and on greasy undersides — wipe with degreaser first and add the little screw clips every 18 inches.
3. LED Puck Lights for Short, Broken Runs
Where cabinets are interrupted by a hob hood or a corner, pucks beat strips. Round pucks, about 2.5 to 3 inches across, space 12 to 18 inches apart and pool light exactly where each work zone is. Hardwired or plug-in sets of three to six run $25 to $60. Watch-out: pucks make scallops, not even light — space them at 12 inches, not 24, or the worktop will zebra.
4. A Slim LED Bar Light for One Work Zone
If only one stretch of counter matters — the prep zone beside the hob, say — a single rigid bar, 12 to 24 inches long, is tidier than a strip. Bars run $20 to $50, mount with screws or magnets, and many link end-to-end if you extend later. Watch-out: buy the linkable kind from a range that will still exist next year, or extending means starting again.
5. Battery Rechargeable Bars — the True Renter Option
No socket, no landlord conversation. Rechargeable bars, 10 to 16 inches long, stick on with magnetic plates and come down for a USB charge every few weeks of evening use. Expect $18 to $40 for a pair. It is the same no-drill thinking as our renter-friendly small kitchen storage ideas — everything reversible, nothing forfeits the deposit. Watch-out: brightness is lower than wired strips, so use them over the zone you prep on, not as the kitchen's only light.
6. Motion-Sensor Strips for Hands-Free Light
A strip or bar with a built-in sensor switches on when your hands arrive and off a minute after they leave — genuinely useful mid-recipe, and the battery saver that makes rechargeable models practical. Sensor models add about $5 to $15 over plain versions. Watch-out: place the sensor at the end you approach from, or you will wave at your own cabinets like they owe you money.

7. Plug-In Pucks With a Remote for Instant Layering
The fastest full-kitchen win: a set of plug-in or battery pucks with one remote that dims them together. Thirty minutes, no tools beyond adhesive pads, $25 to $55 for six. Watch-out: cheap sets drift in colour from puck to puck — buy one set from one batch, and keep the receipt until dark.
8. Hardwired Under-Cabinet Fixtures for Owners
If the kitchen is yours and staying, hardwired fixtures on a wall switch are the clean end-state: no visible cables, no chargers, light that simply belongs to the room. Fixtures run $30 to $80 each, plus an electrician if you are not qualified — this is the one option on the list where paying for installation is the right call. Watch-out: decide placement before any re-tiling; moving a wired point afterwards costs real money.
9. Smart Strips That Shift With the Day
A smart strip on a schedule gives you 4000K at breakfast prep and 2700K by dinner, dimmed to a glow by late evening — layered lighting without touching a switch. Expect $45 to $100 for a quality 6- to 10-foot strip, hub depending on brand. Watch-out: put the strip on a plain socket circuit, not the cooker circuit, and keep the app control as a bonus — the light must still work when the Wi-Fi does not.
10. Toe-Kick Lighting as the Second Layer
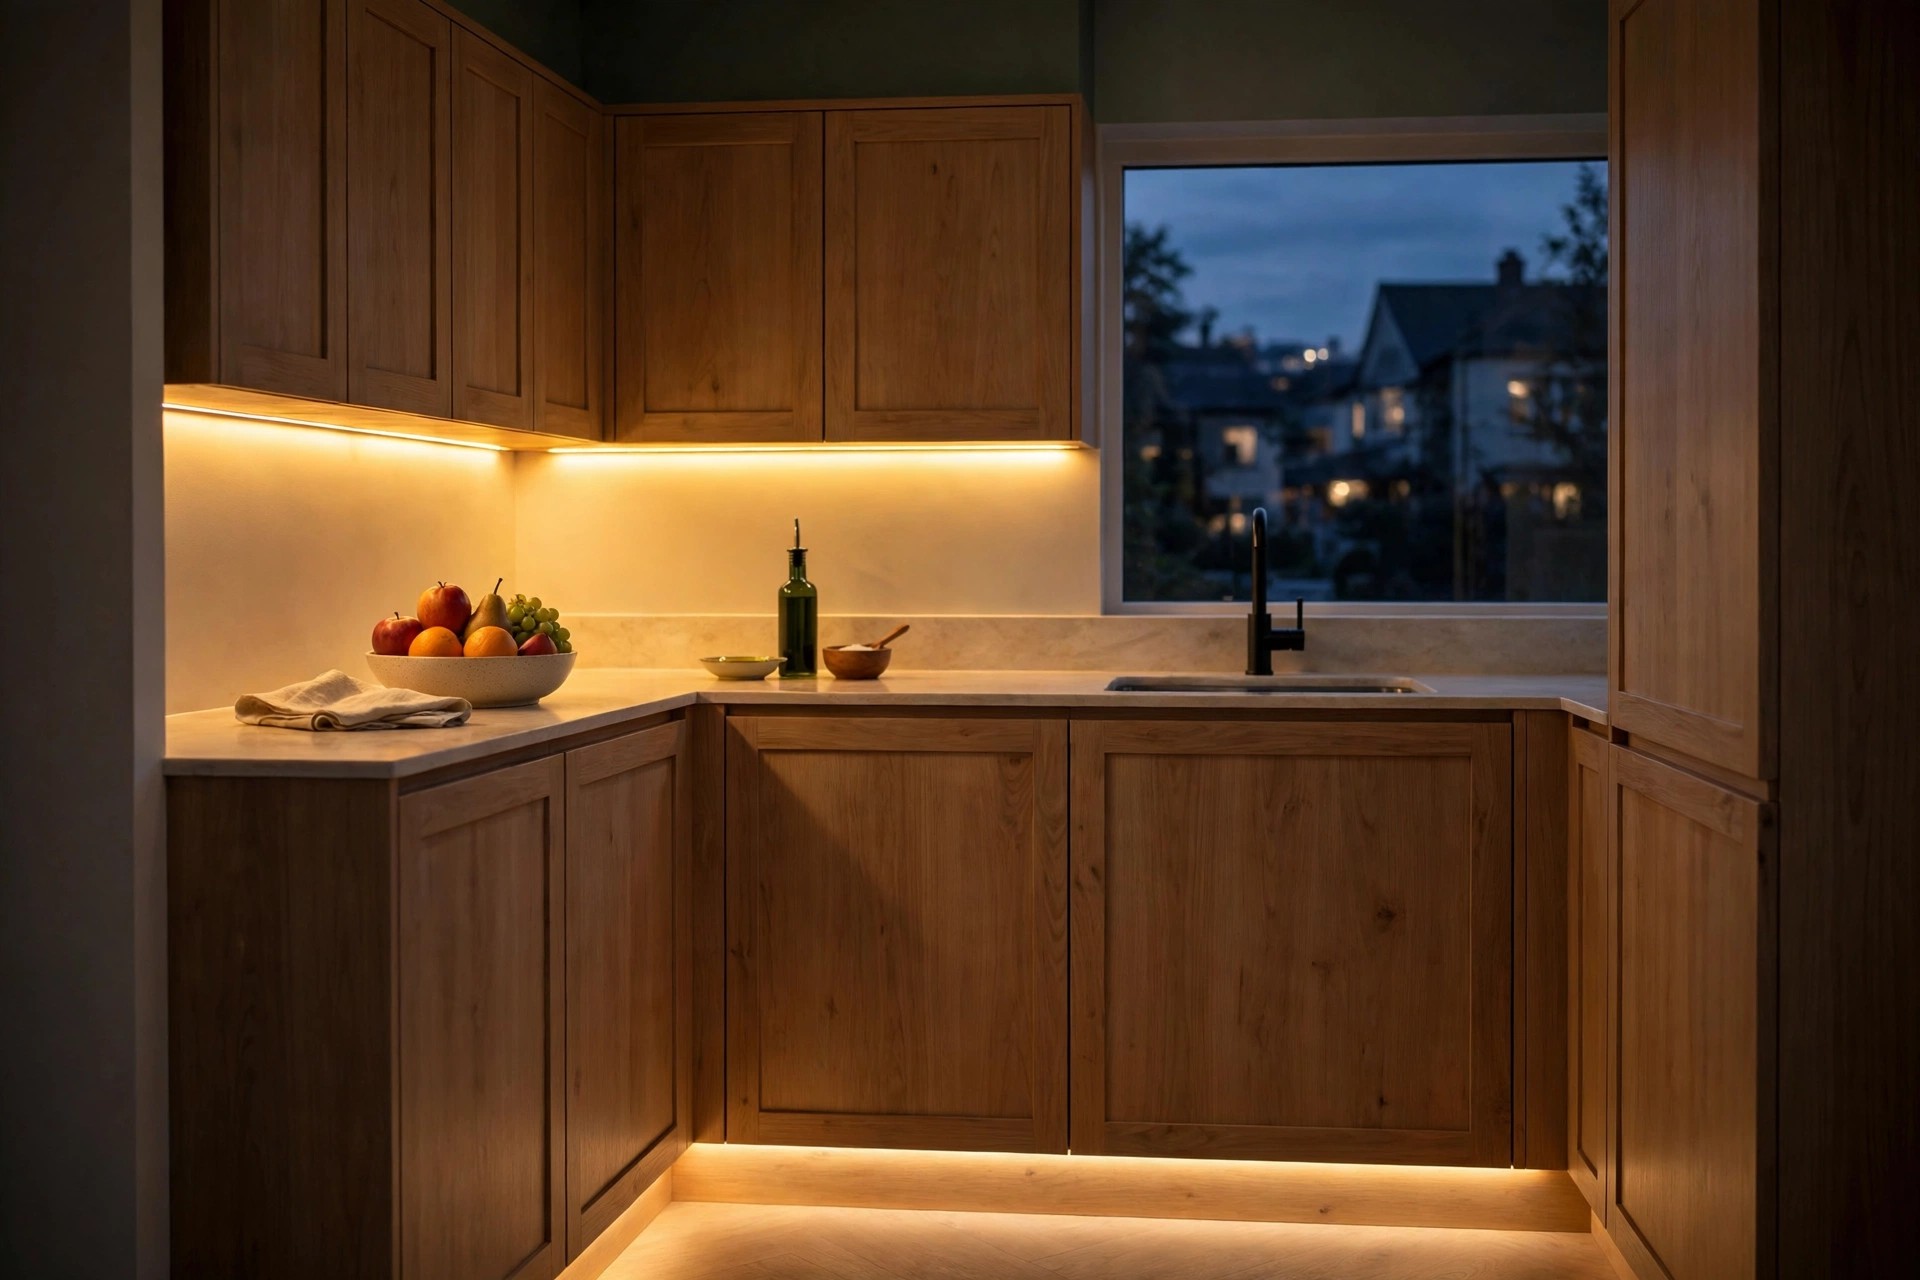
The same strip idea, run along the cabinet plinth at floor level. It makes base cabinets appear to float, lights the floor for midnight water trips, and adds the depth that makes a small kitchen feel designed. Budget $20 to $45 for the run, usually sharing the driver with idea 1 or 2. Watch-out: toe-kick light is accent, not task light — it earns its place only after the worktop itself is properly lit.
11. Light Inside Glass-Front Cabinets and Open Shelves
A short strip inside a glass-front cabinet or under each open shelf turns stored glasses into display and stops the top shelf being a cave. If your kitchen uses open shelves, our small kitchen open shelving ideas that stay tidy shows the layouts this suits best. Short 12- to 20-inch strips run $12 to $30. Watch-out: inside cabinets, choose the lowest brightness setting that works — you are lighting objects, not interrogating them.
12. A Mixed System: Strip at the Front, Pucks in the Corners
Real kitchens are not straight lines. The pro pattern is a continuous strip along the main run, pucks where the run breaks or turns a corner, and one driver sized for the whole load. Total for a small L-shaped kitchen: roughly $60 to $140. Watch-out: one temperature, one brand family, one control — mixed systems fail on mismatched whites, not on brightness.
Quick Picks by Budget and Tenure
- Renting, under $25: battery rechargeable bars (idea 5) or a motion-sensor strip (idea 6) over the main prep zone.
- Renting, $25 to $60: self-adhesive strip with clips (idea 2) or a remote puck set (idea 7) across the whole run.
- Own the kitchen, best result: profile-and-diffuser strip (idea 1), hardwired switching (idea 8), toe-kick layer (idea 10). Total roughly $120 to $300 fitted.
- Dark galley, no window: spend on brightness and temperature first — a 4000K full-length strip before any smart features.
- Best single upgrade: front-lip placement of whatever you already own. Moving an existing strip from the back to the front of the cabinet costs nothing and fixes the shadow.
Mistakes That Keep Worktops Dark
Mounting at the back. The single most common error. Rear-mounted strips light the backsplash and shadow the board. Front edge, every time.
Mixing colour temperatures. A 2700K puck beside a 4000K strip makes both look wrong. One temperature per run — 3000K to 4000K for worktops.
Skipping the diffuser on glossy surfaces. Bare diodes reflect as dots in quartz, stone, and glass splashbacks. Aluminium profile plus opal diffuser is the fix.
Undersizing the driver. A driver running at its limit runs hot and dies early. Size it at least 20 percent above the strip's total draw.
Lighting everything except the prep zone. Pretty shelf light cannot rescue a dark chopping area. Task light first, accent second — always in that order.
Frequently Asked Questions
What colour temperature is best for under-cabinet lighting?
Between 3000K and 4000K. Choose 3000K for a warm, natural look on food and wood, 4000K if your kitchen has no window and you prep a lot. Tunable strips that shift between the two are the flexible option — just keep one setting per run at a time.
Where exactly should under-cabinet lights be placed?
Near the front edge of the cabinet underside, ideally just behind the front rail or lip. Front placement lights the whole worktop depth evenly; rear placement wastes most of the light on the backsplash and leaves the front of the counter in shadow.
Can renters install under-cabinet lighting?
Yes. Battery rechargeable bars, motion-sensor strips, and self-adhesive plug-in strips all install without drilling or wiring and remove cleanly. Costs run from about $18 to $55, and nothing needs the landlord's permission beyond a normal adhesive strip.
How much does under-cabinet lighting cost in a small kitchen?
From about $15 for a basic adhesive strip to $140 for a mixed strip-and-puck system with a proper driver. Hardwired fixtures cost more once installation is included. Running costs are tiny — a full LED run typically draws less than a single old halogen downlight.
Measure the run, pick one temperature, mount at the front edge, and light the prep zone before anything decorative. That order turns the darkest corner of a small kitchen into the place you actually want to cook. For more small-kitchen upgrades, browse our full Kitchen & Dining collection.


Comments
Post a Comment