
12 Small Kitchen Wall Decor Ideas That Fill Blank Walls With Style
If you are hunting for small kitchen wall decor ideas because one blank wall is making the whole room feel unfinished, you are not alone. In a compact kitchen you cannot add furniture. The wall is the place you still have — used well, it adds colour, storage, and personality without stealing counter space.
Think flush, shallow, and useful. Nothing here sticks out more than 6 inches or sits directly over the burners. Every idea comes with a real size, placement, and price in dollars, so you can measure tonight and know what will fit.
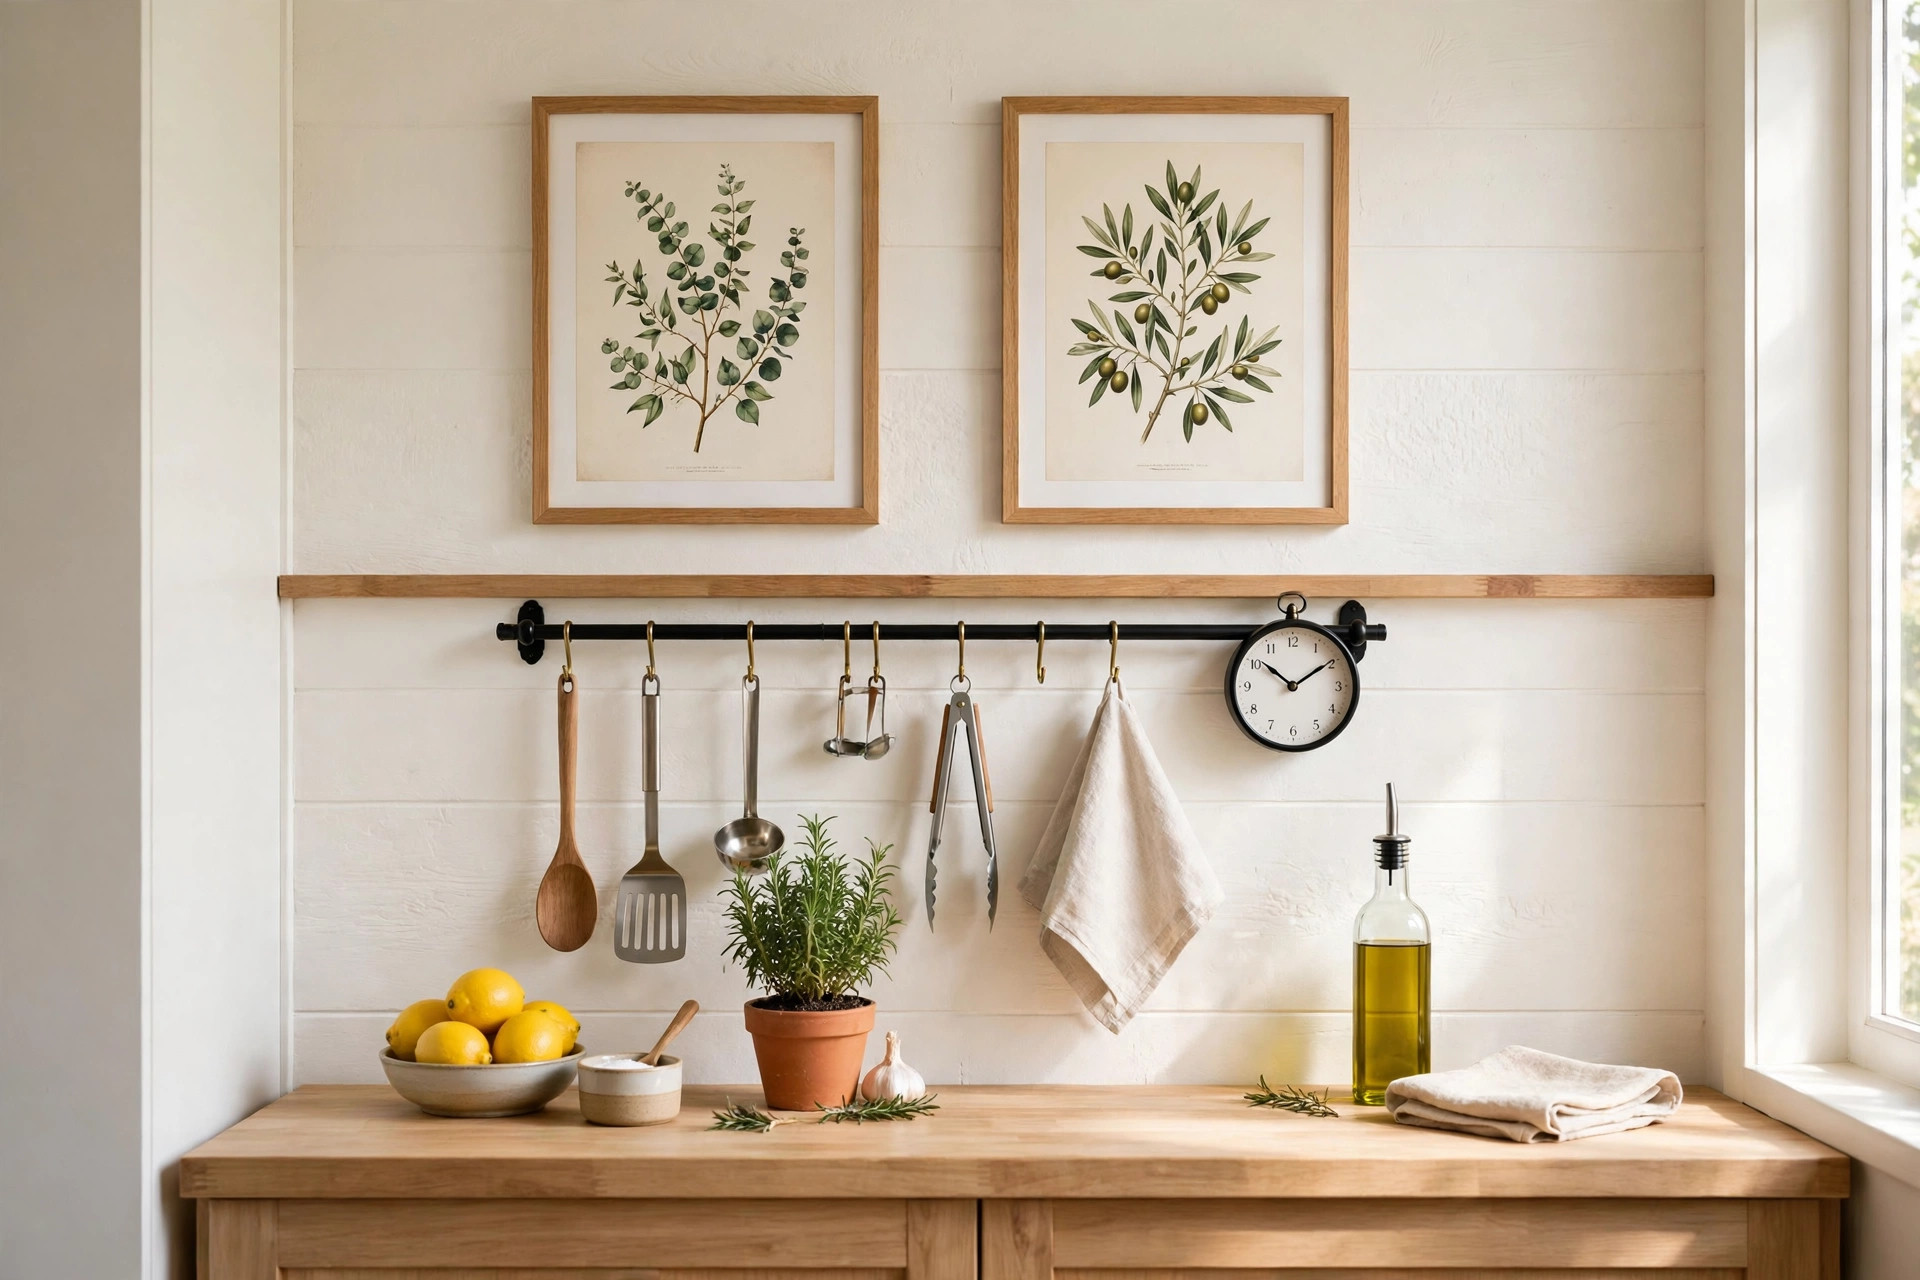
Before You Hang Anything: Sizes, Heights, and the Stove Rule
Most walls go wrong before the first nail: the frame is too small, hung too high, or placed where steam will ruin it. Fix those three things and even a $12 print will look intentional.
The measurements that actually work
- Eye level: Hang the centre of a piece or group at 57 to 60 inches from the floor.
- Above a bench, table, or nook: Leave 6 to 8 inches between the top of the furniture and the bottom of the frame.
- Gallery gaps: Keep 2 to 3 inches between frames, the same everywhere. Uneven gaps are the main reason a gallery wall looks accidental.
- Scale: Art should span about two-thirds to three-quarters of the width below it. On a 48-inch wall section, aim for an arrangement 28 to 36 inches wide. An 18 x 24 inch piece suits a 36 to 48 inch wall; a 24 x 36 inch piece suits a 48 to 72 inch wall. One tiny 5 x 7 frame alone on a big wall will always look lost.
- Depth: In a galley or tight walkway, keep everything within 4 to 6 inches of the wall.
Heat, steam, and splatter watch-outs
A kitchen is not a hallway. Heat rises, oil travels, and steam finds paper quickly. For a clear breakdown of planning around heat and steam zones, see the guidance from Mixtiles on kitchen wall decor ideas: map the hot and wet zones before you choose anything delicate.
- Never hang paper, canvas, wood, or fabric directly above the stove. That is the worst spot in the room for grease and heat.
- Keep framed prints at least 24 to 36 inches to the side of the burners where your layout allows it. Closer than that, choose glass-front frames you can wipe clean.
- Keep decor away from the direct steam path of a kettle, rice cooker, and dishwasher door. Steam curls paper and loosens adhesive strips fast.
- Near cooking areas, pick sealed or glass-front surfaces. In a dining nook or beside the door, canvas, wood, and textiles are safe.
- Check clearance around outlets, vents, and the cooker hood before you drill.
Here are the 12 ideas that earn their place in a small kitchen.
1. Install a Wall Rail System That Works Like Decor
One slim bar and a row of S-hooks, and your utensils, mugs, small pans, and a cutting board become the decoration. Nothing sits on the counter, and everything daily is visible.
Choose a 24 to 36 inch rail in matte black, steel, or brass to match your hardware. A basic rail costs $18 to $35, a heavier rail $35 to $55, and 10 S-hooks $6 to $10. Mount it on a prep wall, not over open flame, about 18 to 20 inches above the counter under upper cabinets, or centred at 55 to 58 inches on an open wall. Leave at least 3 inches between items.
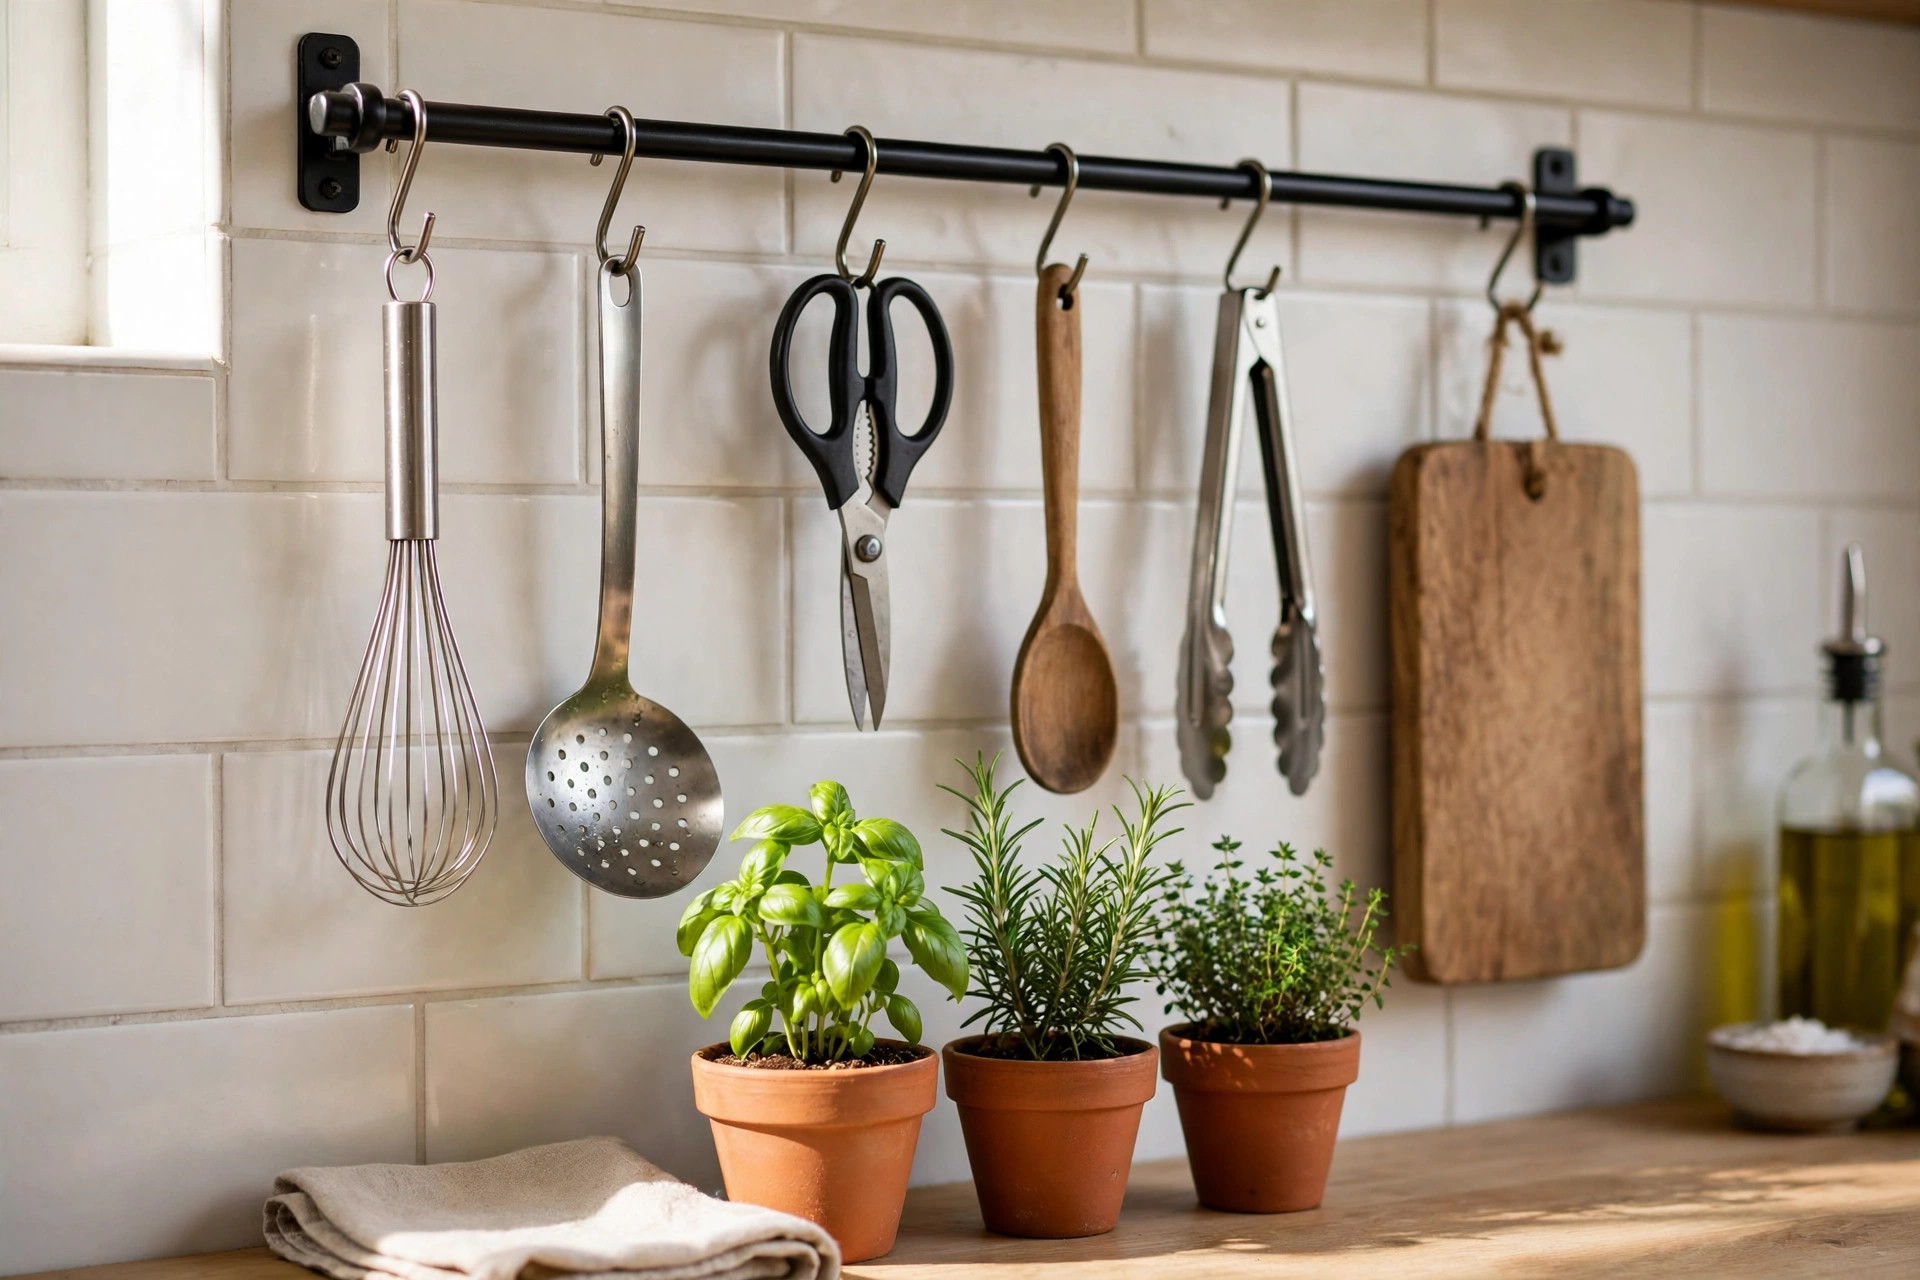
Hang by material or colour: wooden spoons together, steel tools together, white mugs together. Add one hanging herb pot or a folded linen towel for softness. Seven well-spaced pieces look designed; fifteen look like overflow. Renters note: a loaded rail needs screws into studs or proper anchors. If you cannot drill, use the ledge and plate ideas instead.
2. Build a Plate Wall Over a Nook or Side Wall
Plates are made for small kitchens: flat, cheap second-hand, and full of pattern without visual bulk. A plate wall works best above a dining nook, over a sideboard, or beside a window.
Start with 5 to 9 plates in a mix of 6, 8, and 10 inch sizes. Thrift stores regularly sell pretty single plates for $3 to $12 each. Use one colour family, for example blue and white, or cream with one accent colour, so the group feels collected rather than random. Disc plate hangers cost about $2 to $5 each and grip the back without showing.
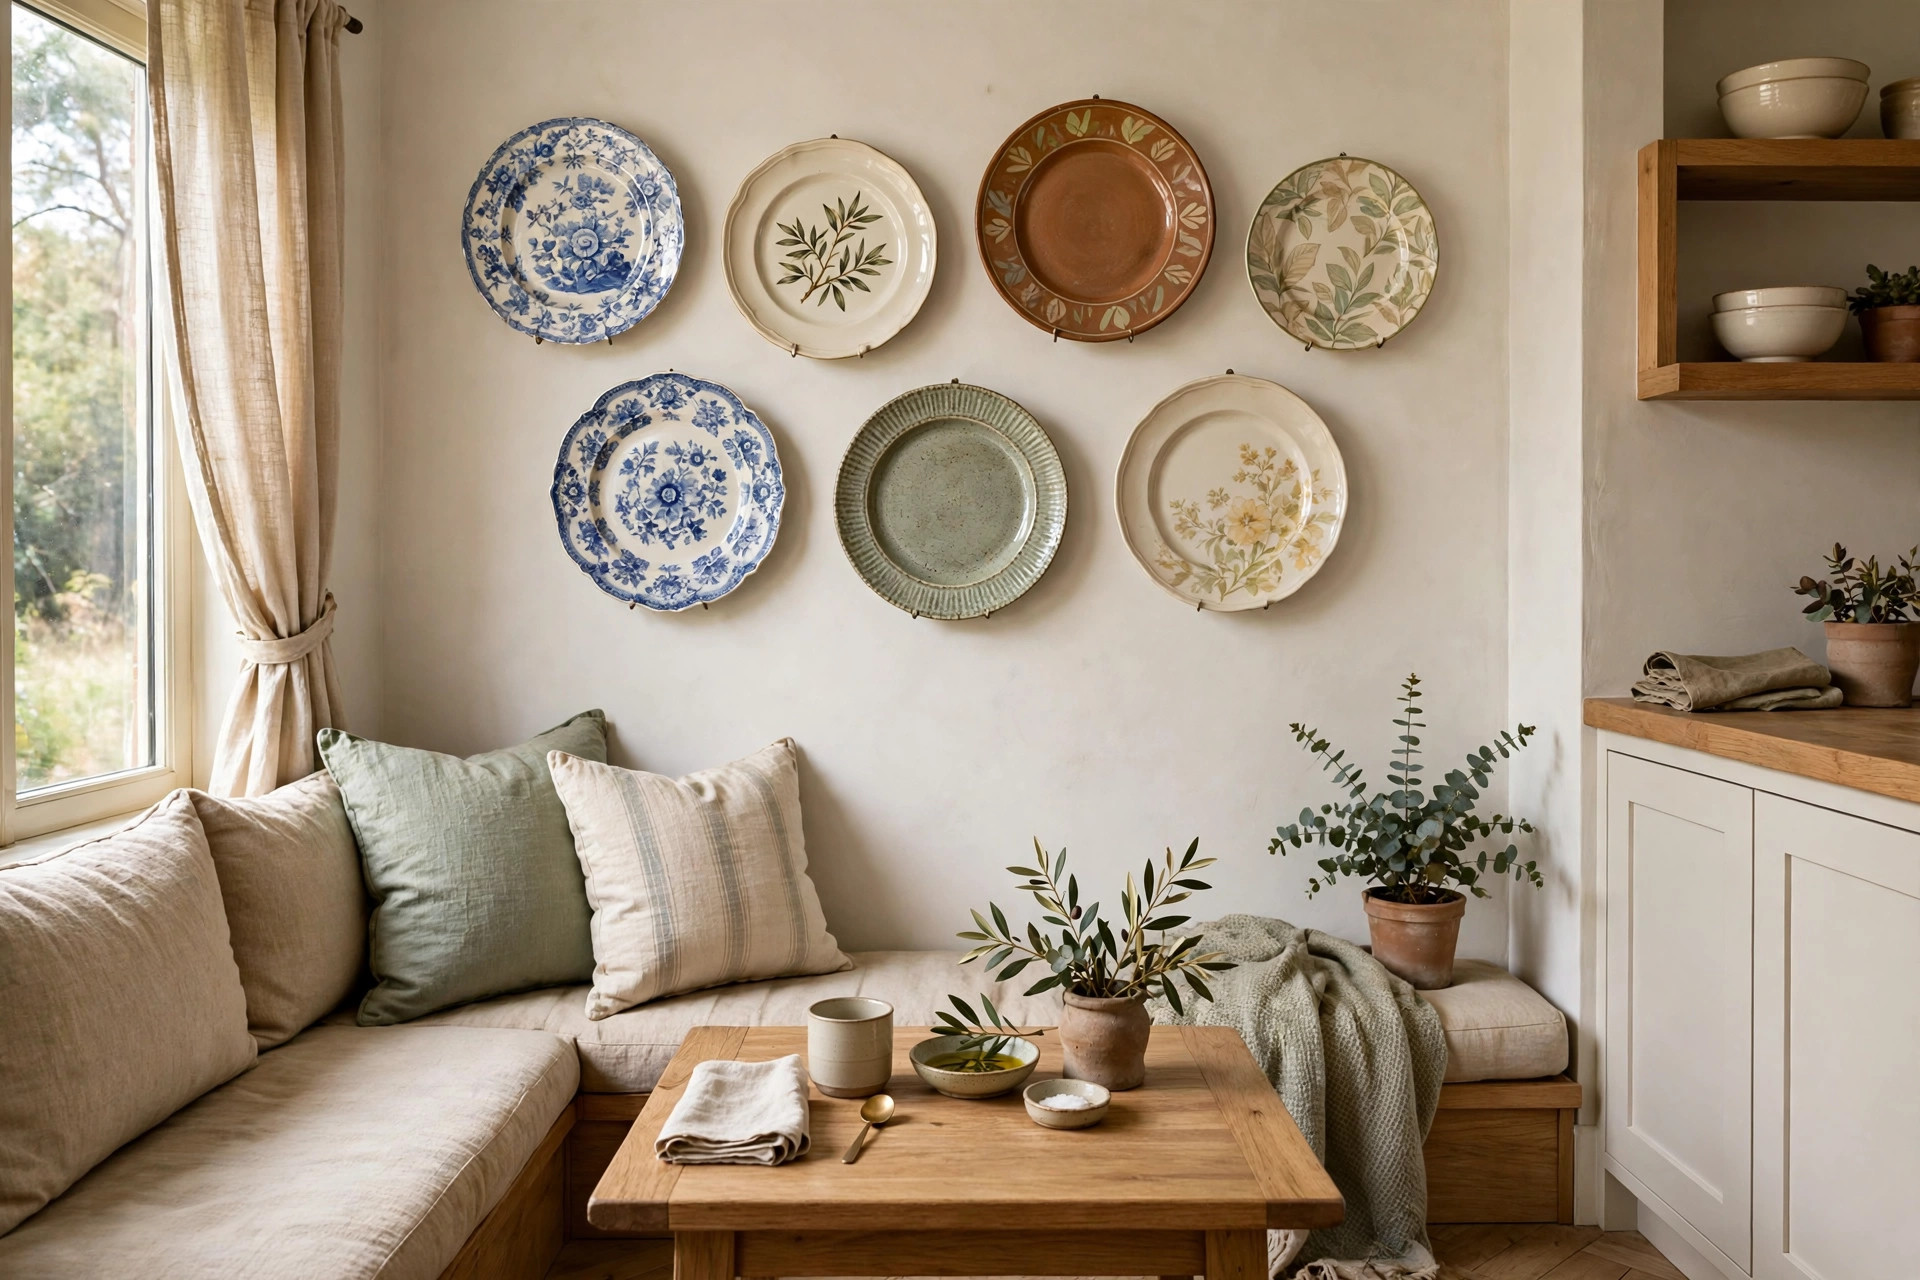
Lay the arrangement on the floor first: largest plate slightly off centre, then build outward with 1.5 to 2 inches between plates. Trace each plate on paper, tape the papers up, live with it for an evening, then hang. Keep the group at least 24 inches from the stove wall if possible — open plates collect cooking grease and need a gentle wash every few months. A plate wall also flows around an awkward switch or thermostat in a way a rectangular frame never can.
3. Hang a Tight Gallery of Food and Botanical Prints
A gallery of matching prints fills a blank wall, costs less than one large original, and lets you swap art seasonally without changing frames. The secret is tight grouping and identical frames.
Pick 4 to 6 prints in the same size, usually 8 x 10 or 11 x 14 inches, in identical thin frames in black, oak, or white. Herb prints, lemons, olives, and simple vegetable line drawings work because the backgrounds are pale. Downloads cost $5 to $15 a set; frames $8 to $20 each, so six commonly land between $45 and $90.
Hang them in a clean grid with exactly 2 inches between frames, centre of the grid at about 58 inches from the floor. Research on kitchen wall art for small kitchens from A Grateful Kitchen underlines why this works: light colours and open, airy compositions make the wall recede, while dark, dense art makes it advance toward you.
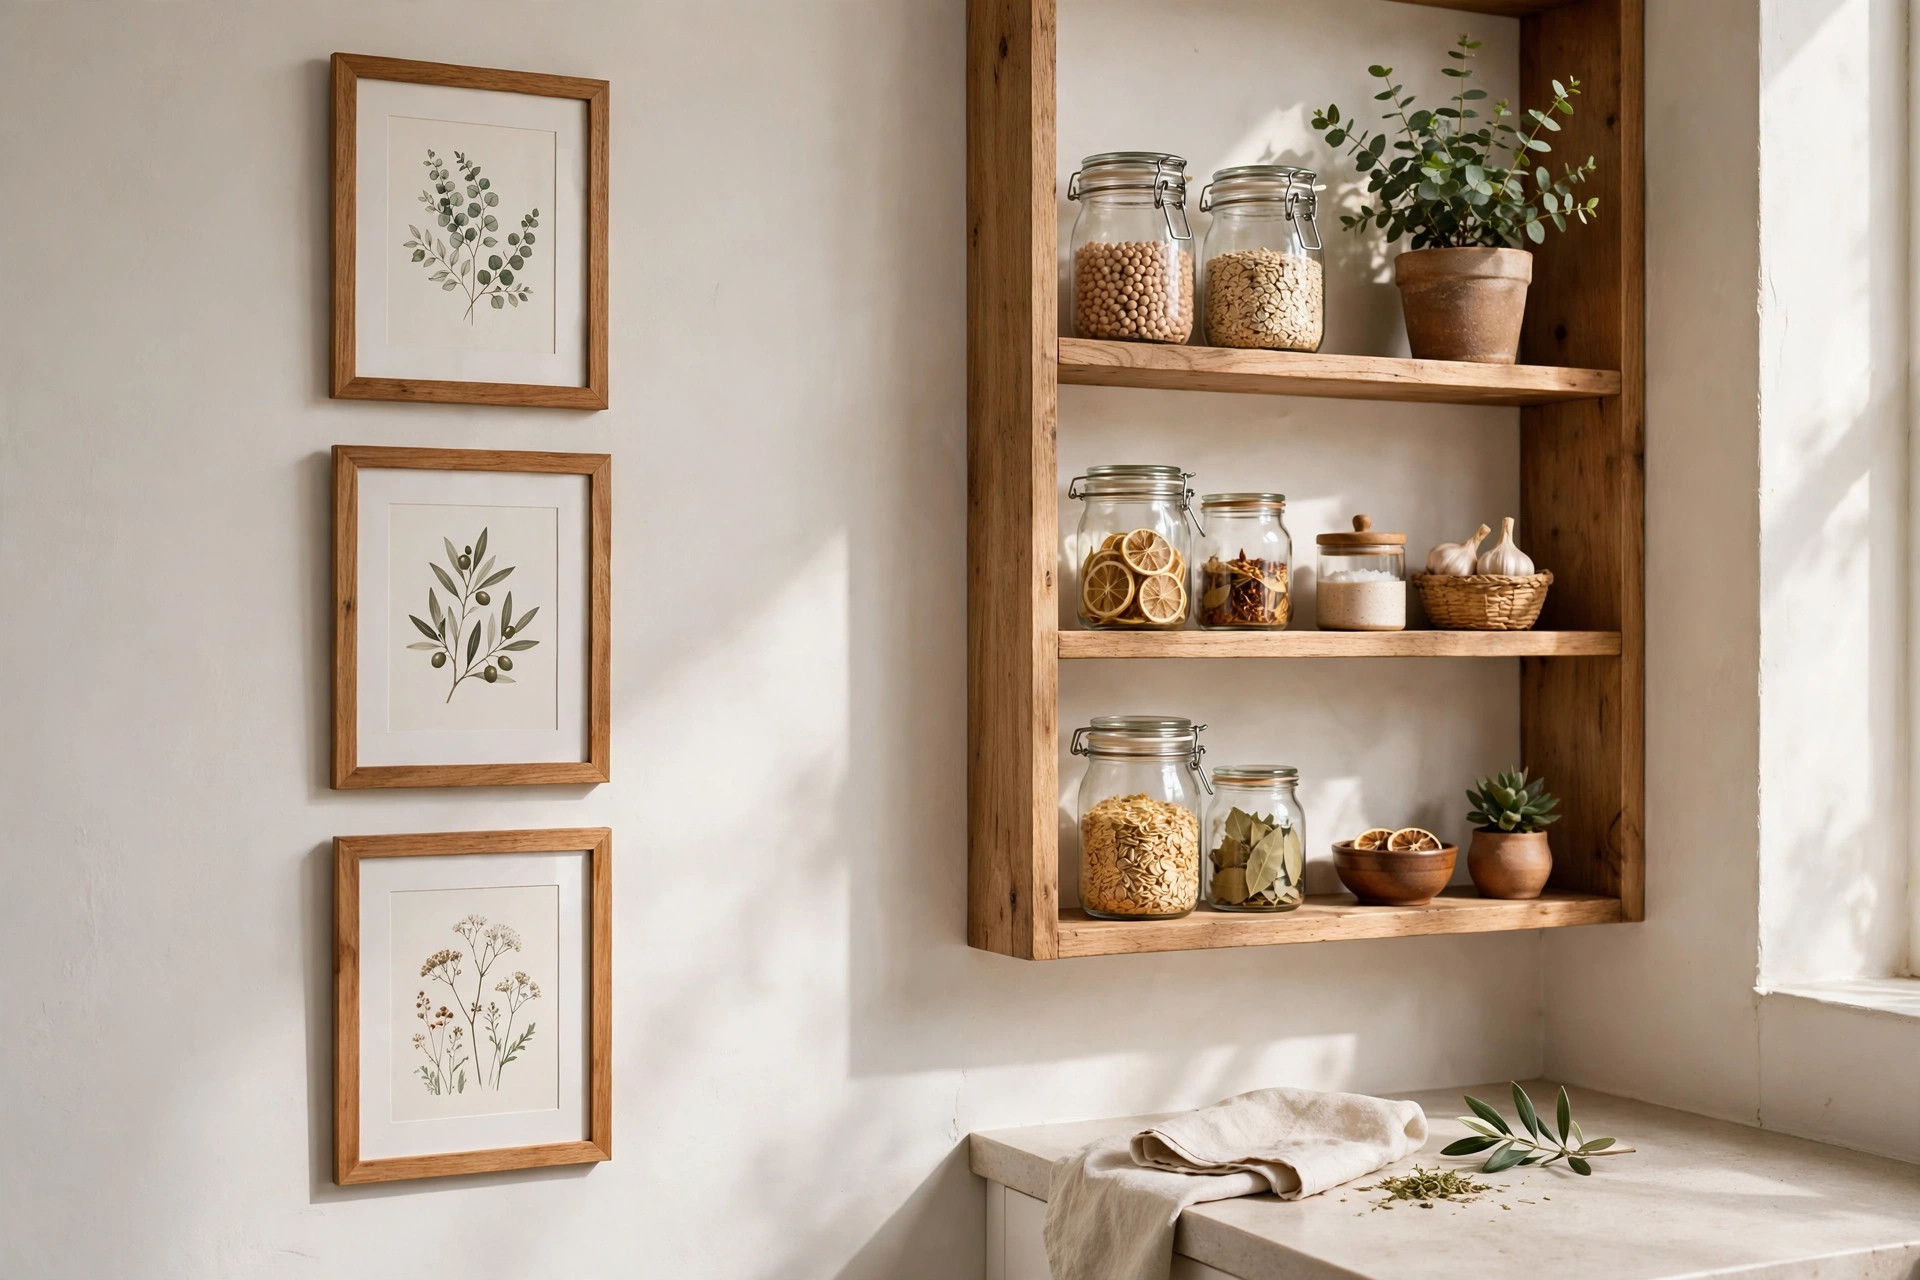
Choose prints with plenty of white space. One lemon on a white ground makes a room feel bigger; six dark, busy prints make the same wall feel closer. If you love one bold print, use it as a single accent and keep the rest pale.
4. Choose One Large, Light Print Instead of Many Small Ones
One large, light print over a table or on the main blank wall looks calmer and more expensive than a scatter of small frames — and there is only one thing to hang.
For a 48 to 60 inch wall section, try a 24 x 36 inch print with a wide pale mat in a thin frame. Expect $35 to $85 framed, less bought separately. Look for a pale landscape, a soft abstract in your cabinet colours, or an oversized botanical in cream and sage. Keep the frame slim — a heavy ornate frame adds weight a small room does not need.
Hang it with the centre at 57 to 60 inches, or 6 to 8 inches above the table below it. Then stop — the empty wall around one confident piece is what makes it work.
5. Add a Slim Picture Ledge for Rotating Art and Cookbooks
A picture ledge gives you the gallery look without six nail holes. Lean two or three framed prints, a small plant, and your most-used cookbook on it, and change the mix whenever you get bored.
Choose a ledge 24 to 36 inches long and only about 3.5 to 4.5 inches deep. Prices run $20 to $45 in wood or painted MDF. Fix it with two solid anchors, centred around 55 to 58 inches on an open wall, or about 16 to 18 inches above a counter in a dry zone, well away from the hob. Never lean paper art on a ledge directly behind the stove.
Our guide to small kitchen open shelving ideas shows how to keep shallow shelves styled rather than cluttered — the same rules apply here. Limit the ledge to three colours and five objects at most. One cookbook with a beautiful cover counts as art.
6. Turn a Pegboard Into a Flexible Tool Wall
Paint a pegboard the colour of your kitchen — soft white, sage, or warm grey — and it becomes a flexible stage for pans, whisks, cups, and baskets you can rearrange in minutes with no new holes.
A good starter size is 24 x 36 or 32 x 32 inches on a prep wall. A panel plus hook kit costs about $30 to $60. Mount it into studs or with heavy-duty anchors. In a truly small kitchen hang lighter items only — utensils, mugs, small boards, a wire basket — and save the heaviest pan for a cabinet.
Group by type and leave breathing room. A row of boards, a cluster of steel tools, and one basket read as decor; a pegboard filled edge to edge reads as overflow. Keep the bottom edge at least 6 inches above the counter so you can wipe underneath, and keep it off the wall behind the burners.
7. Cluster Cutting Boards Like a Gallery
You already own this decor. Three to five wooden boards in different tones, from pale maple to walnut, look beautiful hung or leaned together and warm up white cabinets like no print can.
Use boards between 10 and 18 inches long, in at least two shapes, for example two rectangles and one round board. If you are buying for display and use, budget $12 to $30 per solid wood board. Hang them from small hooks or a short rail, overlapping slightly, with the group spanning about 20 to 28 inches. Or lean them on the counter against the wall in a dry area if you prefer no holes, as long as they do not crowd your main prep zone.
Only display boards you actually use and wash often — a board that never moves collects dust and grease. Rotating them through real use keeps the display fresh, and a light food-safe oil every few months keeps the wood rich.
8. Use a Round Mirror to Borrow Light
Placed opposite or at an angle to a window, a mirror bounces daylight into the darkest corner and makes a small room feel noticeably less boxed in.
Choose a round mirror 20 to 24 inches across with a slim black, brass, or light wood frame. Expect to pay $35 to $80. Round matters: your kitchen is already full of straight lines from cabinets, counters, and appliances, and a circle softens all of that.
Hang it on a nook wall, beside a door, or above a small side table, centre at about 58 inches. Avoid constant splatter from sink or stove, or you will clean it daily. A spot that reflects the window, not the cooker, gives the light benefit without the upkeep. Check the reflection first — you want light and a pleasant view, not a bin.
9. Grow a Small Herb Wall Instead of Buying Art
A small herb wall gives you colour, scent, and ingredients in the space of one picture. It suits a wall beside a window best, because herbs need light most.
Keep it modest: 3 to 5 small pots in 4 to 5 inch planters on a wall planter rail, a hanging planter bar, or wall-mounted pots. A simple wall planter set costs $25 to $50, plus $3 to $6 per herb plant. Basil, mint, parsley, thyme, and chives cope best indoors. Mint belongs in its own pot, always, because it will take over any shared planter.
Position herbs for at least 5 to 6 hours of bright light, within easy reach for watering, and at least 18 to 24 inches from the hob so heat does not scorch leaves. No window-wall space? Copy the look with framed herb prints from idea 3 and grow one real pot on the windowsill. If dried-spice jars are taking over the counter, our roundup of small kitchen spice storage ideas covers wall and drawer options that free up the same space.
10. Frame Something Personal: A Recipe, a Menu, or a Tea Towel
The most memorable walls are rarely the most expensive. A handwritten family recipe, a menu from a trip, or a beautiful tea towel in a frame tells a story no store-bought print can.
This is also the cheapest idea on the list. A frame costs $8 to $18, and enlarging a recipe card costs only a few dollars. If the original is precious, frame a good photocopy and keep the original safe. For a tea towel, choose a bold fruit, herb, or market design, iron it flat, and mount it in a 16 x 20 or 18 x 24 inch frame for an instant piece of textile art for under $25 total.
Place personal pieces where people linger, not where they splash: over a nook, beside the table, or by the door, well away from stove and sink zones. Glass helps, but distance helps more. The functional version works too — a framed chalkboard or menu board, about 16 x 20 inches with a thin light frame, near the fridge for the weekly meal plan. A heavy dark board can feel oppressive in a tiny room.
11. Style One Short Open Shelf as a Vignette, Not Storage
One short shelf, styled tightly, looks like decor. Three long shelves full of everything look like you ran out of cabinets.
Try one shelf 24 to 30 inches long and 5 to 6 inches deep, in light oak or white, fixed about 58 to 62 inches from the floor, or 18 inches above the counter. It costs $18 to $40 plus brackets. Style just four groups: two cookbooks, a small plant, three matching jars, and one mini print leaned at the back. Leave a third of the shelf empty.
This works best when counters are under control. If jars and tools are spreading, fix that first with the zones in our guide to small kitchen counter organization, then style the shelf. Above a clear counter, it becomes the focal point of the room.
12. Go Vertical: Stack Small Frames Up a Narrow Strip
Every small kitchen has one awkward narrow strip — beside the fridge, next to a window, or by the door — too thin for a shelf and too visible to ignore. A vertical stack was made for it.
Use 3 or 4 small frames, 5 x 7 or 8 x 10 inches, in a straight vertical line with 2 to 3 inches between each one. Keep the subject consistent: four coffee prints, four black-and-white market photos, or four herb studies in the same frames. A set costs $25 to $50 total. Hang the middle of the stack at eye level, around 58 inches, so the top frame draws the eye up and the ceiling feels higher. That upward pull is especially valuable with standard 8-foot ceilings.
Resist widening it — one clean vertical line looks architectural; a second column on a 14-inch strip looks crowded. Beside a door, check the handle cannot swing into the frames first.
How to Choose Your First Idea This Weekend
You do not need all 12. Most small kitchens need only two walls treated: one functional, one pretty. Pick by the wall you have.
- Blank wall over a nook or table: plate wall, one large print, or a tight print gallery.
- Blank prep wall with no upper cabinets: rail system, pegboard, or cutting board cluster.
- Dark wall opposite a window: round mirror, plus one pale print if space allows.
- Narrow strip beside the fridge or door: vertical stack or one framed recipe.
- Wall beside a bright window: herb wall or a slim picture ledge.
- Renting, no drilling allowed: lightweight frames on adhesive strips, framed tea towels, and leaned art in dry zones only. Check what your strips can actually hold, and never hang glass over a walkway on strips alone.
Budget helps too. Under $30: a framed tea towel, a personal recipe, or thrifted plates. Between $30 and $60: a rail, ledge, or pegboard. Between $60 and $100: a full print gallery or a good mirror.
Common Mistakes That Make Small Kitchen Walls Look Worse
- Hanging too high: bring art down to the 57 to 60 inch centre line.
- Going too small: group small pieces tightly or size up.
- Ignoring the stove zone: grease and steam damage are placement problems, avoidable on day one.
- Too many finishes: limit frames to one or two finishes and art to two or three colours.
- Filling every wall: one or two treated walls plus one calm, empty wall is balanced.
The Bottom Line on Small Kitchen Wall Decor
The best small kitchen wall decor ideas do two jobs at once. They fill the blank wall you see every morning, and they either store something, reflect light, grow something, or tell your story while they do it. Start with the measurements, respect the heat and steam near the stove, and choose just one functional idea and one pretty idea for your space.
Measure your wall, check the distance from the burners, and pick the idea that fits that exact spot. A 24-inch rail, a $40 plate wall, or six pale prints can finish a small kitchen in one afternoon.


Comments
Post a Comment