
DIY Coat Rack Ideas: 12 Stylish Builds for Small Entryways
DIY Coat Rack Ideas: 12 Stylish Builds for Small Entryways
A hallway that eats coats, scarves, and keys for breakfast is not a space problem — it is a rack problem. These DIY coat rack ideas turn even the smallest entryway into an organized landing zone, and every one of them can be built in an afternoon with basic tools. Below you will find 12 distinct designs, from a classic wooden peg rail to an industrial pipe rack, each with a materials list, tools, and the mounting guidance you need to hang them safely the first time.
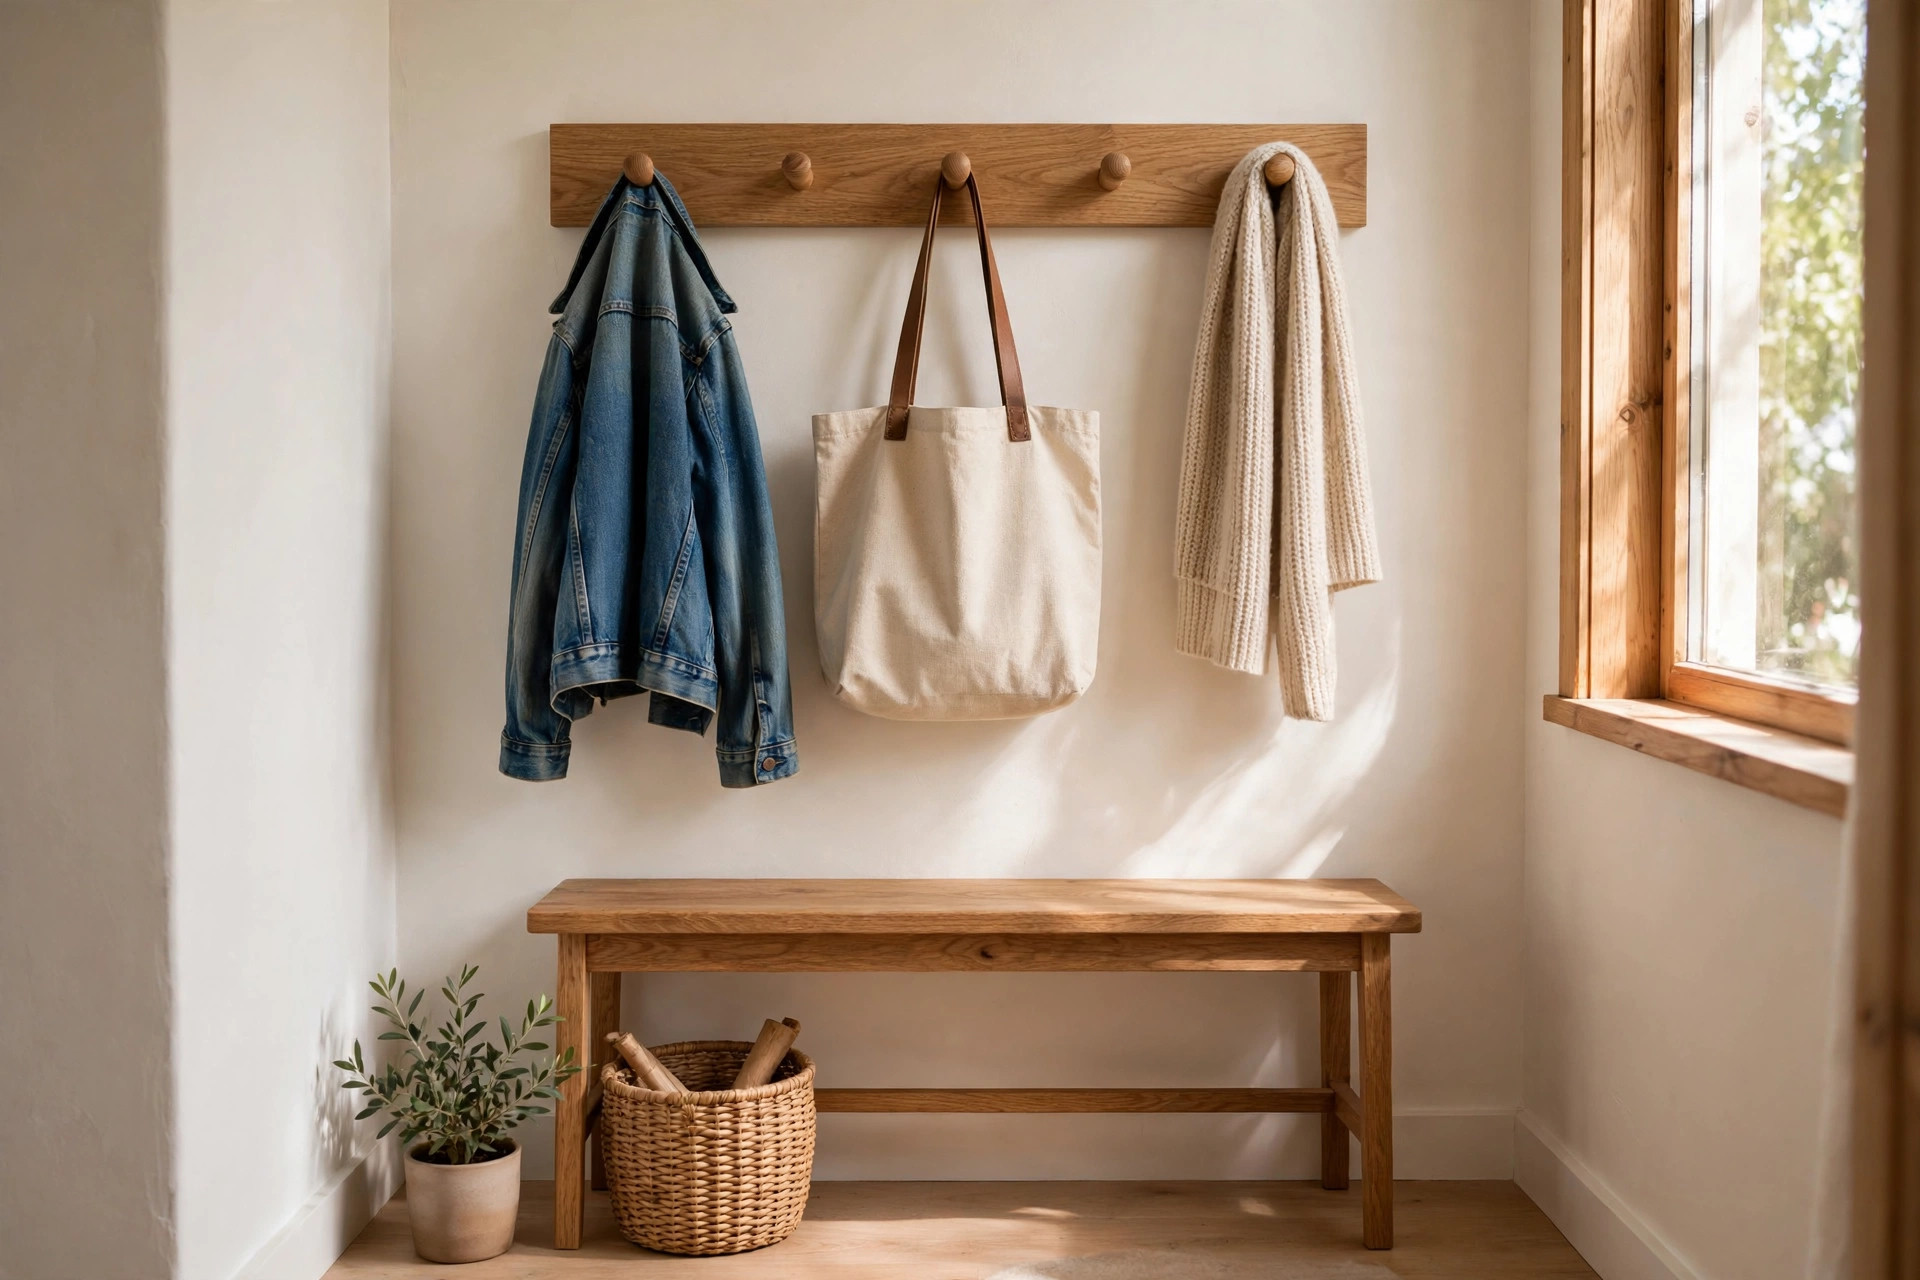
Before we dive in: most hooks feel right at 60–66 inches from the floor (centerline), a shelf works best at 66–72 inches so coats never bump it, and a low row at 34–40 inches is a gift to kids and small bags. Hooks hold heaviest winter coats at 8–12 pounds each, so always screw into wall studs where you can — drywall anchors alone are for light-duty extras, not your main rail.
Mounting basics for every DIY coat rack
Get this right and every idea below becomes a 30-minute install instead of a weekend of regret.
- Find the studs. Run a stud finder along your wall and mark every stud (usually 16 inches apart). A rail that ties into at least two studs holds a full family of coats without complaint.
- Studs vs. anchors: drive 2.5–3 inch wood screws through your board directly into studs for the main load. If no stud lines up where you need a hook, use toggle bolts — never plain plastic wall plugs for heavy coats.
- Level it. Tape the board to the wall with painter's tape, step back, and check with a spirit level before you drill a single hole.
- Space hooks 6–8 inches apart (10 inches if you wear bulky parkas) so coats hang without overlapping.
- Pre-finish before mounting. Sand, stain, or paint your board first — touch-ups are far easier than finishing against a wall.
A solid step-by-step on wall mounting is covered in this guide to DIY coat rack walls for small spaces, which lines up well with the heights and load rules above.
12 DIY coat rack ideas with build guides
1. Classic wooden peg rail coat rack
The timeless Shaker peg rail: a clean hardwood board with rounded pegs that welcomes coats, hats, and tote bags. Perfect above a narrow bench in a small entryway. Style the bench beneath it with our entryway bench styling ideas — a cushion, a basket, and one seasonal layer are all it needs.
You need: 1x4 hardwood board (oak or maple), 5–7 wooden shaker pegs, 120- and 220-grit sandpaper, wood glue, 2.5-inch wood screws, hardwax oil or clear sealer.
Tools: saw, drill with 7/8-inch bit, stud finder, level, screwdriver.
- Cut the board to length (36–48 inches suits most entries) and sand all edges smooth.
- Drill peg holes evenly spaced, 6–8 inches apart, slightly angled upward.
- Glue the pegs in place, let them cure overnight, then seal the board.
- Mount the rail at 60–63 inches to the studs with screws driven through the back of the board.
Style tip: leave the wood natural and pair it with cream walls for a soft farmhouse look — or paint it charcoal for modern contrast.
2. Modern hook board with double hooks
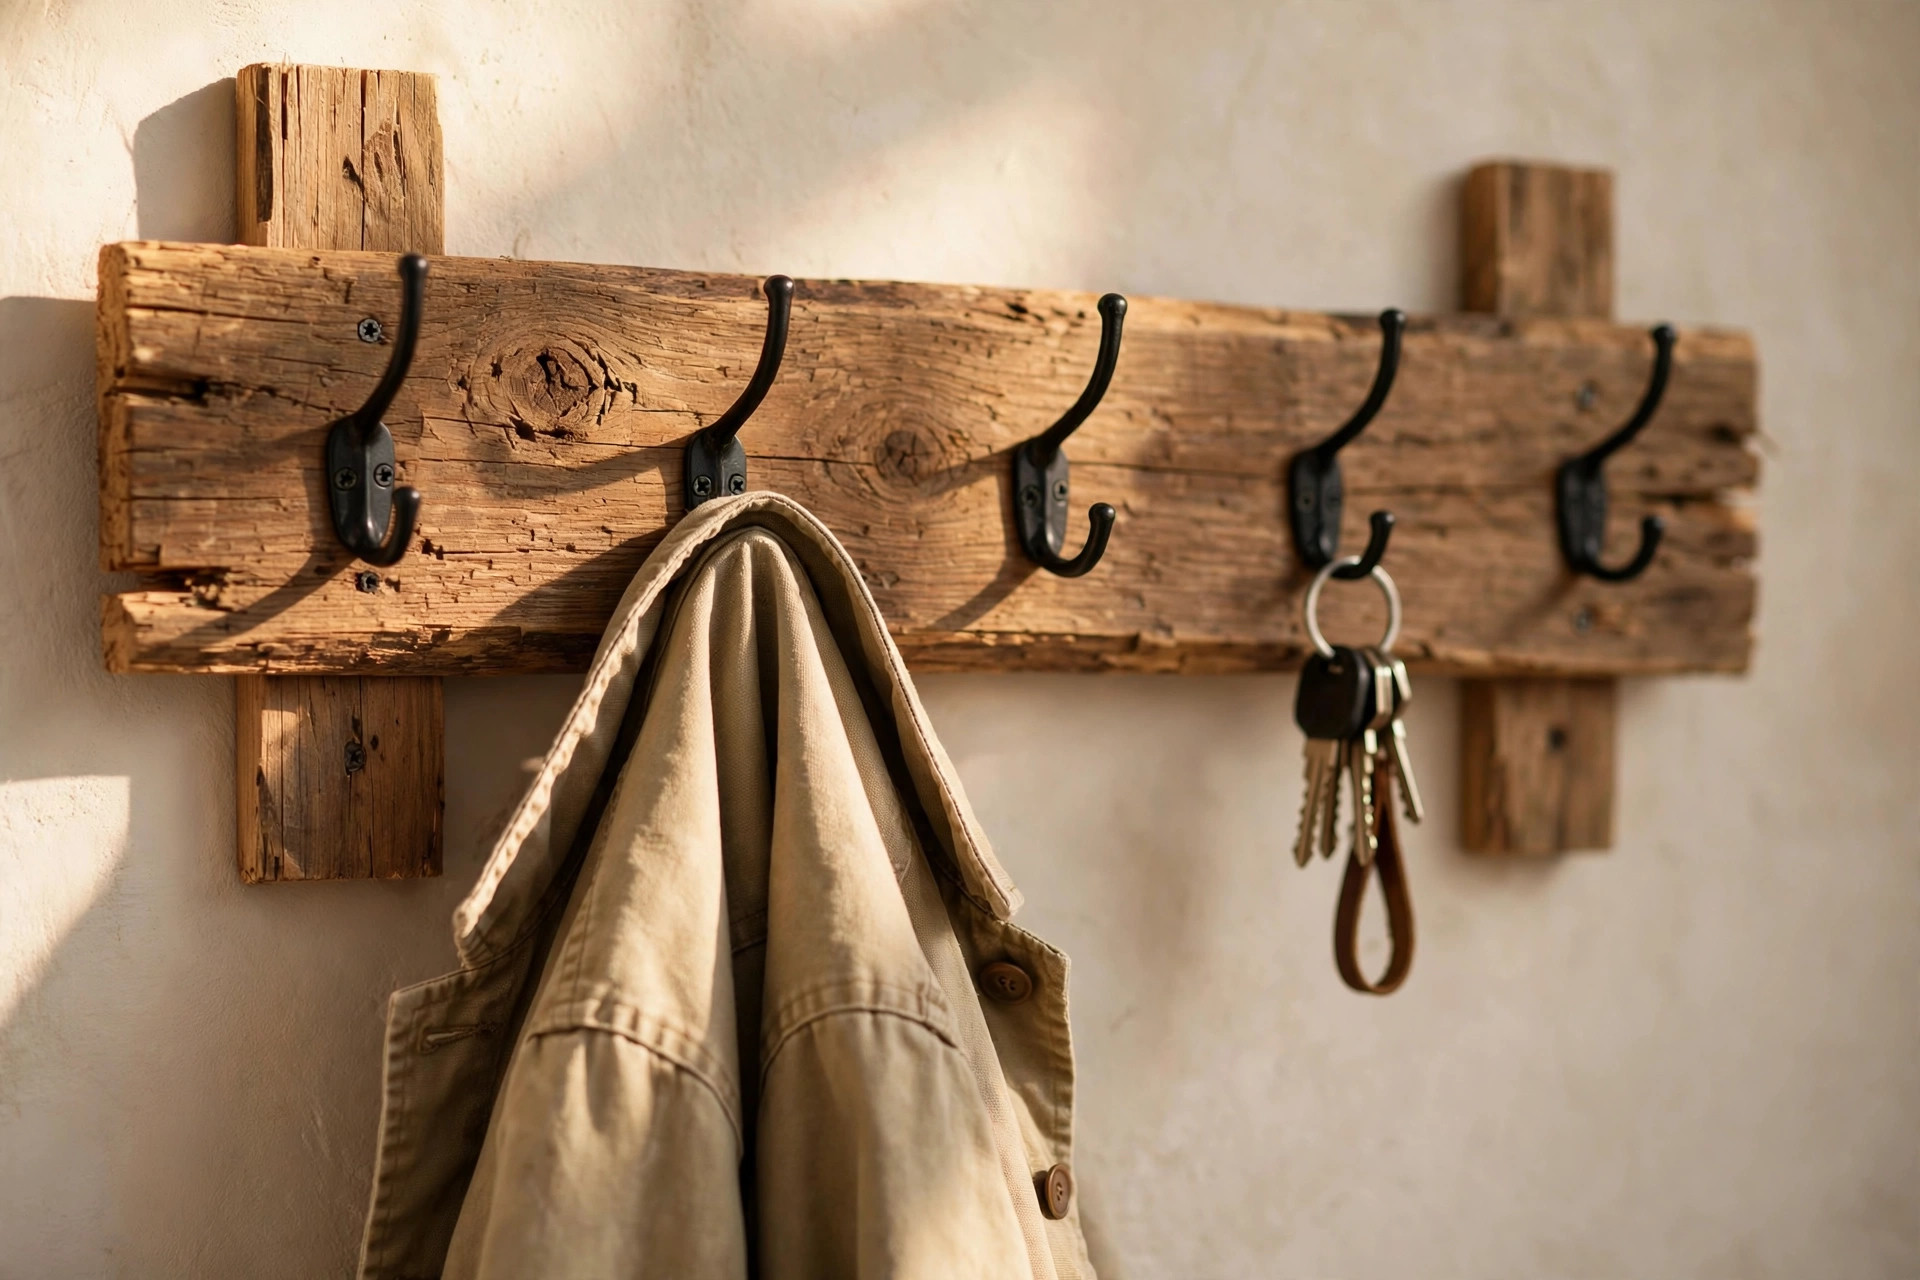
One stained board, five matte-black double hooks, zero clutter. Double-prong hooks double your capacity without adding width — the small-entryway cheat code.
You need: 1x6 pine or poplar board, 5 double coat hooks, screws that come with the hooks, 3-inch wall screws, paint or wood stain.
Tools: saw, drill, stud finder, level, tape measure.
- Cut, sand, and paint or stain your board; let it dry fully.
- Mark hook positions 8 inches apart and attach hooks with their supplied screws.
- Find two studs, hold the board at 60 inches, and drive 3-inch screws through the board into the studs (space screws at least 16 inches apart).
- Cover screw heads with matching wood filler or button plugs for a clean finish.
3. Ladder-style lean-to coat rack
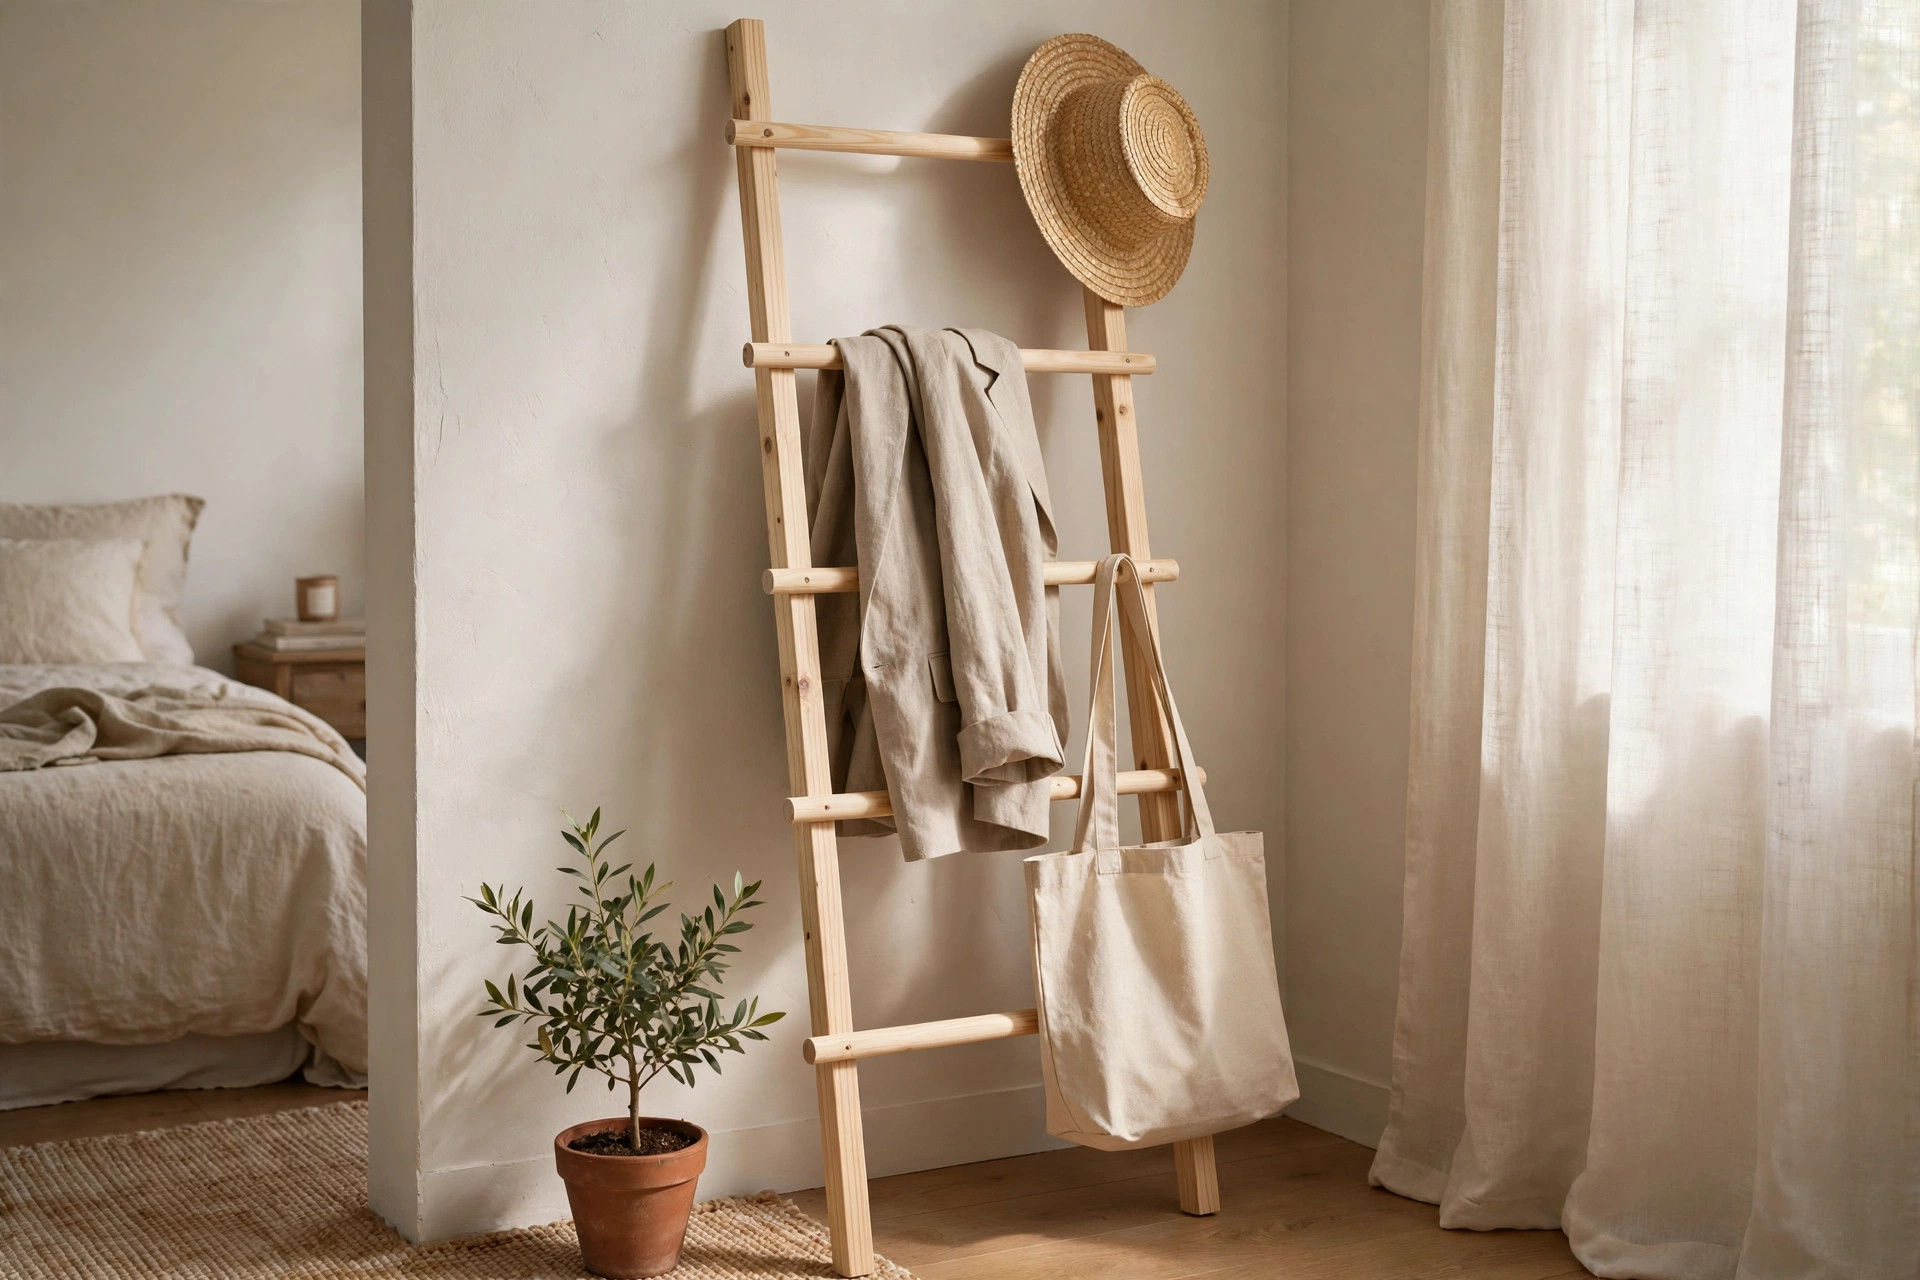
No drilling, no holes, no landlord problems. Two legs, a few rungs, and you have a freestanding rack that leans against the wall and moves wherever you do.
You need: two 6-foot pine 2x2s, five 24-inch dowels or rungs, wood glue, 2-inch screws, anti-slip pads.
Tools: saw, drill, clamps.
- Cut the legs at a slight angle so the bottom sits flat when leaned at about 75 degrees.
- Drill angled holes through the legs and glue in the rungs every 12 inches.
- Add screw supports for strength, sand smooth, and finish.
- Stick anti-slip pads on the feet so it never slides on hard floors.
If you love the no-screws-in-the-wall life, this pairs beautifully with other rental-friendly builds from our beginner DIY home decor projects roundup.
4. Industrial pipe coat rack
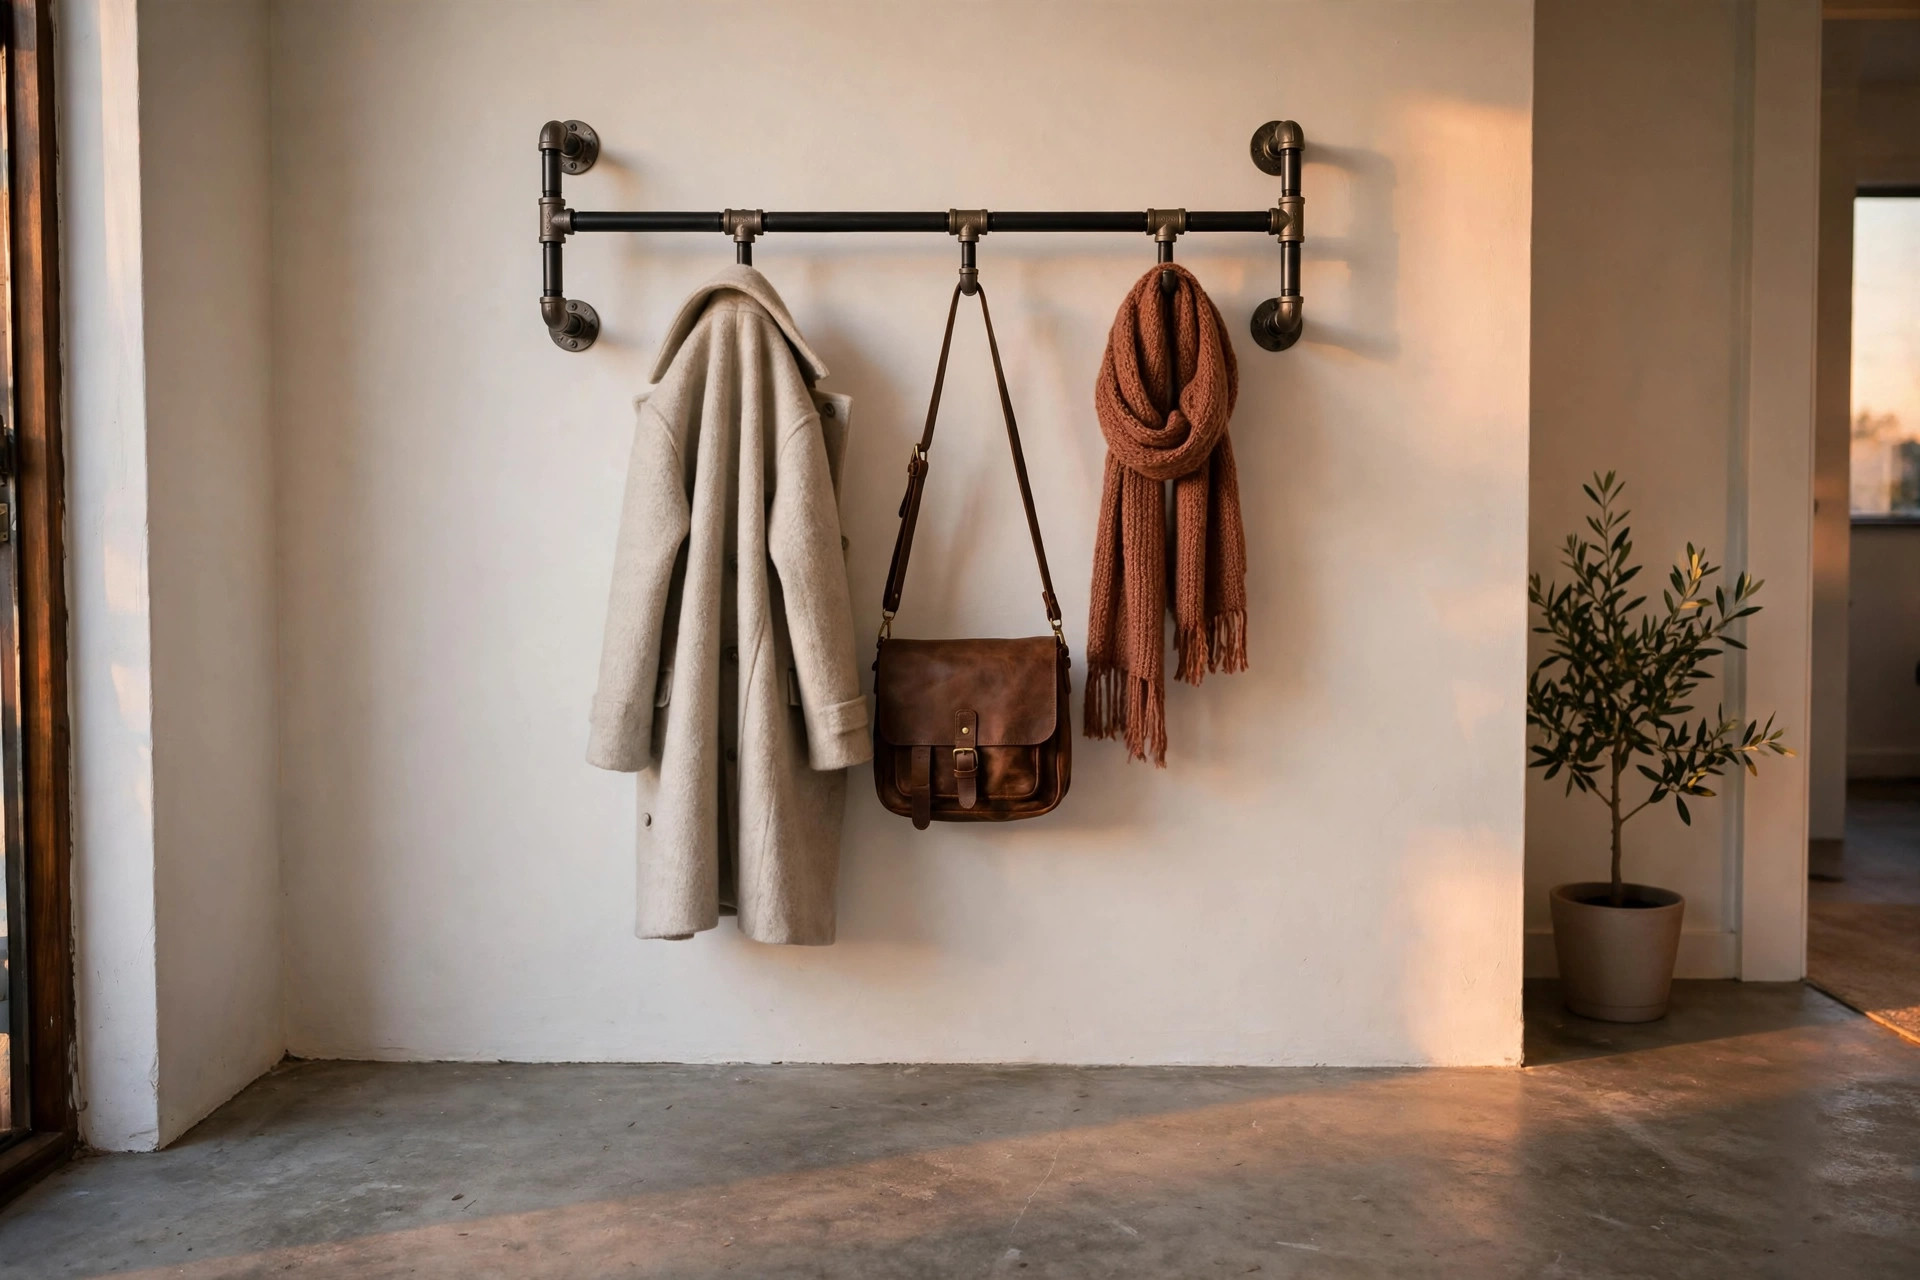
Black steel pipes, brass elbow fittings, and you have an entryway statement that holds a full winter wardrobe. Stronger than it looks — and it looks like it belongs in a design magazine.
You need: 3/4-inch black iron pipe (two 24-inch uprights, one 36-inch crossbar), four 90-degree elbows, two floor flanges, screws for studs.
Tools: pipe wrench, stud finder, level, drill.
- Dry-fit all pieces first — pipes do not forgive mis-measured walls.
- Mount the two floor flanges into studs at 62 inches.
- Thread in the elbows and crossbar, then tighten everything with a pipe wrench.
- Wipe the pipes with a degreaser before assembly; black pipe arrives oily.
5. Reclaimed barn wood coat rack
One weathered plank and a set of vintage-style hooks gives you the rustic farmhouse look money usually buys. Check salvage yards or old fence boards for character-rich wood.
You need: reclaimed plank (4–6 inches tall, 36–48 inches long), 4–5 cast-iron or aged-brass hooks, scrub brush, clear matte sealer.
Tools: drill, stud finder, level.
- Scrub the plank with a stiff brush and let it dry completely; seal with two coats of matte sealer so it does not shed dust on clothes.
- Space hooks evenly, drill pilot holes (reclaimed wood splits easily), and attach.
- Mount into studs at 60–66 inches.
6. Floating shelf + hooks combo coat rack
A slim shelf up top for hats and sunglasses, hooks underneath for coats — one board does the work of a whole entryway organizer. Keep the shelf 6–8 inches deep so it never feels bulky.
You need: two boards (shelf + hook rail), concealed shelf brackets or triangular steel supports, 4–6 hooks, screws.
Tools: drill, stud finder, level.
- Mount the hook rail at 58–60 inches into studs.
- Install the shelf 12 inches above the rail on brackets spaced no more than 24 inches apart (prevents sag under hat boxes).
- Style the shelf with two matching baskets — no more, or it starts looking cluttered.
For more shelf styling ideas that actually stay tidy, see our guide to DIY wooden projects for every room — same weekend-warrior energy, different room.
7. Over-the-door rail for renters
When the wall is not an option, the door is. A reinforced over-the-door rail with slim hooks takes zero tools and leaves zero marks.
You need: heavy-duty over-door hook rack (rated for at least 30 pounds), felt pads for the door top.
Tools: none — maybe a screwdriver if your rack has tightening screws.
- Stick felt pads on the door top so the metal never scratches paint.
- Hang the rack and tighten any set screws; test with a loaded bag before trusting it.
- Keep coats under 20 pounds total on a hollow-core door.
8. French cleat modular coat rail
A wall-mounted cleat strip lets your hook panels slide on and off — rearrange the whole rack for guests, kids, or seasons without new holes. The cleanest mounting system in this list.
You need: two 1x4 boards (one ripped at 45 degrees for the cleat), hook panels in any style you like, 3-inch screws.
Tools: saw (for the 45-degree rip), drill, stud finder, level.
- Screw the wall cleat into three studs — this strip carries everything.
- Attach the matching angled cleat to the back of each hook panel.
- Slide panels on and off the cleat to rearrange whenever you like.
9. Driftwood branch wall rack
A naturally forked branch, sanded and sealed, mounted with heavy brackets — the organic-art coat rack. No two are alike, which is exactly the point.
You need: a sturdy dry branch (at least 3 inches thick), two heavy L-brackets, wood sealer, lag bolts.
Tools: saw, sander, drill, stud finder.
- Choose a branch with natural forks pointing upward — those are your hooks.
- Sand aggressively and seal every surface; branches hide splinters.
- Mount brackets into studs and bolt the branch to the brackets at 60–64 inches.
10. Low kids' coat rail
Hang a second rail at 34–40 inches and children can hang their own coats, backpacks, and school bags — the fastest way to end the "it fell on the floor" era.
You need: short 1x4 board (24–30 inches), 3–4 colorful hooks, screws, paint.
Tools: drill, stud finder, level.
- Paint the board in a fun color so it reads as "theirs."
- Mount into one or two studs at 36 inches centerline.
- Add a small name tag above each hook with adhesive labels.
11. Copper pipe wall rack
Warm copper pipes with elbow joints give you a modern-rustic hybrid that photographs beautifully. Copper is lighter than iron pipe, so standard toggles work where studs miss.
You need: 3/4-inch copper pipe, copper elbows and flanges, pipe cutter, epoxy or solder, toggle bolts.
Tools: pipe cutter, drill, level, stud finder.
- Cut pipes to length — one horizontal bar at 36 inches is the sweet spot.
- Bond joints with two-part epoxy (no soldering skills needed).
- Mount flanges into studs where possible, toggles where not, at 60–63 inches.
12. Hidden folding-hook rail
A slim walnut board with fold-down hooks that disappear flush when guests arrive. Minimalist during the day, full-capacity when the coats come out.
You need: hardwood board, 5 folding wall hooks (brass or black), router or chisel for shallow recesses, screws.
Tools: drill, router or chisel, stud finder, level.
- Route shallow recesses so hooks sit flush when folded.
- Attach folding hooks with their supplied hardware.
- Mount the board into studs at 60 inches.
Styling your new coat rack
A rack earns its keep when it is styled for real life, not a photo shoot. Keep daily coats on the middle hooks, seasonal overflow on the ends. Add a narrow mirror beside the rack — it doubles light in a dark entry and gives you the last-look check. A small tray or wall-mounted pocket under the rail catches keys and mail. And resist the urge to hang everything you own: a rack at 70 percent capacity looks intentional; a rack at 130 percent looks like a laundry pile.
FAQs about DIY coat racks
How high should I hang a DIY coat rack?
Main hooks sit comfortably at 60–66 inches from the floor. Keep a top shelf at 66–72 inches so hanging coats never bump it, and add a lower row at 34–40 inches for kids and bags.
Can I mount a coat rack on drywall without hitting a stud?
For heavy winter coats, you should tie into at least two studs with 2.5–3 inch screws. Toggle bolts handle moderate loads where studs are missing, but plain plastic plugs should never carry your main rail. A freestanding DIY coat rack build is the safer route when the wall itself is the problem.
How far apart should coat hooks be?
6–8 inches for everyday jackets, 10 inches if bulky parkas are regulars. Overlap traps moisture and wrinkles — give coats breathing room.
What wood is best for a DIY coat rack board?
Oak or maple for strength and clean grain, poplar for a budget board you plan to paint. Seal everything — raw wood in a high-traffic entry wears fast.
Ready to build?
Pick one idea that fits your space, gather the materials this weekend, and give your entryway the rack it deserves. If this is your first build, the peg rail (idea 1) is the friendliest start — and if you are already hooked on weekend projects, browse more DIY project ideas on DecorNest Daily for your next build. Once the rack is up, style the whole zone with our fall entryway decorating guide — hooks, bench, and mirror working as one welcome.


Comments
Post a Comment