
12 Easy DIY Ladder Shelf Ideas for Small Rooms on a Budget
If your small room is short on storage but you cannot face another bulky bookcase, these DIY ladder shelf ideas are built for exactly that problem. A ladder shelf leans lightly against the wall, takes up a narrow footprint, and gives you five open shelves for books, plants, baskets and everyday clutter without closing the room in. Better still, most versions here cost between $25 and $100 in pine or poplar, while a similar shop-bought shelf often starts at $150. You need only basic tools, a free afternoon for the simpler builds, and one non-negotiable extra: a proper wall anchor. This guide walks through the shared basics first, then 12 distinct builds with honest difficulty, cost and time for each one, plus exact sizes, weight limits and the mistakes that make a shelf wobble, sag or tip.
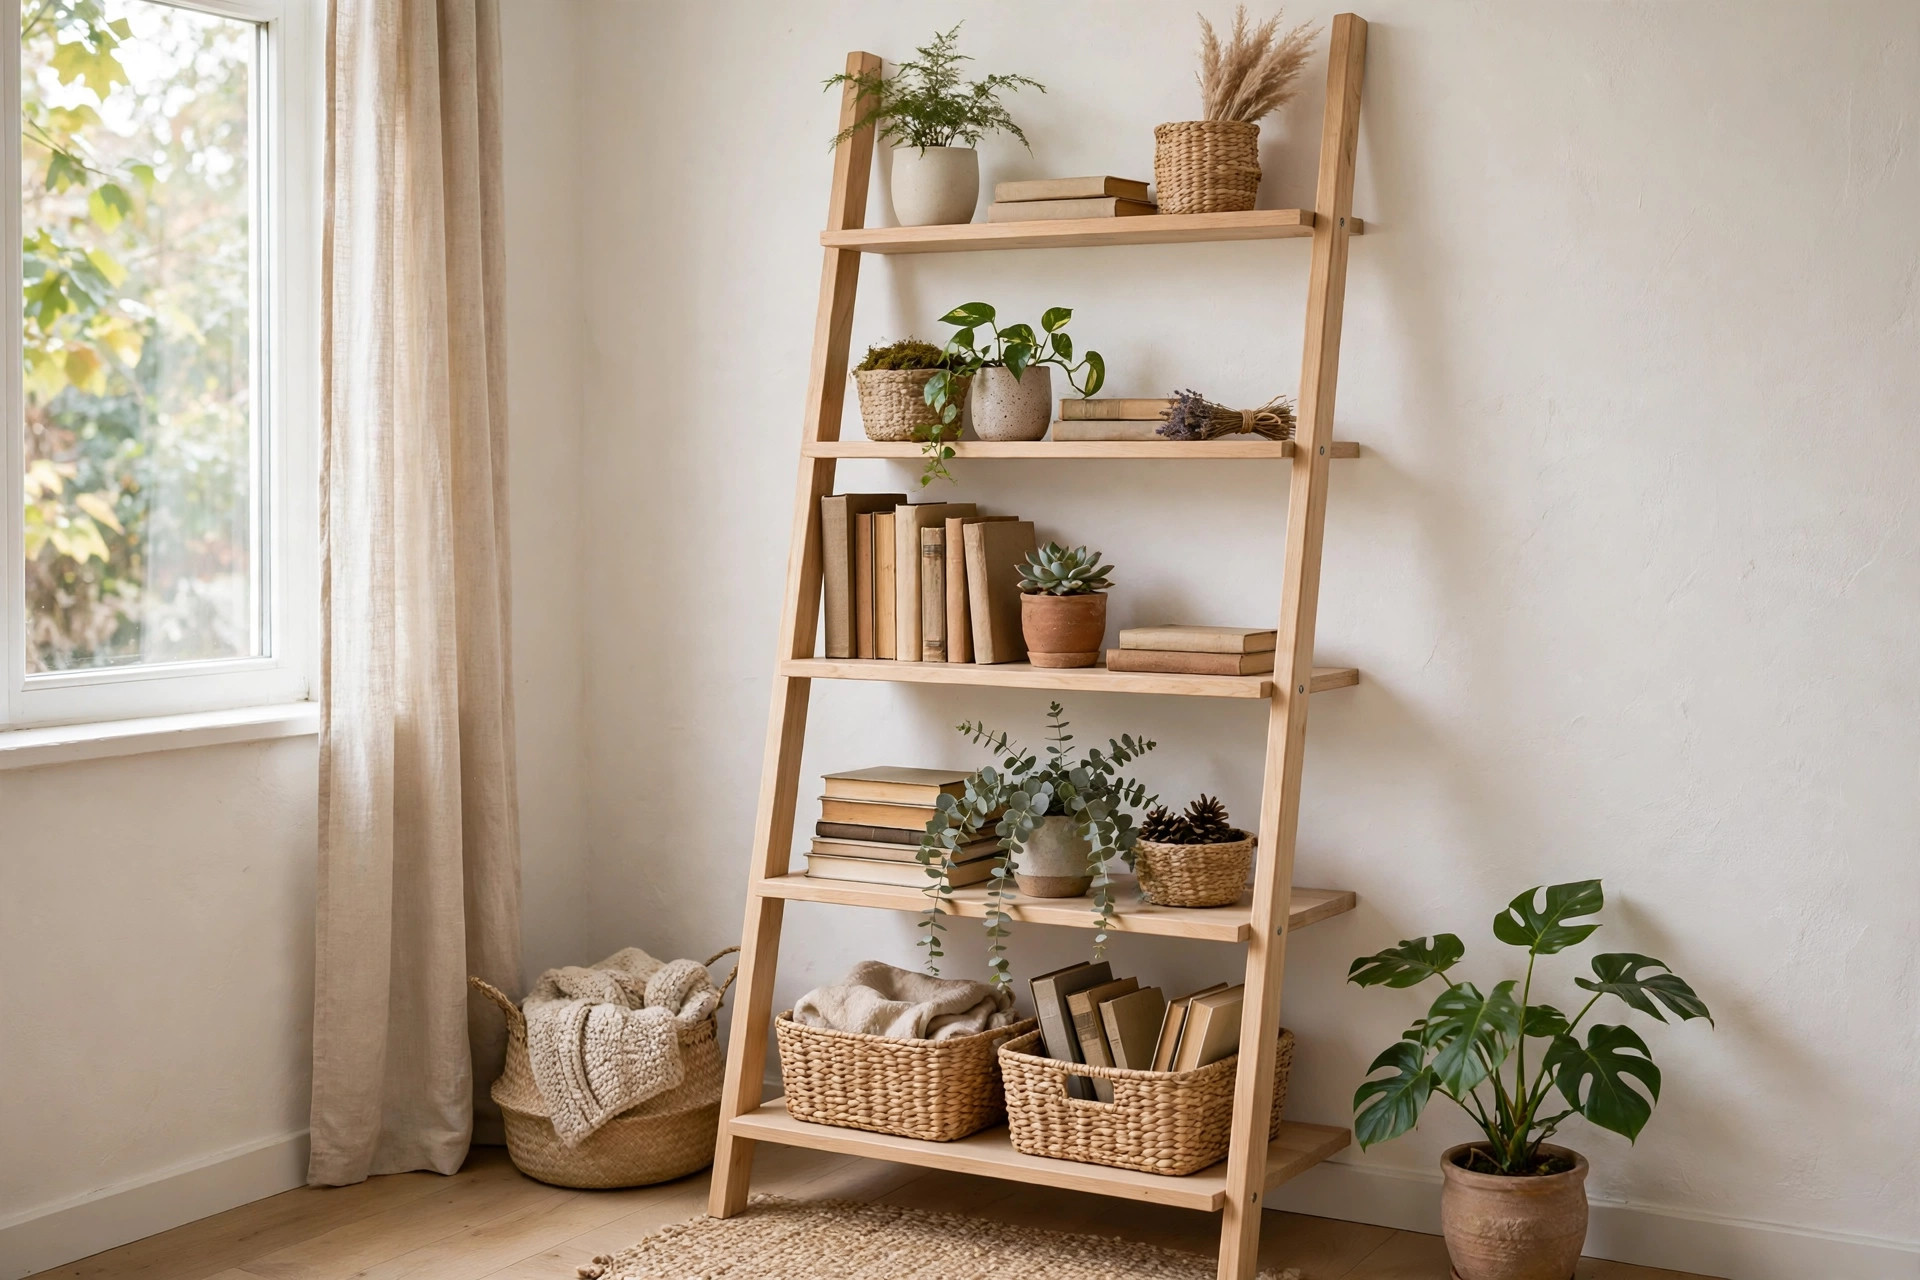
Every idea below follows the same proven shape unless it says otherwise: sides leaning at 5 to 10 degrees, shelves getting shallower as they rise, and a unit light enough to move for cleaning. Pick the build that matches your tools and confidence. A simple leaner finished well always beats an ambitious frame that never sits flat.
Before You Build: Tools, Materials and the Measurements That Matter
You do not need a full workshop here. If you can measure, drill straight and sand without rushing, you can make at least eight of these 12 shelves. Ask the timber yard to make your long cuts if you do not own a saw — straight cuts are half the battle.
- Basic tools: tape measure, pencil, combination square, drill and driver, 3mm pilot drill bit, countersink bit, hand saw or circular saw, sander with 120-grit and 220-grit paper, spirit level, stud finder
- Core materials: two side boards in pine or poplar, typically 1x3 or 1x4, cut to 72 inches long; five shelf boards in 1x pine, widths from 14 inches at the bottom down to 6 inches at the top
- Fixings: 1 1/4-inch and 2-inch wood screws, wood glue, wood filler, anti-tip bracket or furniture strap for anchoring into a wall stud
- Finish: wood stain, clear matte varnish, or water-based paint, plus a brush or lint-free cloth
- Nice to have: pocket-hole jig, dowels, L-brackets for extra shelf support, felt pads for hard floors
Use these standard dimensions as your starting point for a full-size leaning shelf. Overall height is 68 to 72 inches. Overall width is 24 to 30 inches for a standard unit, or 18 to 20 inches for a narrow hallway version. The lean angle is 5 to 10 degrees, which usually means the base sits 6 to 9 inches out from the wall while the top rests against it. Shelf depths graduate from the bottom up: about 14 inches, then 12 inches, 10 inches, 8 inches, and 6 inches at the top. Keep roughly 12 to 14 inches of vertical space between shelves, a little more on the bottom shelf if you plan to store baskets or larger books.
That graduation is not just for looks. Deep shelves at the bottom keep the centre of gravity low and hold storage boxes. Narrow shelves at the top stop the unit feeling top-heavy. If you change one size, keep the graduation — five shelves all at 12 inches deep will feel clumsy and tempt you to overload the top.
Pine is cheapest and easiest to cut, but it dents easily, so it suits painted finishes. Poplar costs a little more, paints beautifully and holds screws well. Sight down every board in the shop and reject anything that twists or bows — one twisted side board will fight you at every step.
If storage on a smaller scale is your wider project, the same measuring and anchoring habits apply to our guide to easy DIY floating shelf ideas for small walls, which pairs well with a ladder shelf on an adjoining wall.
12 Easy DIY Ladder Shelf Ideas for Small Rooms
Costs below assume pine or poplar bought new and finishes you may already own. Reclaimed wood can cut most of these budgets nearly in half. Times are hands-on building time and do not include drying time for glue, stain or paint.
1. The Classic Five-Shelf Leaner
Difficulty: Beginner | Cost: $45-$70 | Time: 3-4 hours
This is the benchmark build and the best place to start. Two 72-inch side boards lean at about 7 degrees. Five shelves sit in shallow notches or on cleats, graduating from 14 inches deep at the bottom to 6 inches at the top. Cut the bottom of each side board at an angle so it sits flat on the floor, and cut the top at the matching angle so it rests flush against the wall. Drill pilot holes for every screw, glue each shelf joint, and add two screws per side. Sand to 220-grit before you finish it. Painted white or soft sage, it works in any small room.
2. The Narrow Hallway Leaner
Difficulty: Beginner | Cost: $35-$55 | Time: 2-3 hours
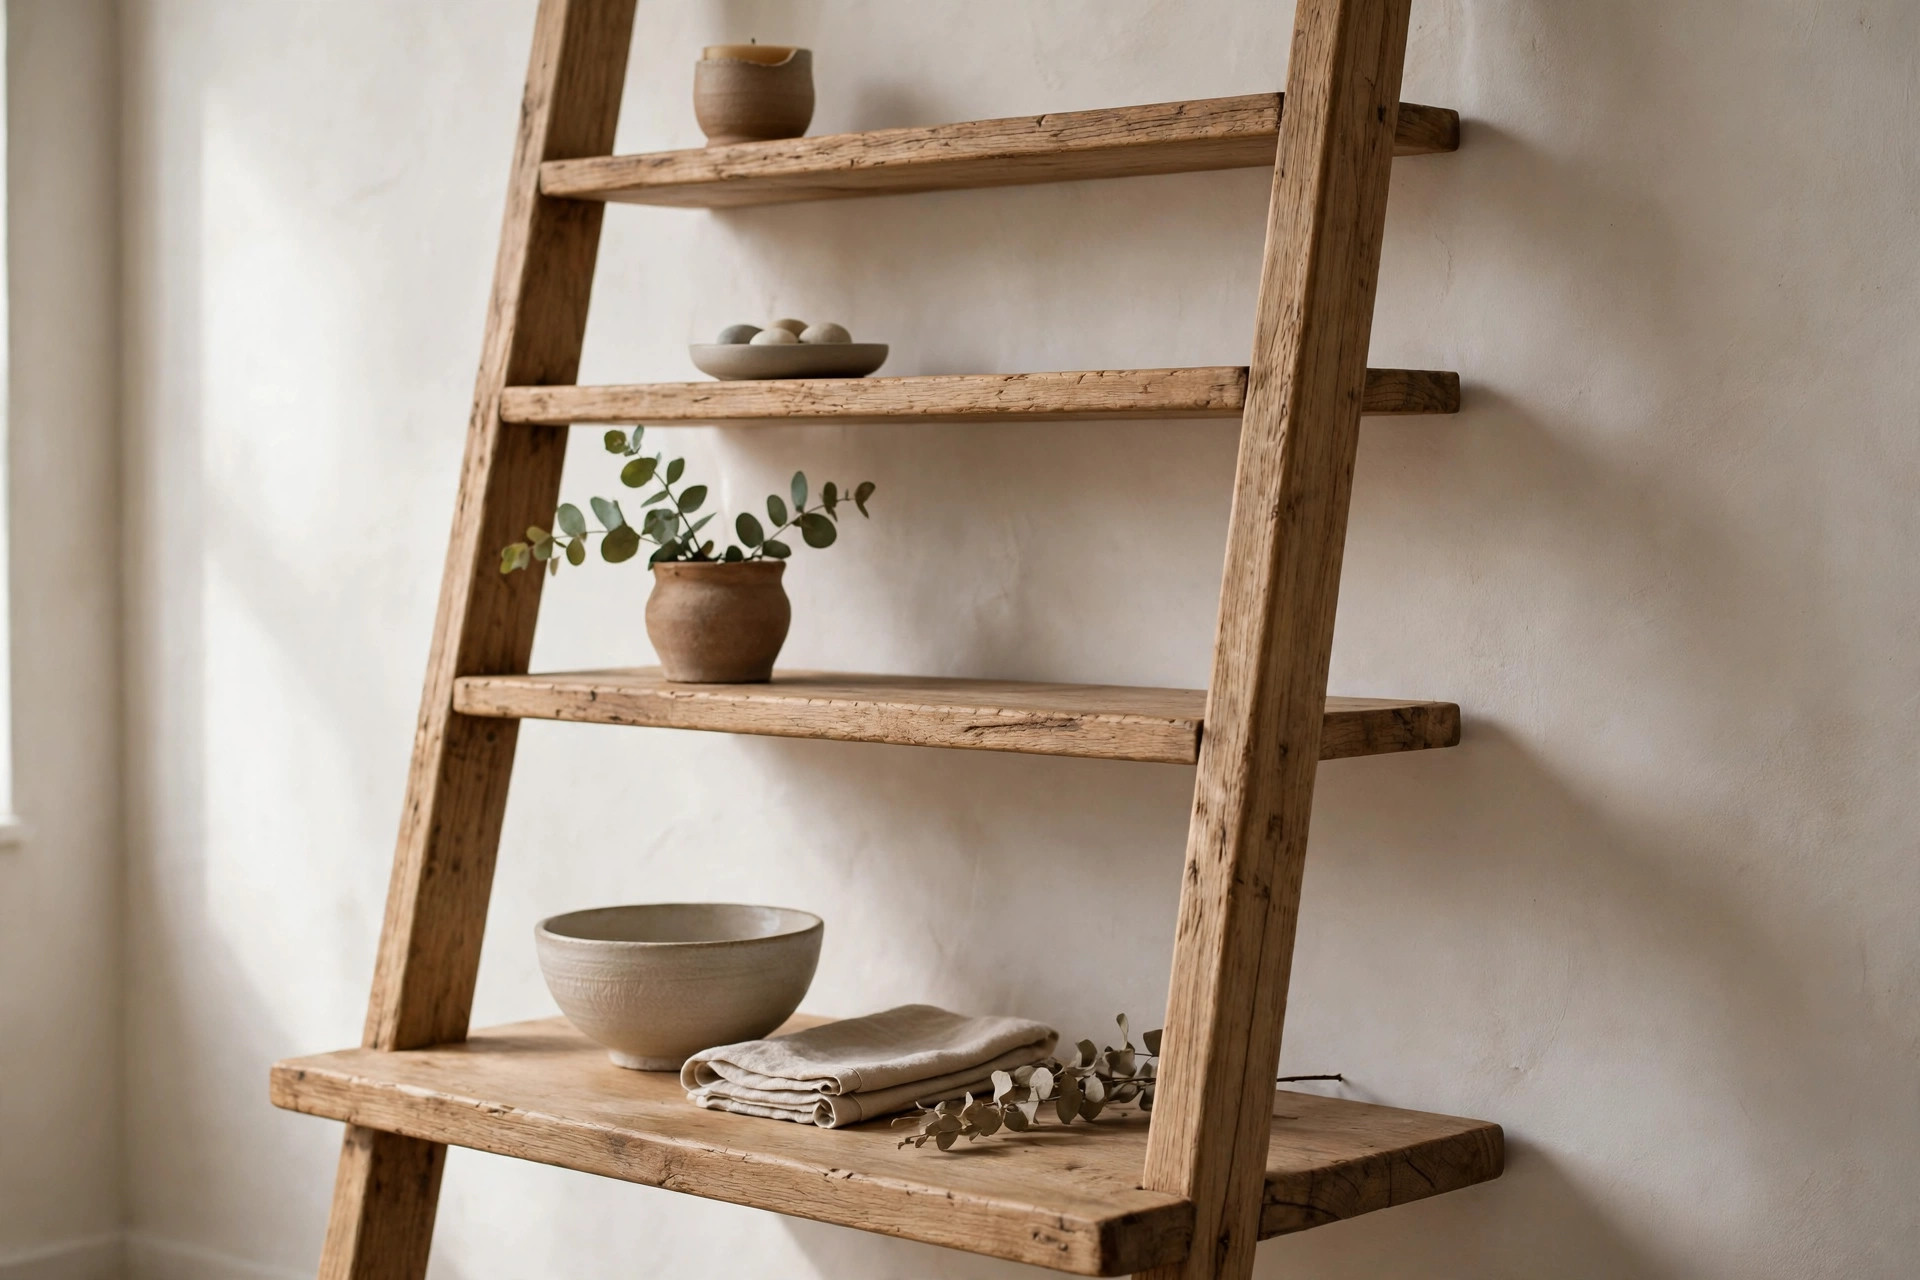
When floor space is measured in inches, shrink the classic design rather than abandoning it. Make this version 18 to 20 inches wide and 66 inches tall, with shelf depths from 11 inches at the bottom to 5 inches at the top. It fits beside a front door or in the gap between a wardrobe and a wall. Use it for post, keys, folded scarves, paperbacks and a plant on top. Because it is narrow, anchoring matters even more — a tall, slim unit tips easily, so fix it to a stud without exception.
3. The A-Frame Freestanding Shelf
Difficulty: Intermediate | Cost: $60-$100 | Time: 4-6 hours
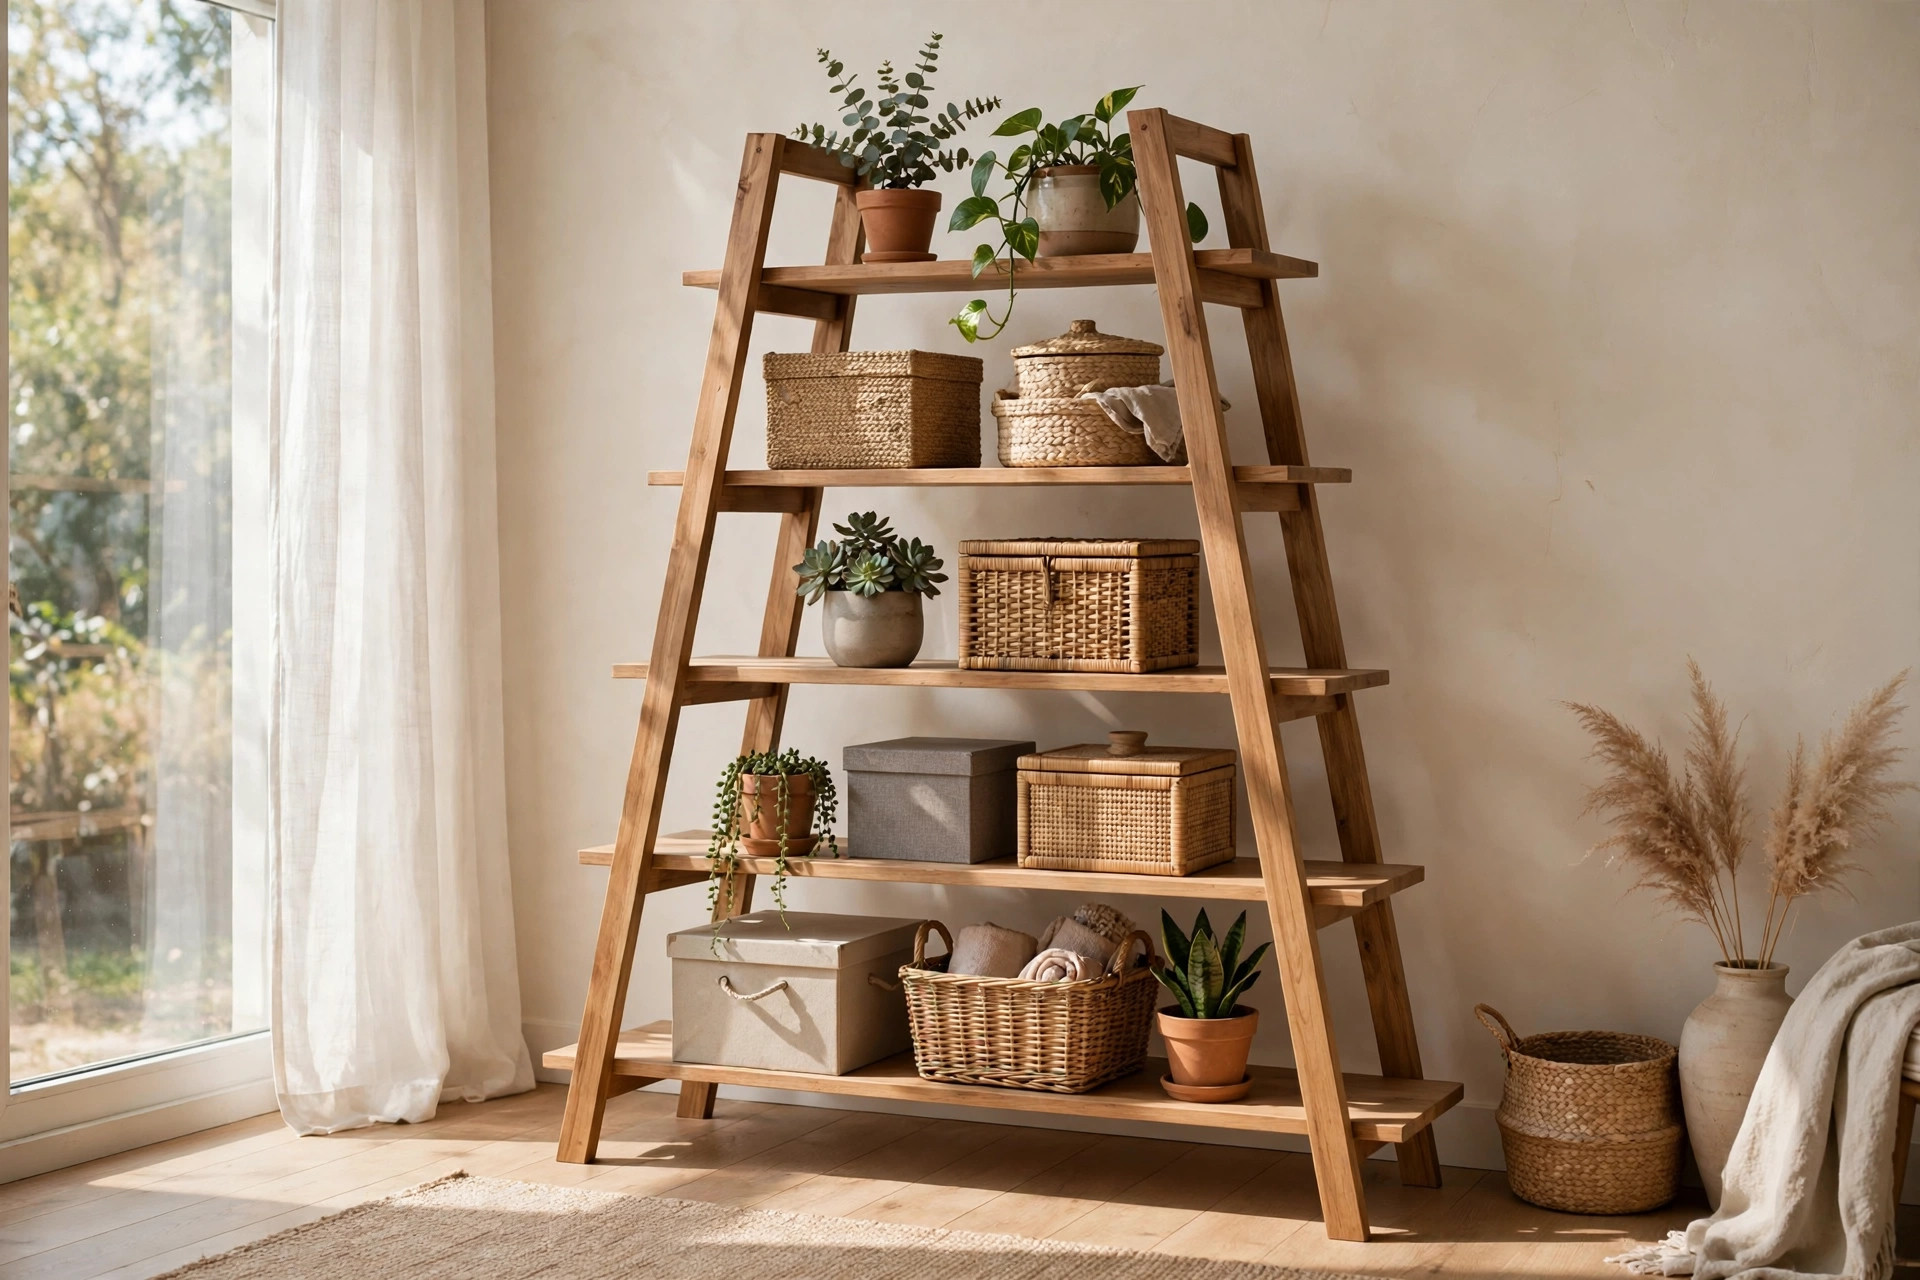
An A-frame does not lean on the wall at all. Two ladder sides hinge or bolt together at the top and open like an easel, with shelves spanning across both sides. Open it to about 18 to 20 inches deep at the base. Add a chain, strap or hinged brace on each side so the frame cannot splay flat under load. This suits renters who cannot drill, room dividers, and anyone who rearranges often. Test it empty first, load the bottom shelf heaviest, and never let children climb it.
4. The Old-Ladder Upcycle
Difficulty: Beginner | Cost: $25-$45 | Time: 2-3 hours
Start with a sound wooden step ladder or a straight ladder from a second-hand shop. Clean it, tighten every joint, sand off flaking paint, and check for splits before you spend anything else. Lay boards across the rungs to make shelves — a step ladder gives you an instant A-frame with almost no cutting. Keep a sound worn finish, or paint it one solid colour. Walk away from any ladder with a cracked rung. Charm is never worth a collapse.
5. The Ladder Desk for a Tiny Work Corner
Difficulty: Intermediate | Cost: $70-$100 | Time: 5-6 hours
Replace the second shelf from the bottom with a deeper desk surface, about 18 to 20 inches deep and 28 to 30 inches wide, set at 29 to 30 inches high. The shelves above hold a laptop stand, notebooks and a lamp. The shelf below takes a printer or files. Add a cable hole at the back and a support batten under the front edge so it does not flex. It turns one metre of wall into a real work corner — not a full desk, but surprisingly comfortable for laptop work.
6. The Bathroom Towel Ladder Shelf
Difficulty: Beginner | Cost: $40-$65 | Time: 3 hours plus drying
Bathrooms need storage that keeps towels off the floor and lets air move. Build a 60 to 66-inch leaner, 20 to 24 inches wide, and finish every surface, including the undersides, with two coats of bathroom-safe varnish or exterior paint. Moisture will find any bare patch. Use the deep bottom shelf for rolled towels in a basket, the middle shelves for toiletries in trays, and the top for a plant that likes humidity. Leave a finger-width gap at the top so damp air does not sit trapped behind it.
7. The Plant Stand Ladder Shelf
Difficulty: Beginner | Cost: $35-$60 | Time: 2-3 hours
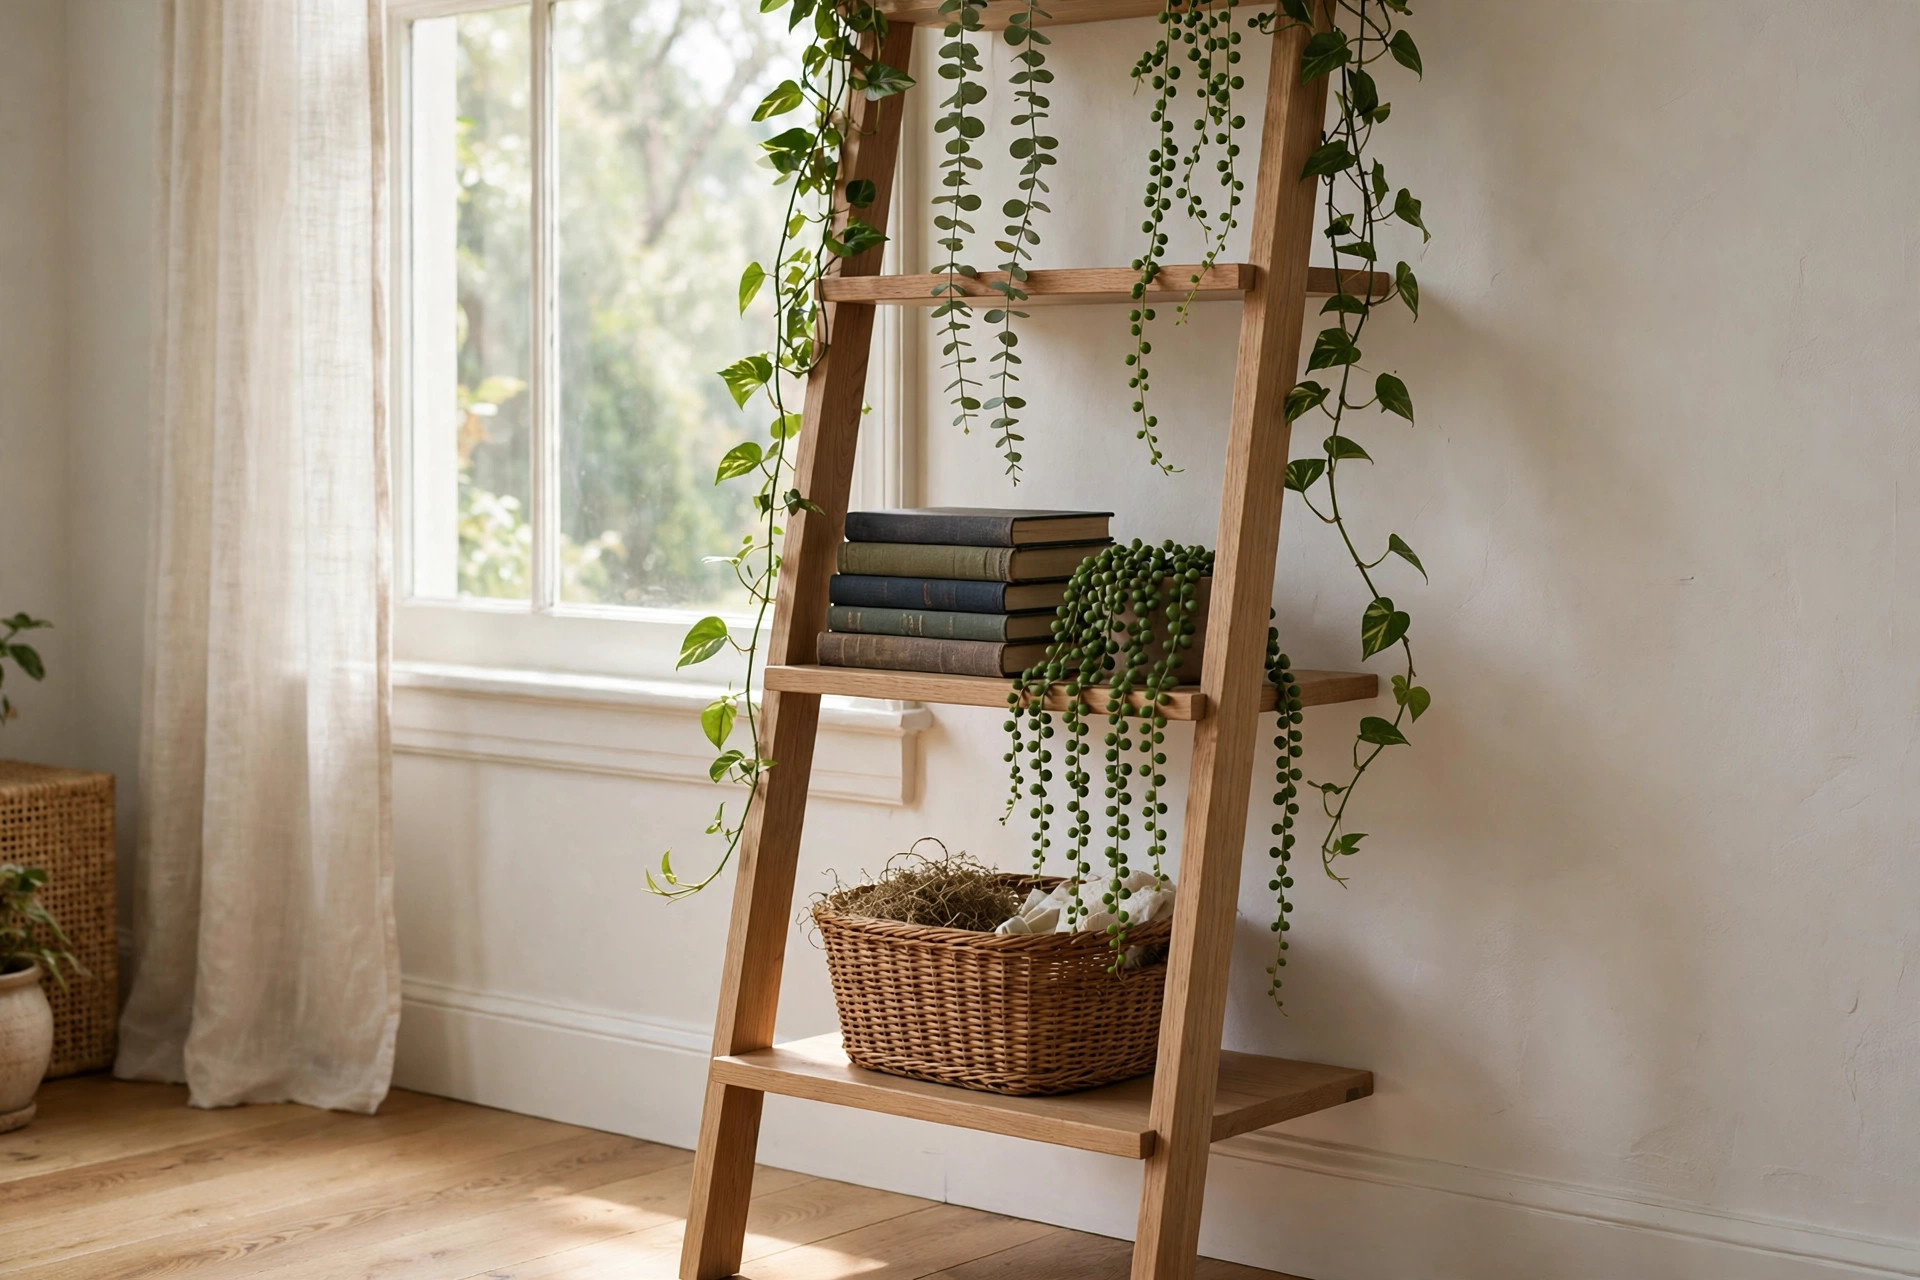
Plants love a ladder shelf because every level gets different light and air. Place this one near a bright window, keep the deepest shelves at the bottom for heavier pots, and put trailing plants on the upper shelves so they can hang without brushing the floor. Use saucers under every pot, without exception — one slow leak will stain and swell pine in a week. Finish with exterior varnish if you mist often. Mix pot heights and leaf shapes rather than lining up identical pots.
8. The Book-Lover's Deep-Shelf Version
Difficulty: Intermediate | Cost: $55-$85 | Time: 4-5 hours
Books are heavy, so this version is built stronger. Use thicker shelf boards, add a support cleat under every shelf, and increase the bottom three shelf depths to 14, 13 and 12 inches so large hardbacks sit fully supported. Keep paperbacks and lighter reads higher up. Add bookends or a low front lip if books slide. Respect the weight guidance below: about 10 to 15 pounds per shelf, spread evenly. If your collection is outgrowing every shelf you own, our round-up of DIY bookshelf makeover ideas on a budget shows how to refresh a bigger case to work alongside it.
9. The Corner Ladder Shelf
Difficulty: Intermediate | Cost: $50-$80 | Time: 4-5 hours
Corners are wasted in most small rooms. This build uses quarter-round or triangular shelves that step up a corner, with two shorter side frames meeting at 90 degrees. Start with four shelves. Each is a right triangle, stepping down from about 16 inches to 10 inches as it rises. Few corners are truly square, so make a cardboard template for the largest shelf and test it in place before you cut any wood.
10. The Two-Tone Painted Showpiece
Difficulty: Beginner | Cost: $45-$75 | Time: 3-4 hours plus drying
The structure is the classic leaner again. The difference is the finish. Paint the frame a deep colour such as navy, forest green or charcoal, and leave the shelves in clear-varnished natural wood, or do the reverse. Tape your lines and give painted surfaces two thin coats rather than one thick one. Two-tone finishes hide dents better than plain white and make budget pine look deliberate. Choose this version when the shelf is the main feature on a plain wall.
11. The Entryway Drop-Zone Ladder
Difficulty: Beginner to intermediate | Cost: $50-$80 | Time: 3-5 hours
Fit the classic frame with small hooks under the second shelf for keys and dog leads, a shallow tray shelf at waist height for post and sunglasses, and a deep bottom shelf sized for two baskets: one for shoes, one for bags. Put hooks on the wall above it, not on the shelf, to keep weight off the frame. Use screws rather than glue alone, round over sharp corners, and check the anchor every few months. Size the baskets before you build, not after.
12. The Fold-Flat Rental-Friendly Shelf
Difficulty: Intermediate | Cost: $55-$90 | Time: 4-6 hours
Build the A-frame shape, but join the two sides with sturdy hinges at the top and fit the shelves so they lift out or fold with the frame. When you move, the whole unit folds flat and travels in a car. Use removable shelf boards resting on pegs or cleats rather than fixed screws. Pegged shelves must sit fully on their supports, and side straps must stop the frame opening too far. For renters, pair it with the no-drill styling ideas in our guide to easy DIY plant stand ideas anyone can make, which uses the same light footprint in tight rented rooms. Even a freestanding frame should not be overloaded at the top.
For more plan shapes, shelf spacing examples and printable-style layouts before you cut, this ladder bookshelf plan guide is a useful second reference to compare against the dimensions above.
Safety First: Anchoring Is Not Optional
Read this section before you load a single book. A leaning shelf is, by design, resting against a wall. Without an anchor it can slide, walk forward on a smooth floor, or tip if a child pulls on it or a heavy item is dragged from a top shelf. Wall anchoring is mandatory for every leaning build in this guide, no matter how sturdy it feels on day one.
Fit an anti-tip bracket or furniture strap near the top of each side board, screwed into a wall stud. Use a stud finder first — a screw into plasterboard alone will pull out under a tipping load. If no stud is available, use rated hollow-wall anchors and reduce top-shelf loads. On hard floors, add rubber pads so the base cannot creep forward.
Keep the heaviest items low, always. Never place a heavy box, a full file crate or a large plant pot on the top two shelves. Teach everyone in the house the simple rule: heavy low, light high. And treat every ladder shelf, including A-frames, as furniture, not a ladder. None of these builds is made to be climbed or stood on, whatever the name suggests.
Styling It So It Looks Good and Stays Safe
Style by weight first and by looks second. Work to roughly 10 to 15 pounds per shelf as a sensible limit for a pine build with screwed and glued joints. Spread that weight across the shelf rather than stacking it at one end. A row of books in the middle, a basket at one side and a plant at the other will look better and load the board evenly.
For looks, use odd numbers: groups of three objects at different heights read well on open shelves. Leave breathing room — a shelf filled edge to edge looks messier than one two-thirds full. Put everyday items in the middle, display pieces higher, and baskets lower. Repeat one or two colours across the shelves and the unit will look pulled together cheaply.
Common Mistakes That Ruin a Ladder Shelf
Skipping the anchor. This is the serious one. It feels stable empty. It is not stable loaded and pulled. Anchor it the day you build it.
Making every shelf the same depth. You lose the ladder shape, overload the top visually, and waste floor space. Graduate the depths.
Guessing the lean angle. Too upright and it feels unsteady. Too sloped and the shelves tilt and items slide. Stay between 5 and 10 degrees and cut the feet to match so they sit flat.
No pilot holes. Screws driven straight into the edge of pine will split it, often on the last shelf when you are nearly done. Drill pilot holes every time.
Overloading the top. Heavy high is what tips shelves. If an item needs two hands to lift it, it belongs on the bottom shelf or somewhere else entirely.
Rushing the finish. Stain over unsanded filler, or paint over dust, will show forever on a piece you see every day. Sand, wipe down, then finish in thin coats.
What It Really Costs, and Your Next Step
Set against $150 or more for a ready-made ladder shelf of similar size, even the most expensive build here, at around $100, leaves money for baskets, plants and books to fill it. The beginner leaners at $35 to $55 are where most people should start. Your total will be lower still if you already own a drill, sander and basic screws, as most of the budget is simply the wood itself.
Choose one build, write your cut list from the dimensions in this guide, and buy boards you have checked for twist before you leave the shop. Build it in one session if you can, anchor it before you style it, and load it heavy-low and light-high. A small room does not need more furniture. It needs the right piece, built straight, fixed safely, and used every day. A ladder shelf, done properly, is exactly that piece.


Comments
Post a Comment