
12 Easy DIY Picture Ledge Ideas You Can Build in an Afternoon
If you love the look of a gallery wall but flinch at committing to a dozen nail holes, these DIY picture ledge ideas are your answer. A picture ledge is a shallow wooden channel — just three boards — that lets frames lean safely against the wall. You can swap art, shuffle sizes, and restyle the whole display in ten minutes without touching a drill.
It is also one of the cheapest satisfying builds there is. One ledge takes under two hours, costs roughly $15 to $35 in pine, and needs no fancy tools. Build one this afternoon, and by evening you have the flexible display that stylists use in every "effortless" living room photo.
This guide gives you the full step-by-step build first — exact boards, measurements, and mounting heights — then 12 variations, from stacked ledges and corner builds to book ledges for kids' rooms and a plate rail for the kitchen.
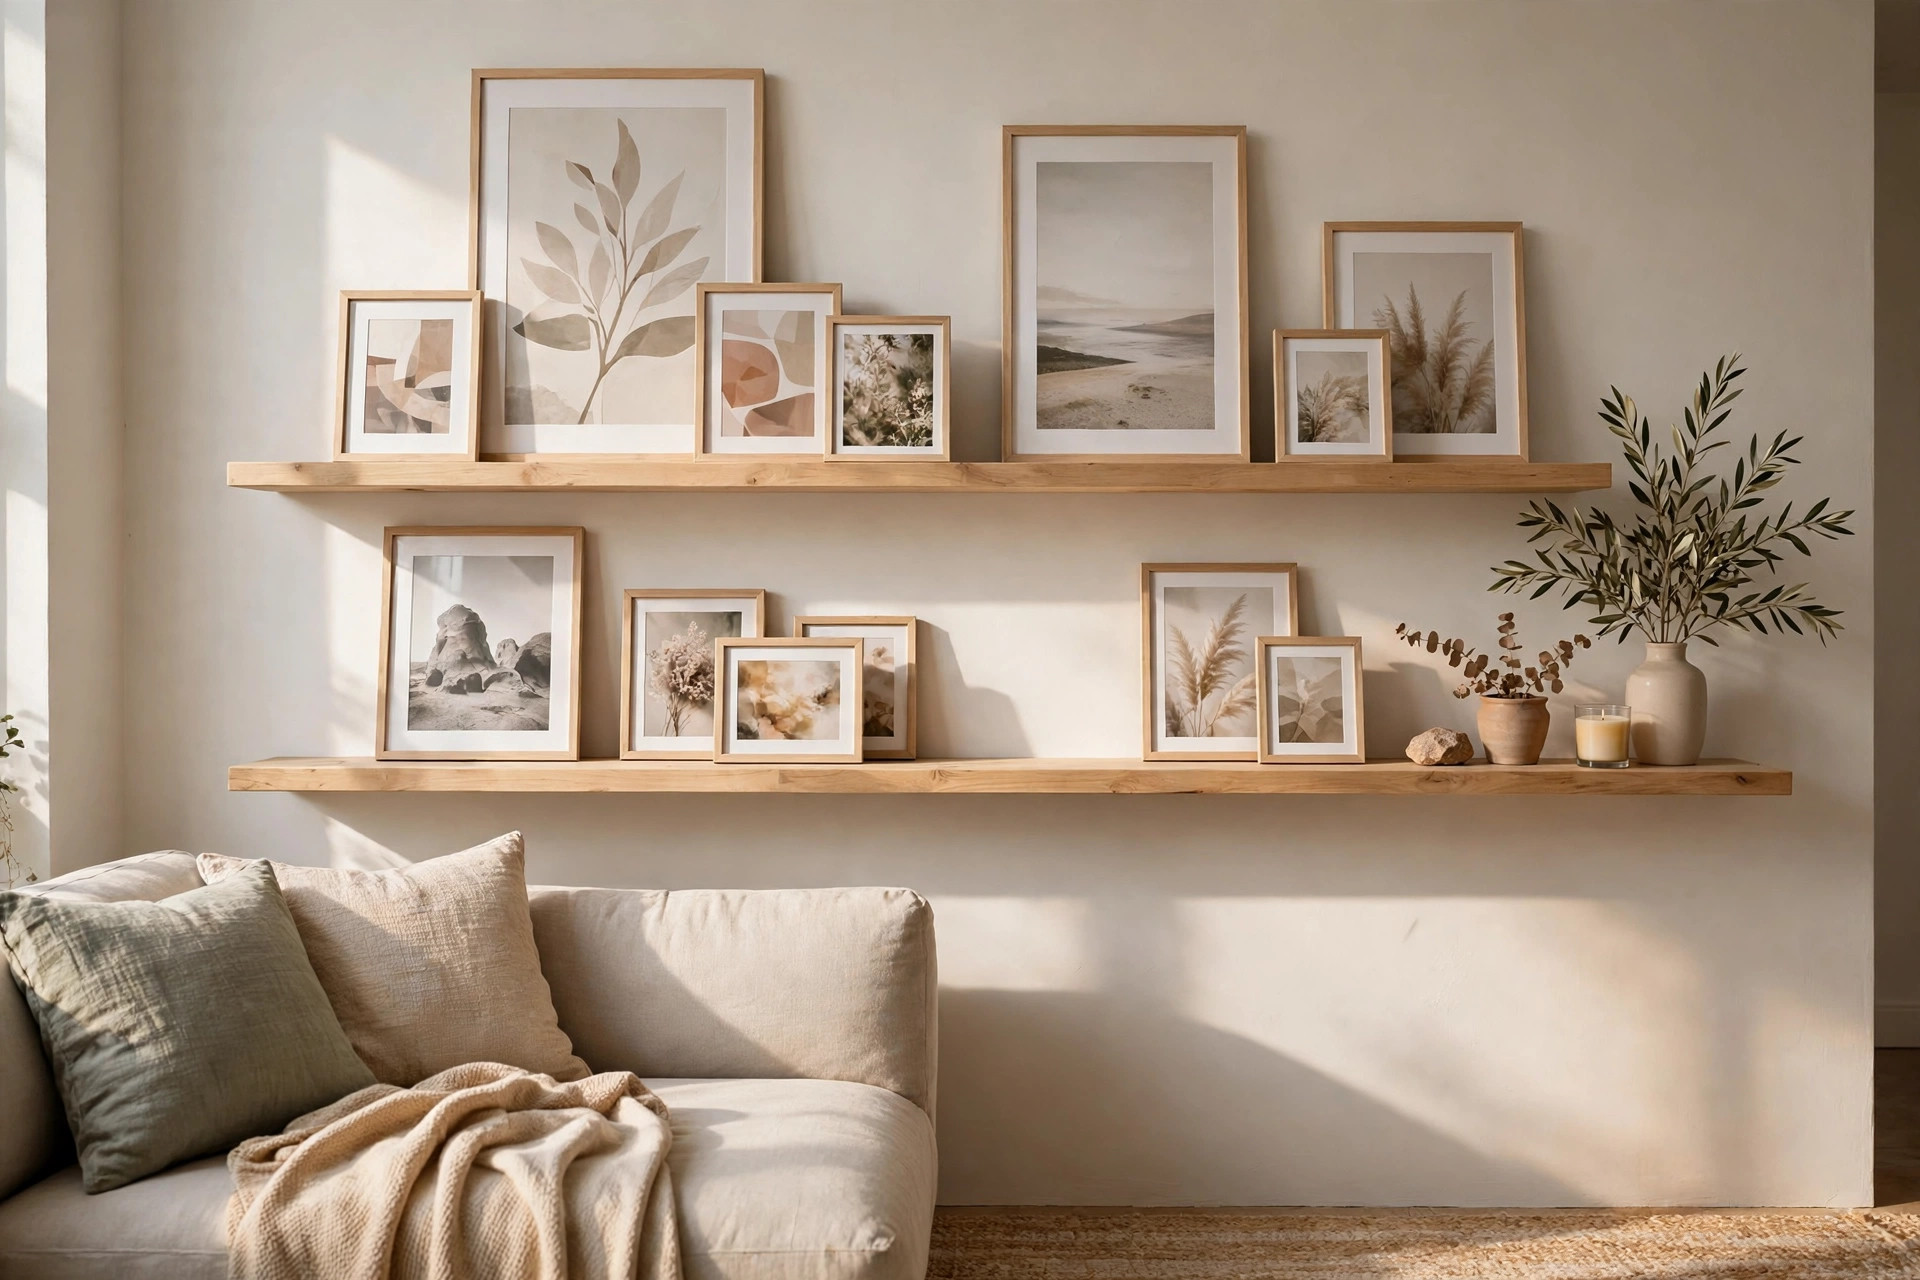
What a Picture Ledge Actually Is (and Why It Works)
A picture ledge is a U-shaped channel fixed to the wall. Frames sit in the channel and lean back against the wall, held by a small front lip. That lip — only about 3/4 of an inch tall above the base — is the whole secret: it stops a frame sliding off, while staying low enough that it never covers the art.
The finished ledge is 3 to 4 inches deep. That depth is deliberate. It fits standard frame thicknesses plus a small plant or candle in front, but it is shallow enough that it never becomes a dust-collecting shelf or a head hazard above a sofa. If you already love shallow wall storage, our easy DIY floating shelf ideas for small rooms pair beautifully with a ledge on the same wall — ledge for art, shelf for objects.
Materials and Tools for the Basic Ledge
- Back board: one 1x4 pine board, cut to your ledge length (4 ft is a good first build)
- Base board: one 1x4 pine board, same length
- Front lip: one 1x2 pine board, same length
- Wood glue, 1 1/4-inch wood screws, 2 1/2-inch screws for mounting into studs
- Sandpaper (120 then 220 grit), paint or stain, and filler if you paint
- Drill, level, tape measure, stud finder, pencil
All three boards are stock sizes at any hardware store, and most stores will cut them to length for free — walk in with your measurements and the cutting is done before you get home. Pine is the budget pick at roughly $15 to $35 per ledge all-in; oak or poplar costs more but stains and paints more smoothly.
How to Build a DIY Picture Ledge, Step by Step
Step 1: Cut and Sand All Three Boards
Cut (or have cut) the two 1x4s and the 1x2 to exactly the same length. Sand every face, paying attention to the top edge of the 1x2 lip and the top of the back board — those are the edges you will see and touch. Knock the sharp corners off lightly; a softened edge looks finished, not homemade.
Step 2: Glue and Screw the Base to the Back
Run a bead of wood glue along one long edge of the base 1x4 and stand the back 1x4 on it at a right angle, forming an L. Clamp, pre-drill, and drive 1 1/4-inch screws up through the base into the back board every 12 inches or so. Pre-drilling matters in pine — skip it and the edge can split.
Step 3: Add the Front Lip
Glue the 1x2 along the front edge of the base, standing upright, and screw through the base into its bottom edge the same way. You now have the channel: back, base, and a front lip rising about 3/4 of an inch above the base surface. Wipe squeezed-out glue immediately with a damp cloth — dried glue refuses paint and stain.
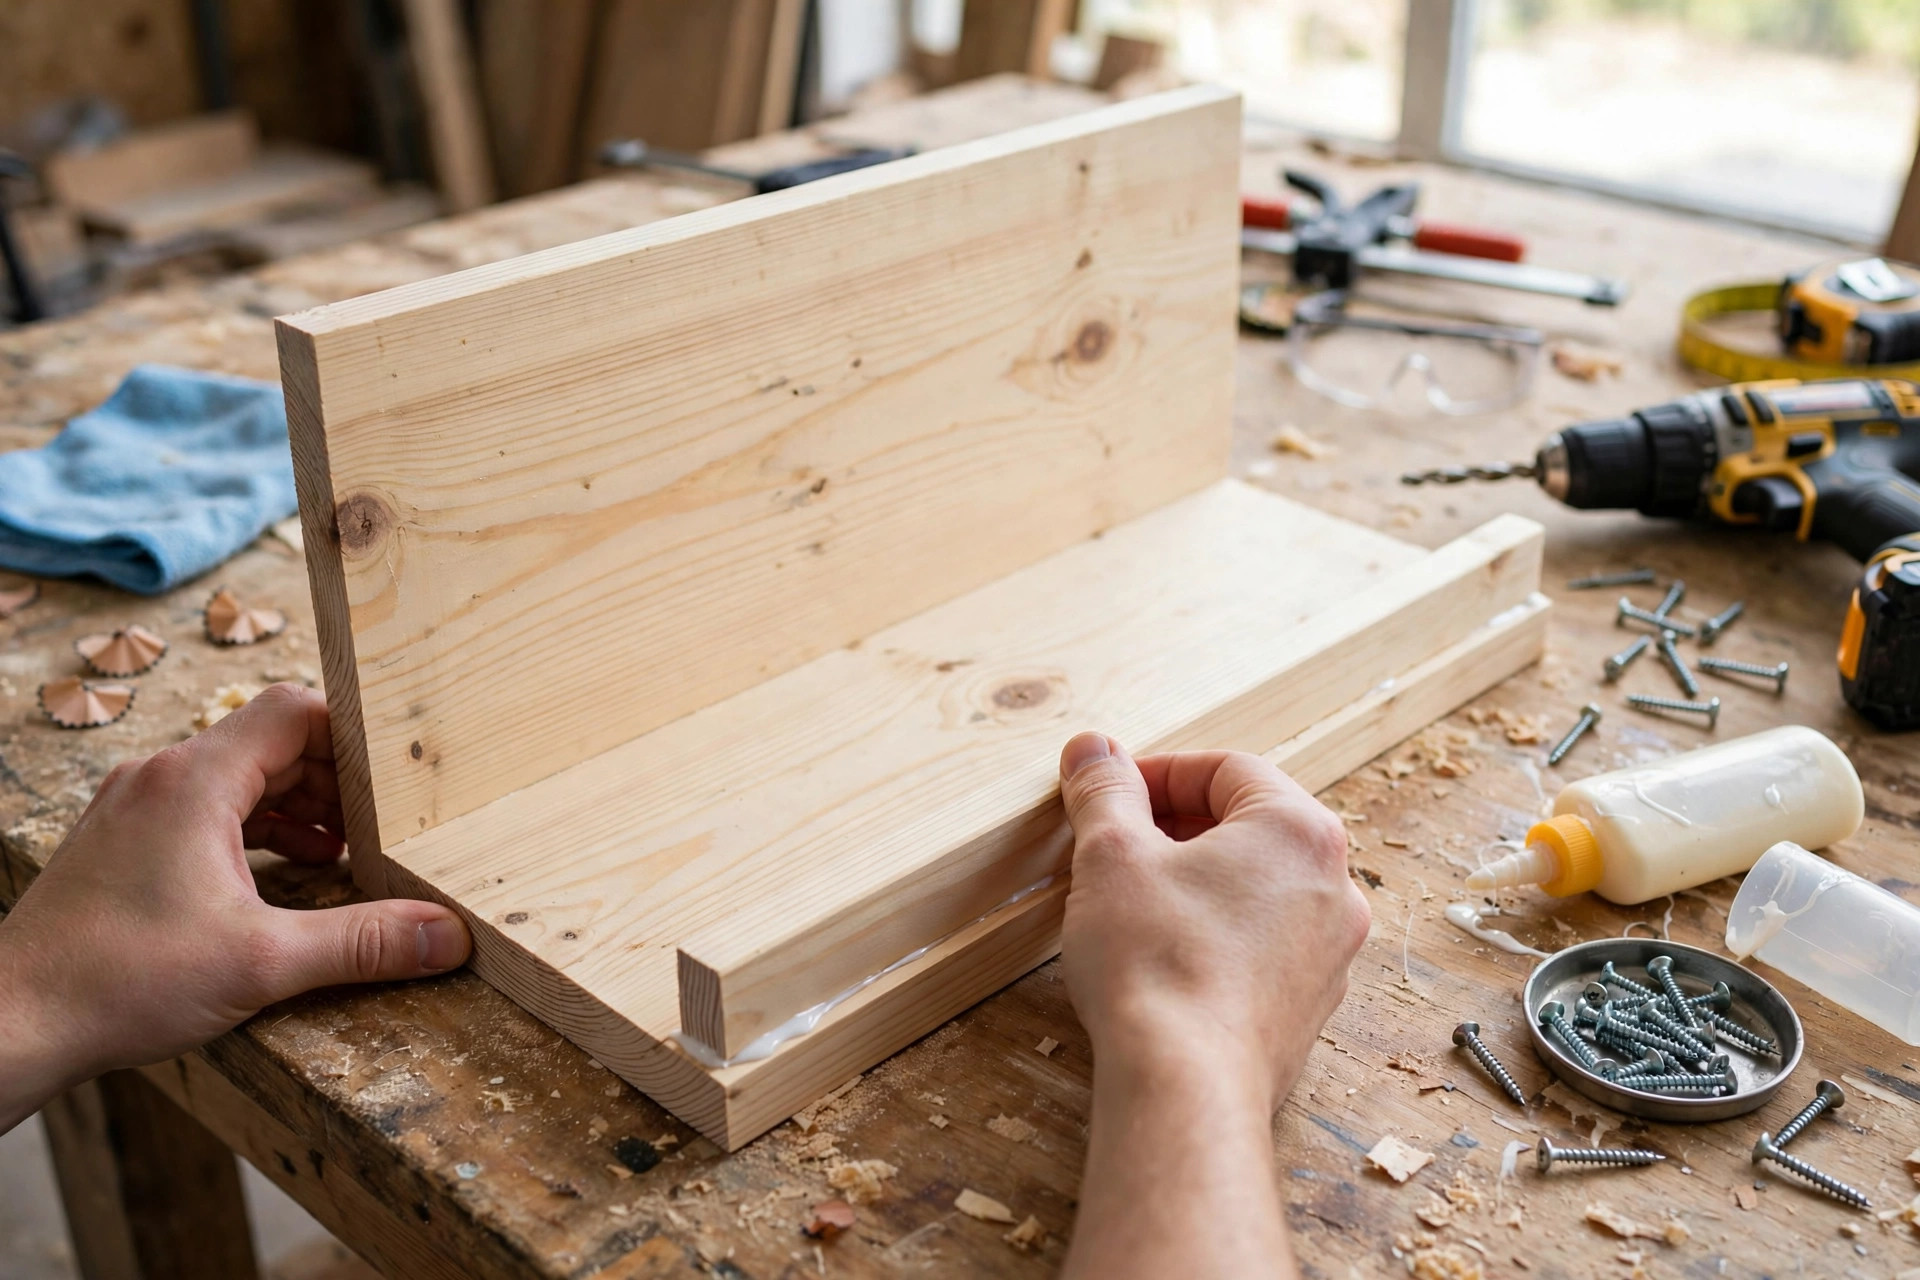
Step 4: Fill, Sand, and Finish
Fill the screw heads if you are painting, let the filler dry, and sand the whole ledge once more with 220 grit. Paint or stain now, before mounting — finishing on the wall is misery. Two thin coats beat one thick one. A painted ledge in the wall colour nearly disappears and lets the art float; a stained ledge reads as furniture. Both work; pick on purpose.
Step 5: Find Studs and Mark Your Height
Hang the ledge so its centre sits about 57 to 60 inches from the floor — standard gallery eye level. Above a sofa, go lower: 6 to 8 inches above the sofa back is the comfortable zone. Find your studs (typically 16 or 24 inches on centre) and mark them; a 4 ft ledge should catch at least two studs.
Step 6: Mount Level Into the Studs
Hold the ledge on its line, level it, and drive 2 1/2-inch screws through the back board into each stud — two screws per stud, one high, one low on the back board. Frames will hide them. Give the ledge a firm downward tug before you style it: it should feel like part of the wall, because into studs, it is.
Step 7: Style Tall at the Back, Small at the Front
The styling rule that never fails: tall frames (8x10 and larger) at the back, leaning on the wall; 5x7 and smaller frames in front, overlapping slightly. Overlap is not mess — a corner of a small frame over a big one is exactly what makes a ledge look collected. Add one non-frame item per ledge (a small plant, a candle, a tiny clock) and stop there.
12 Easy DIY Picture Ledge Ideas to Try Next
1. The Classic Single Ledge Above the Sofa
Start here. One 4 to 6 ft ledge above the sofa, styled tall-at-the-back, does the work of a whole gallery wall with two screw holes per stud. Cost: $15–$35. Best for: first builds and renters who want maximum change per hole.
2. Stacked Double Ledges
Two ledges, spaced 12 to 18 inches apart, double your display and look like a built-in. Keep the spacing honest: 12 inches suits smaller frames, 18 inches if your bottom ledge holds tall pieces. Style the two as one composition, not two separate ones — repeat a colour or frame finish across both. Cost: $30–$70 for the pair. Best for: big blank living room walls.
3. A Full Wall of Three or More Ledges
Three ledges at even spacing turn a wall into a rotating gallery — the full commitment version of our small living room gallery wall ideas, but changeable any time. Keep frame finishes to two at most so the wall reads calm, not chaotic. Cost: $45–$105. Best for: art collectors and anyone who rearranges monthly.
4. Corner Ledges With 45-Degree Mitres
Cut the meeting ends of two ledges at 45 degrees and wrap them around a corner. Dead corners become the most interesting part of the room, and in a child's room the wrap-around version makes a reading corner feel enclosed and special. Measure twice here — mitres forgive nothing. Cost: $20–$45. Best for: awkward corners and reading nooks.
5. Painted Two-Tone Ledges
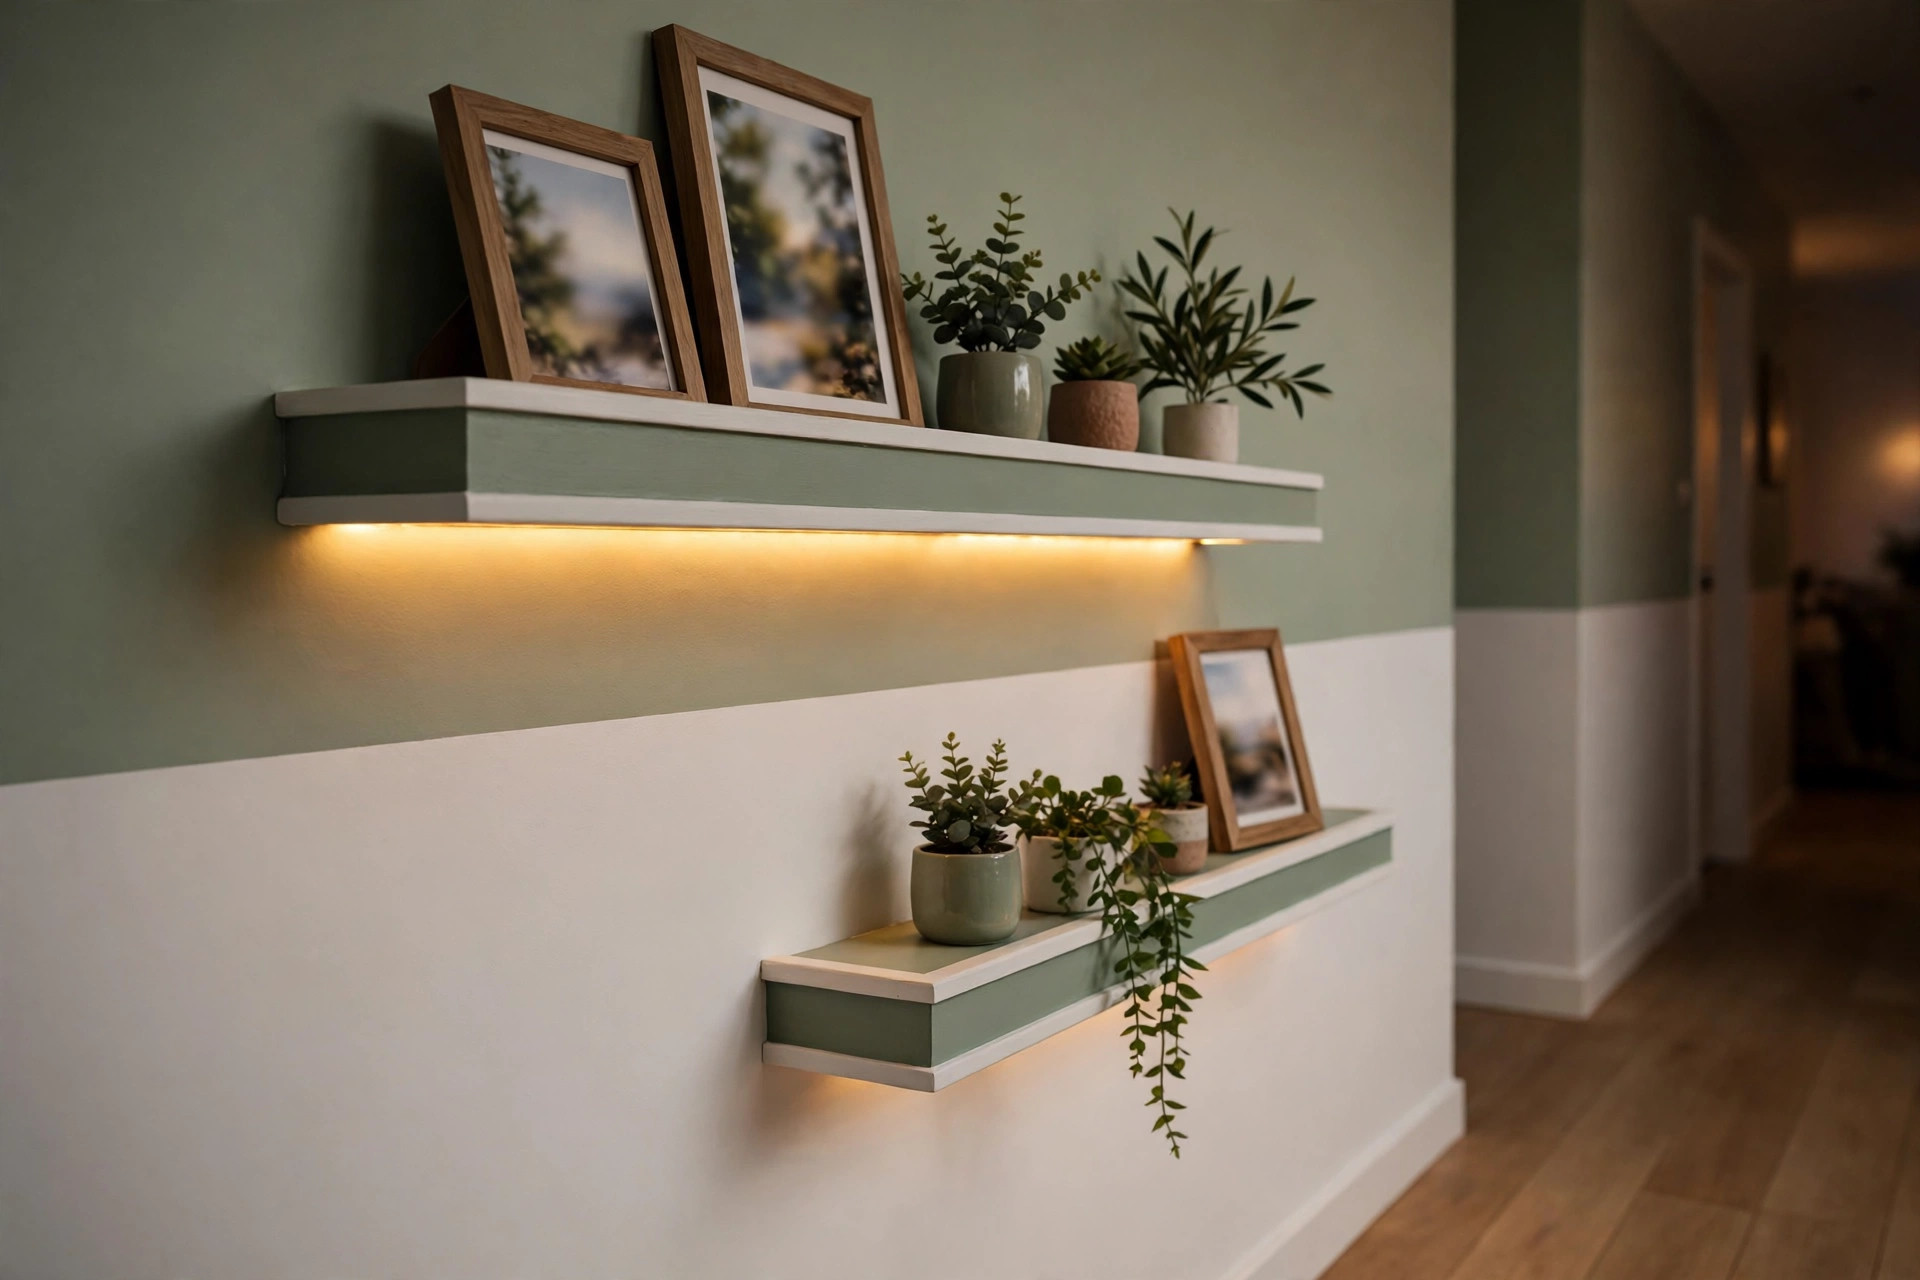
Paint the ledge one colour and the wall another — or paint the back board to match the wall and the base and lip in a contrast. The two-tone version makes a plain pine ledge look like a designed object. Sage with white, navy with natural wood, and black with oak are combinations that rarely miss. Cost: add $5–$10 for a sample pot of the second colour. Best for: plain rooms that need one confident line of colour.
6. LED Under-Lighting for a Gallery Glow
Stick a warm LED strip under the base of the upper ledge (or along the underside of the back board) and the display gets museum lighting for the price of a pizza. Battery strips avoid wiring entirely; USB strips hide a cable behind a frame. Warm white only — cool light makes home art look like an office. Cost: $10–$20 extra. Best for: hallways and evening rooms.
7. Book Ledges for a Child's Room
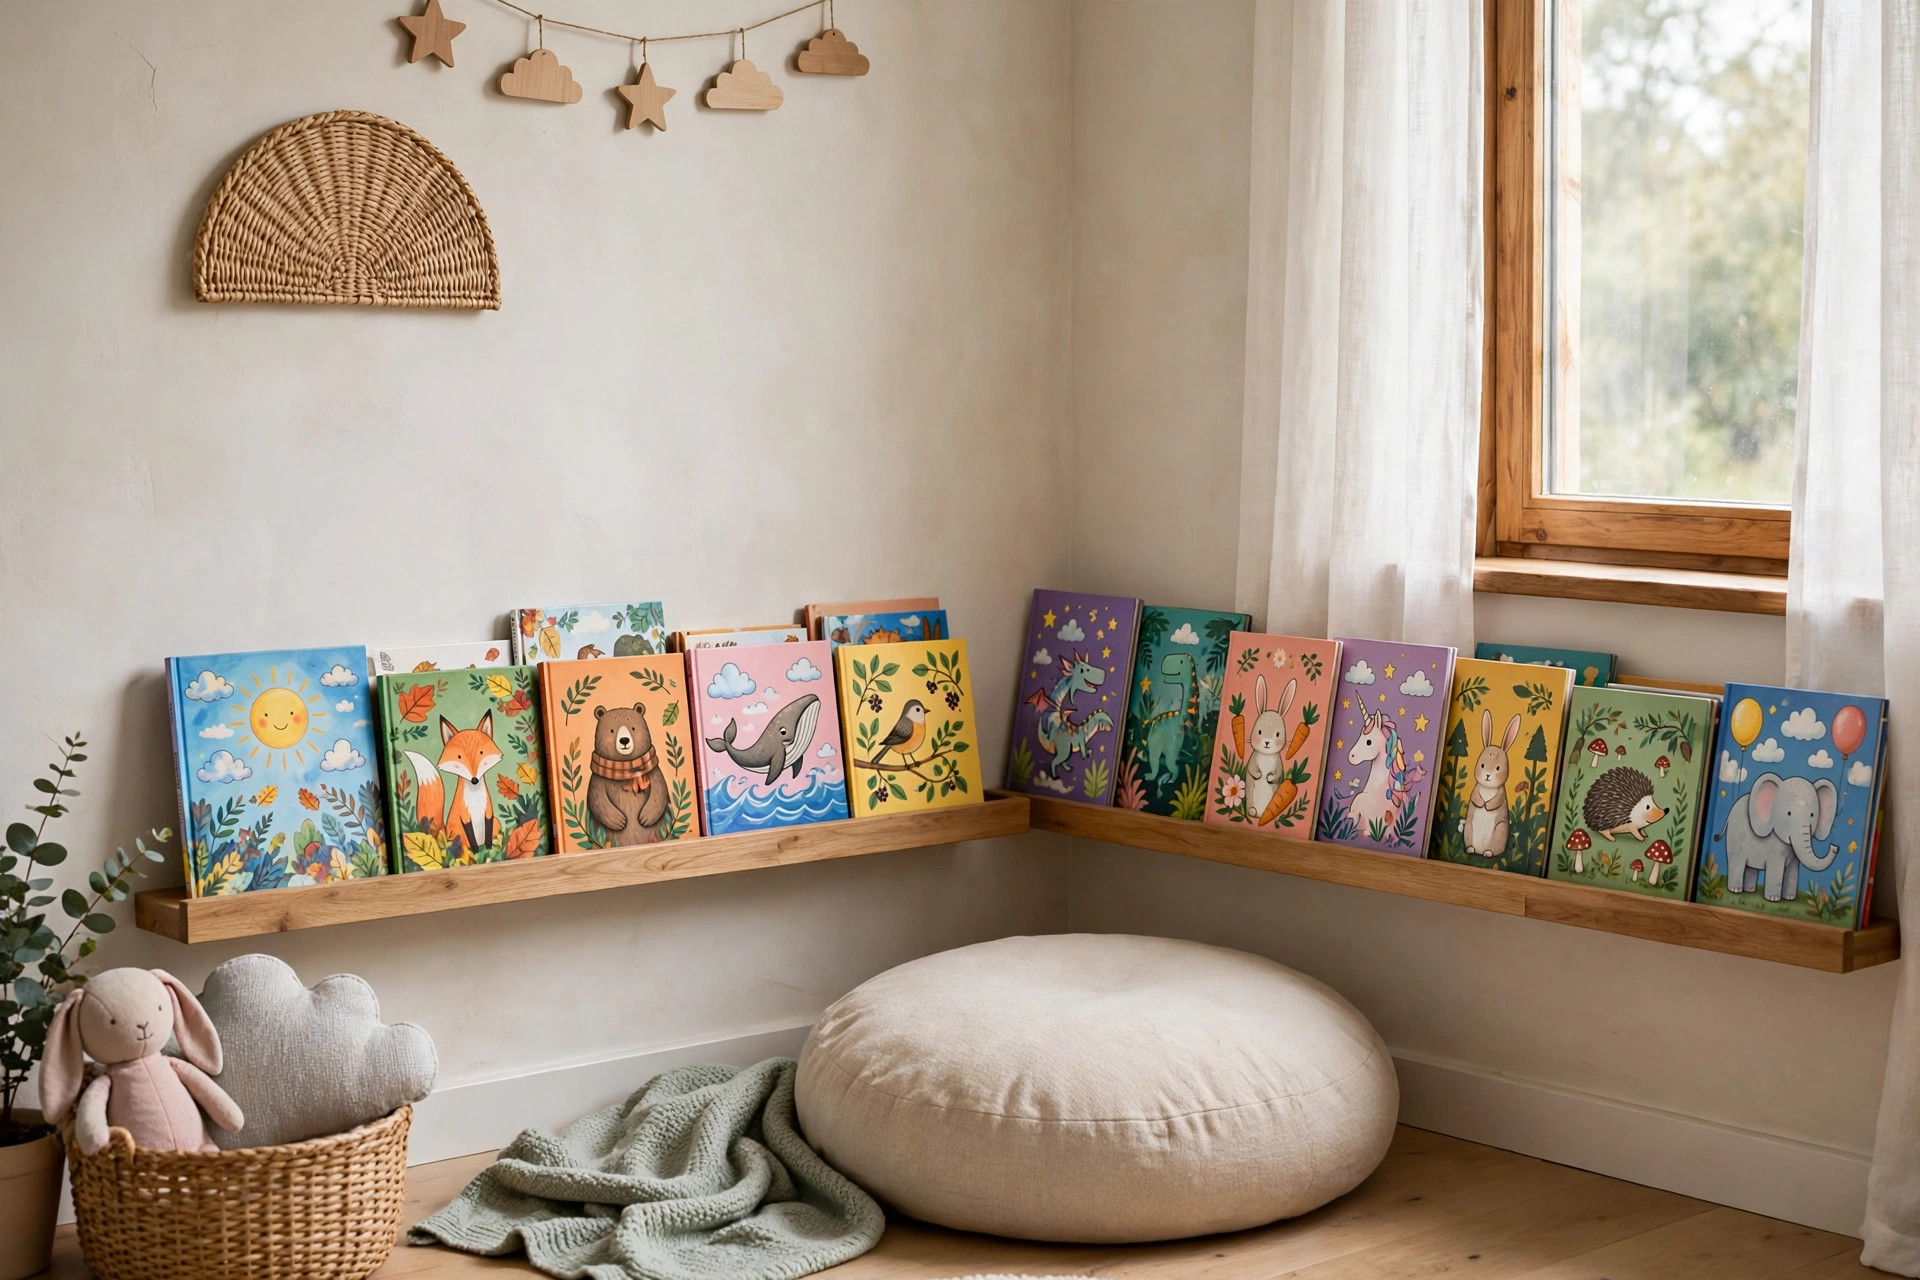
Turn the ledge around in purpose: mount it low — 18 to 24 inches from the floor — and fill it with picture books facing out. Children choose books by their covers, and a front-facing ledge makes tidying up a two-minute game instead of a chore. Round the front corners of the lip well at sanding time. Cost: $15–$30. Best for: toddlers' rooms and reading corners.
8. A Plate Rail for the Kitchen or Dining Room
The same three-board build, styled with plates instead of frames, is a classic plate rail. Plates lean exactly like frames, the lip keeps them honest, and your prettiest dishes stop hiding in a cupboard. Space plates with an inch or two between them and mix one small framed print into the row. Cost: $15–$35. Best for: kitchens and dining rooms with one blank wall.
9. A Long Low Ledge Behind the Bed
A ledge running the width of the bed, mounted just above the headboard (or instead of one), holds art, a small plant, and tonight's book — no nightstand clutter required. Keep objects light and the lip sound; nothing heavy sleeps above a pillow. Cost: $20–$40. Best for: small bedrooms where nightstands barely fit.
10. Entryway Ledge for Keys, Mail, and One Good Print
A short 2 ft ledge by the door catches the landing strip jobs: a leaning print to make the entry feel finished, plus a small dish for keys sitting in front of it. It is the fastest entryway upgrade that does not involve furniture. Cost: $10–$20. Best for: small entries with no room for a console.
11. Bathroom Ledge for Bottles and a Framed Print
Above the toilet or beside the mirror, a ledge holds the pretty bottles, a small plant, and one framed print — and keeps the sink edge clear. In a bathroom, paint is safer than stain (two coats, sealed well) and pine is fine; steam is kinder than people fear if the room has a fan. The same restyle-the-shelves thinking drives our DIY bookshelf makeover ideas on a budget — small wood, big change. Cost: $15–$30. Best for: small bathrooms with zero counter space.
12. Seasonal Swap Ledge in the Hallway
Dedicate one hallway ledge to the season: autumn prints and a small pumpkin in fall, greenery and candles in winter, fresh art in spring. Because swapping takes minutes and zero new holes, this is the ledge that actually gets restyled — unlike the gallery wall you swore you would update. Cost: $15–$35 once, then pennies per season. Best for: decorators who get bored by February.
Styling Rules That Make Any Ledge Look Intentional
Odd numbers. Groups of three or five frames per ledge settle better than pairs. One anchor. Every ledge needs one tall piece at the back that sets the height; everything else steps down from it. Overlap a little. A small frame overlapping a large one by an inch or two creates the layered depth that separates a ledge from a shelf. Repeat a finish. If frames are mixed, repeat each finish at least twice across the wall so it reads as a choice. Leave gaps. A ledge filled edge to edge looks like storage. A ledge at 70 percent full looks like display. For an excellent worked example of the build with photos at every step, see the DIY picture ledge build at A House in the Hills.
5 Picture Ledge Mistakes to Avoid
- Mounting into drywall alone. A loaded ledge is heavier than it looks. Studs, always — or proper heavy-duty anchors rated for the load if a stud truly is not where you need it.
- Hanging it too high. Above 60 inches at centre, art floats away from the room. The 57 to 60 inch rule exists because it works.
- A lip that is too tall. The front lip should rise about 3/4 of an inch above the base. Taller lips hide the bottom of every frame and turn the ledge into a tray.
- Skipping pre-drilling. Pine splits at board ends. Two minutes with a pilot bit saves the whole build.
- All frames the same size. Identical frames in a row read as a shop display. Mix at least two sizes, tall at the back, small at the front.
Three boards, two hours, and one free afternoon: that is the whole barrier between a blank wall and a display you can reinvent whenever you like. Build the first ledge plain, live with it for a week, and the second one — stacked, cornered, or lit — will plan itself.


Comments
Post a Comment