
12 Small Kitchen Cabinet Organization Ideas That Double Your Storage
If your small kitchen cabinets feel full and useless at the same time, the problem is rarely the cabinets. It is the empty air inside them. Most cabinet shelves are spaced for tall items, so half the vertical space above your mugs, bowls, and cans sits wasted, while everything you own piles into a single hard-to-reach layer. These small kitchen cabinet organization ideas fix the inside of the cabinets you already have — no remodel, mostly no tools, and honest prices throughout.
The method is simple and it works in every kitchen: empty one cabinet at a time, group what is left by how you cook, measure the space in inches, and then add the one organizer that turns that cabinet's dead space into a second working layer. Do that twelve ways and a small kitchen genuinely holds close to double, without a single item moving onto the counter.
Start With Zones, Not Organizers
Before buying anything, give each cabinet one job based on where you stand when you use it. Pots, pans, and oils belong near the cooker. Glasses and mugs belong near the sink or the kettle. Food storage belongs near your main prep stretch. Cleaning supplies belong under or near the sink. When a cabinet holds one zone, you stop opening three doors to make one meal.
Then apply the rule of reach: daily items live between knee and shoulder height, heavy items go low, and rarely used pieces go on the highest shelf. If your food storage has outgrown its cabinet entirely, our guide to small kitchen pantry organization ideas that end clutter covers the dedicated pantry setup; this guide is about making ordinary cabinets work harder first.
12 Small Kitchen Cabinet Organization Ideas That Double Your Storage
1. Shelf Risers: The Second Layer You Already Own
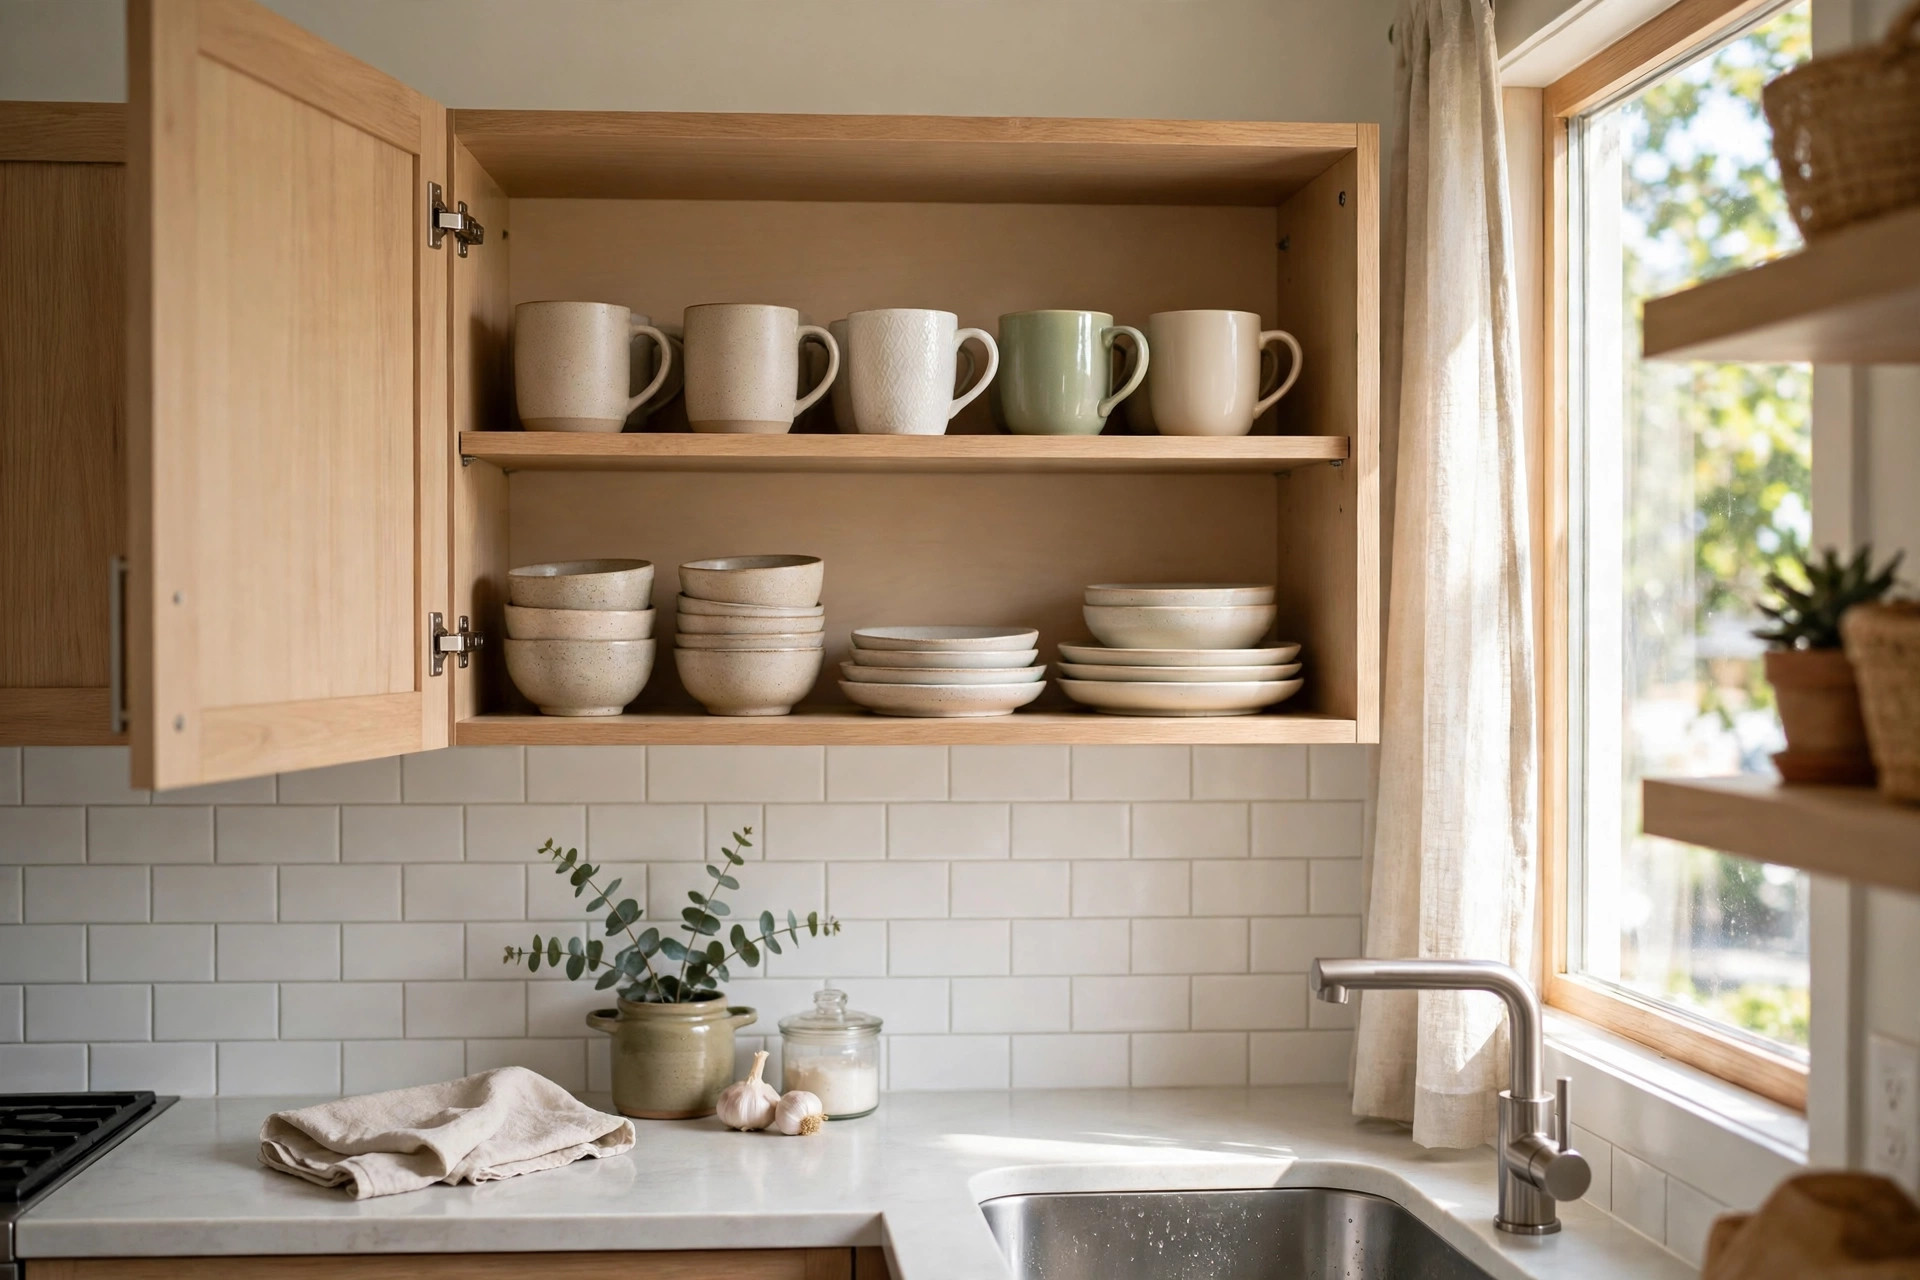
A shelf riser is a small freestanding shelf, usually 8 to 10 inches tall, that stands inside a cabinet and splits one tall space into two usable levels. Mugs and small bowls go on top, plates or glasses below, and the empty air becomes storage. This is the single highest-value change in most kitchens.
Measure before you buy: the riser plus the items on top must clear the shelf above by at least an inch. Risers cost about $10 to $25 each. Put the first one in the mug cabinet — it is the cabinet most kitchens open six times a day, so the win is felt immediately.
2. Under-Shelf Baskets for the Gap Below
An under-shelf basket hooks over an existing shelf and hangs in the space beneath it, catching the light, flat things that otherwise float loose: tea bags, packets, wraps, lids, and snack bars. It pairs perfectly with a riser — riser above the shelf, basket below it, and one cabinet suddenly works at three levels.
Baskets cost about $8 to $18. Keep them for light items only; a hanging basket loaded with cans will bow the shelf and jam the door. One basket per cabinet is plenty.
3. Inside-the-Door Racks: The Forgotten Wall
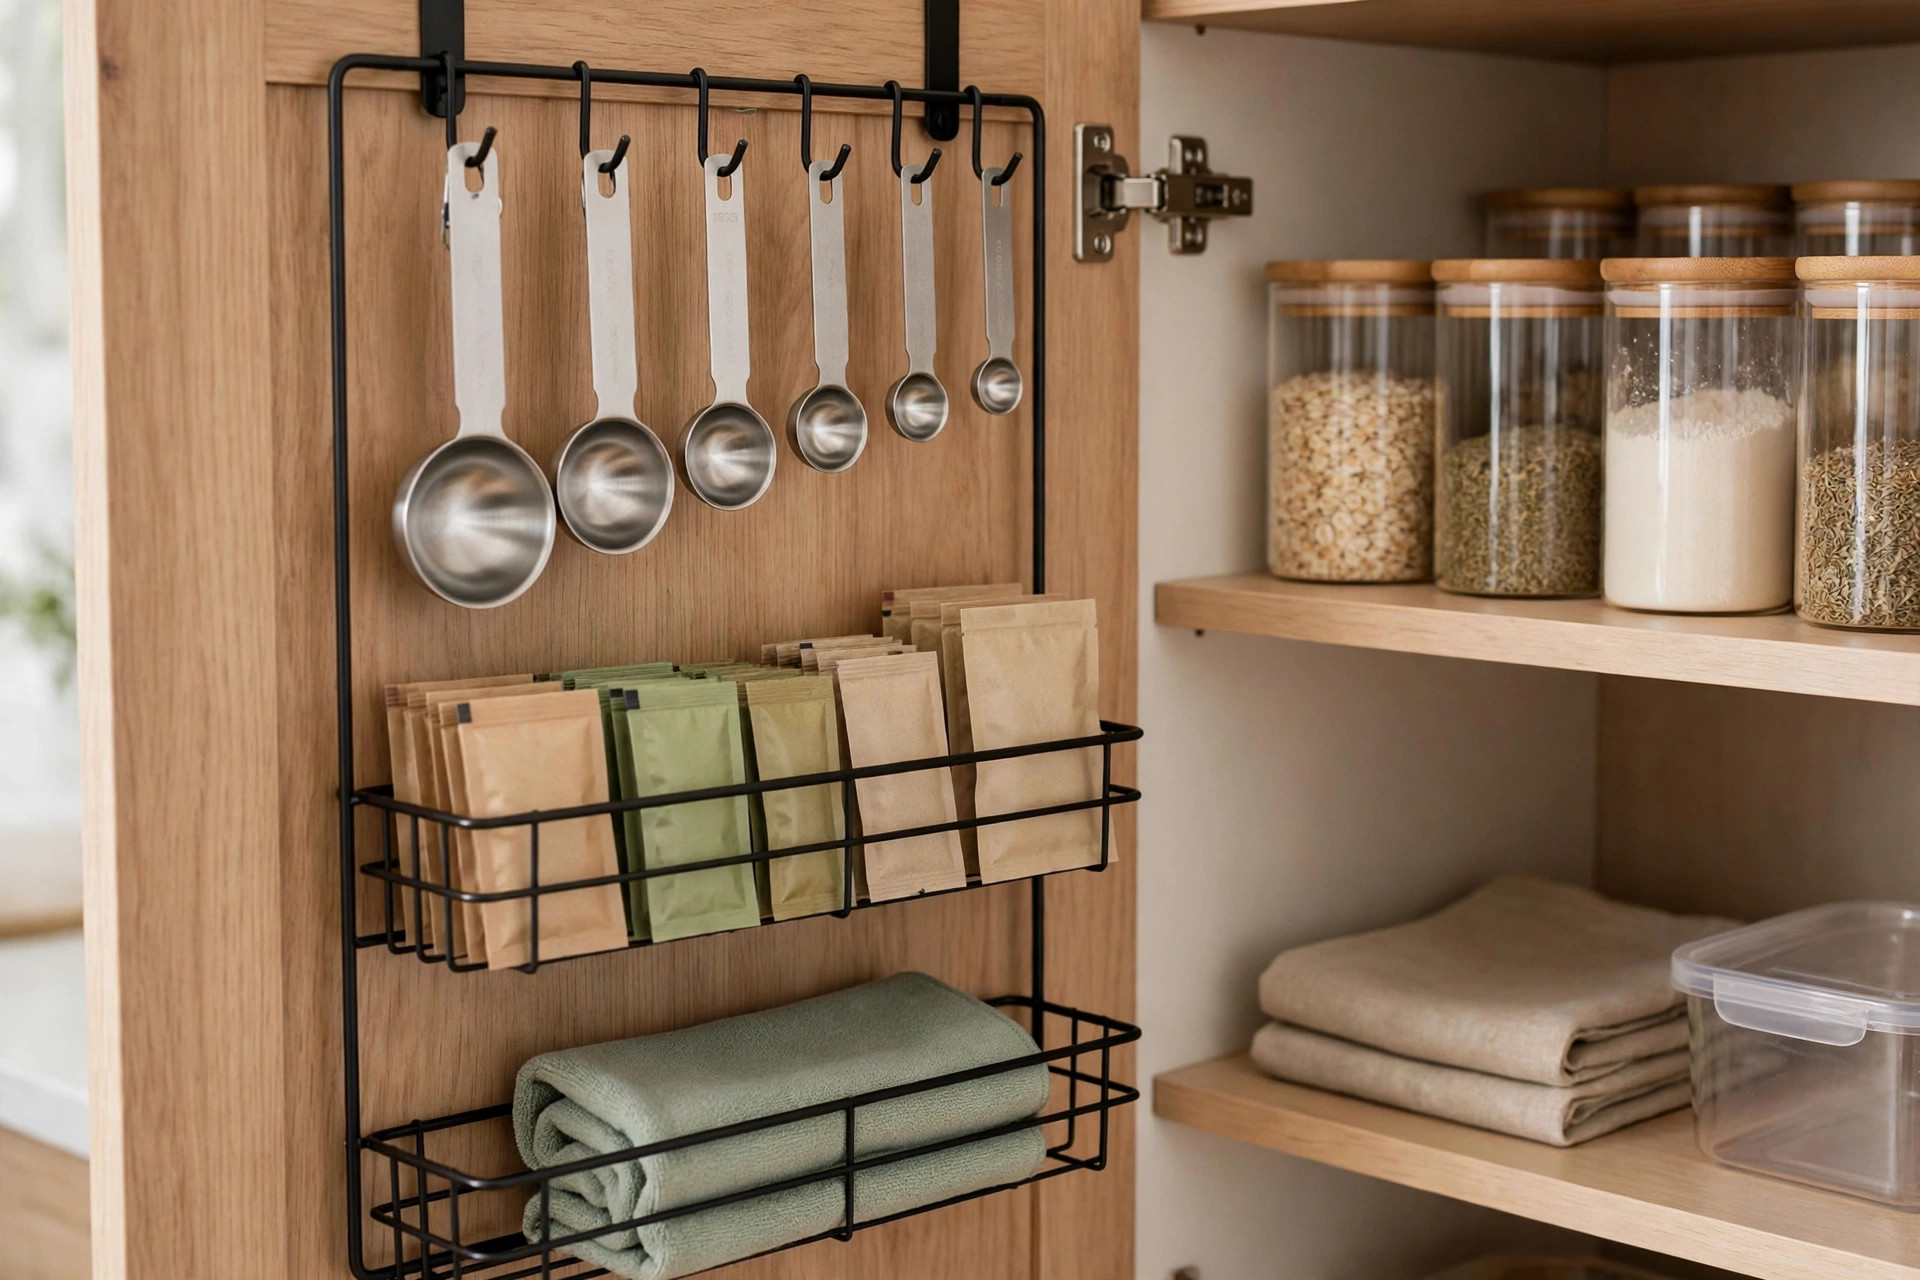
The inside of a cabinet door is a flat, empty surface in almost every kitchen. A slim rack or a row of adhesive hooks there holds measuring spoons, spice packets, a small brush, or a folded cleaning cloth — the small things that otherwise vanish into drawers.
Door racks cost about $10 to $22. Two cautions: measure the depth so the rack clears the shelves when the door closes, and keep door storage light, because hinges are not built for jars of honey. Test the closing clearance with the rack empty before you load it.
4. A Turntable in Deep and Corner Cabinets
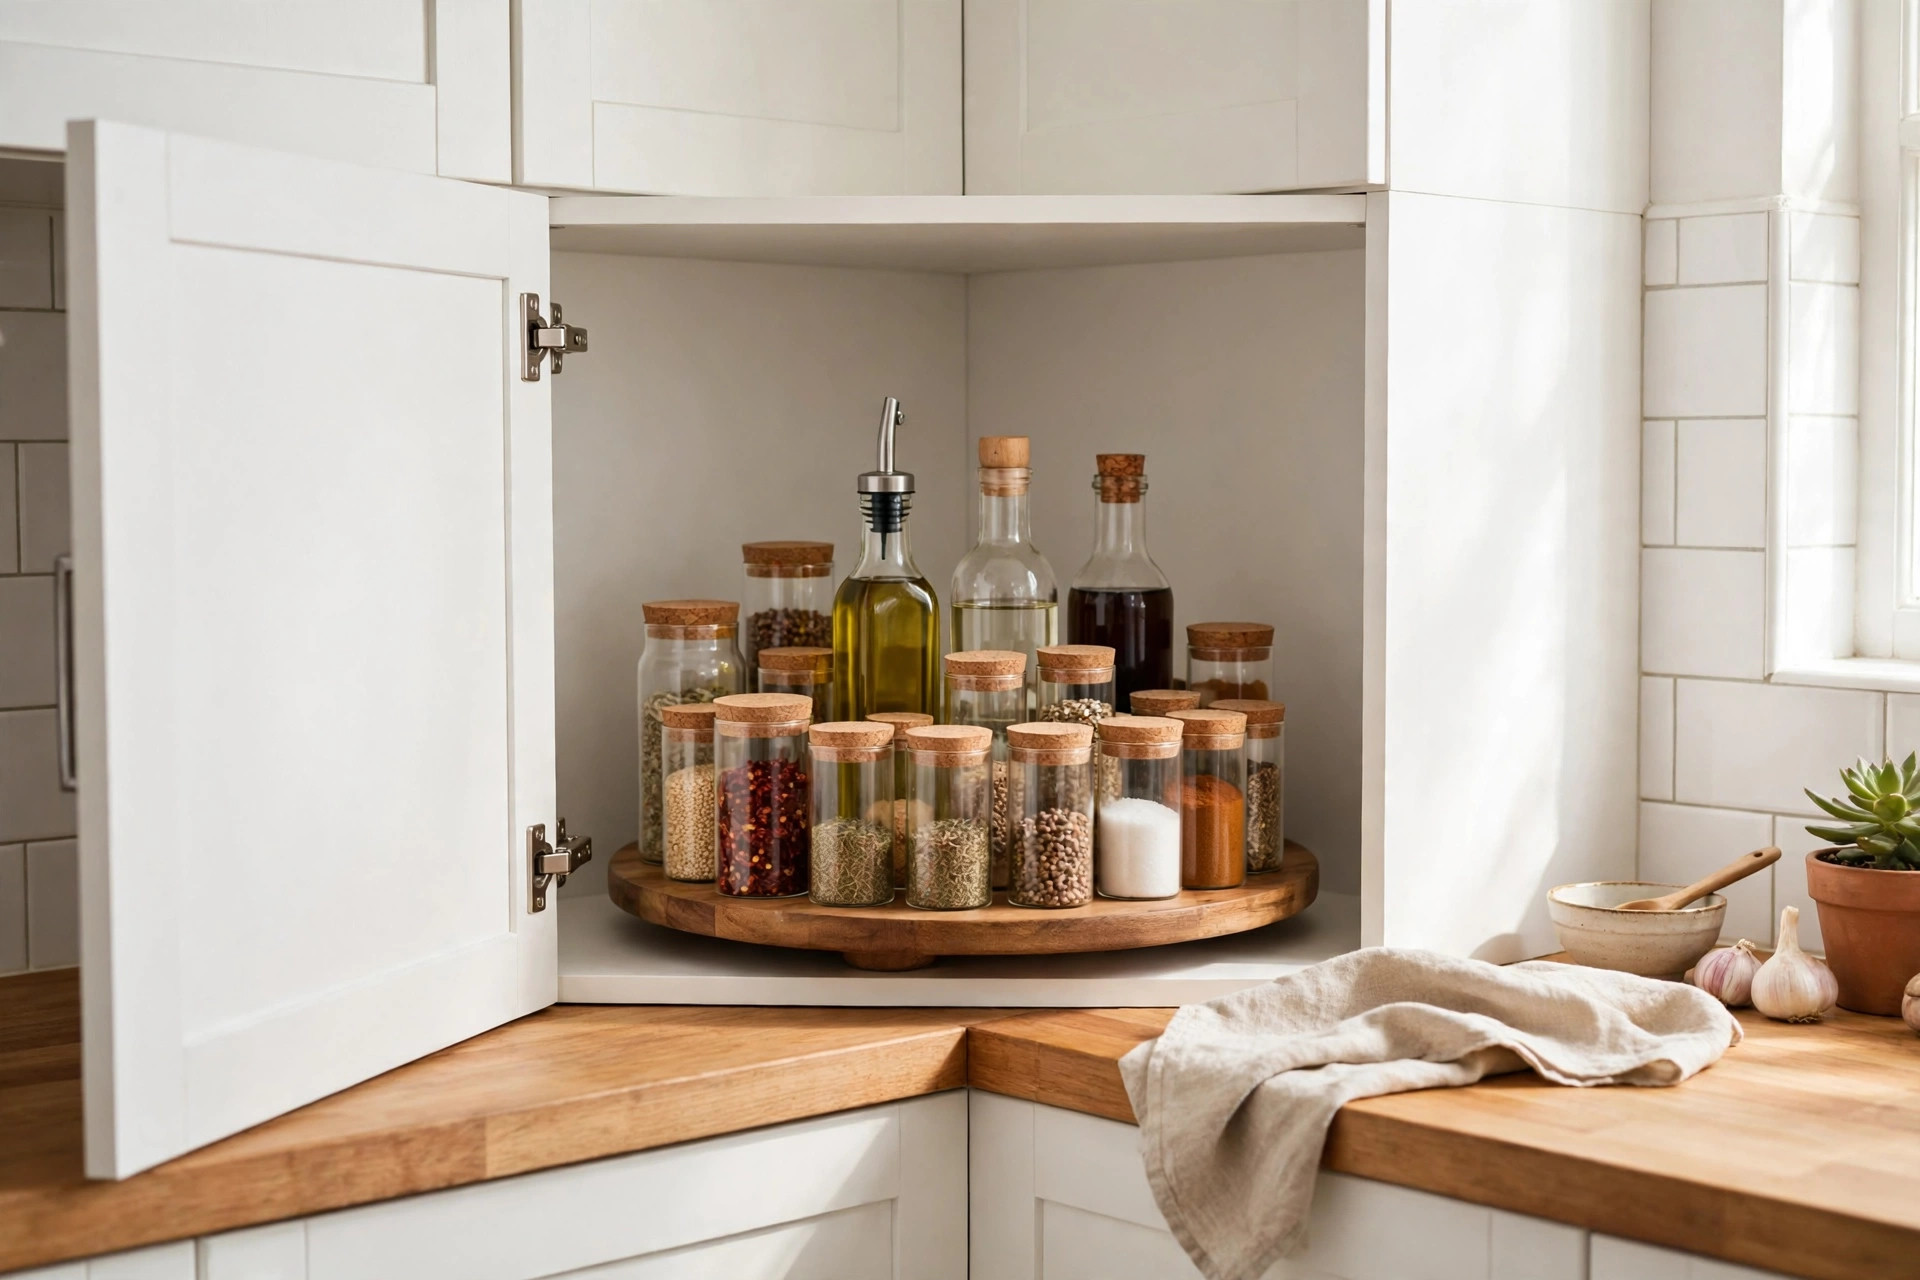
Deep cabinets and corner cabinets share one flaw: the back third might as well be in another house. A turntable fixes it by bringing the back to the front with a spin. Oils, sauces, spices, and jars that used to hide and expire become visible and used.
Choose a turntable 1 to 2 inches narrower than the cabinet's inside width — 10, 12, and 15 inch sizes cover most kitchens — and pay about $12 to $30. A rimmed or two-tier turntable suits tall bottles. One honest limit: turntables waste the corners of a square cabinet, so in a shallow, fully reachable cabinet, a simple riser stores more.
5. A Pull-Out Organizer in the Base Cabinet
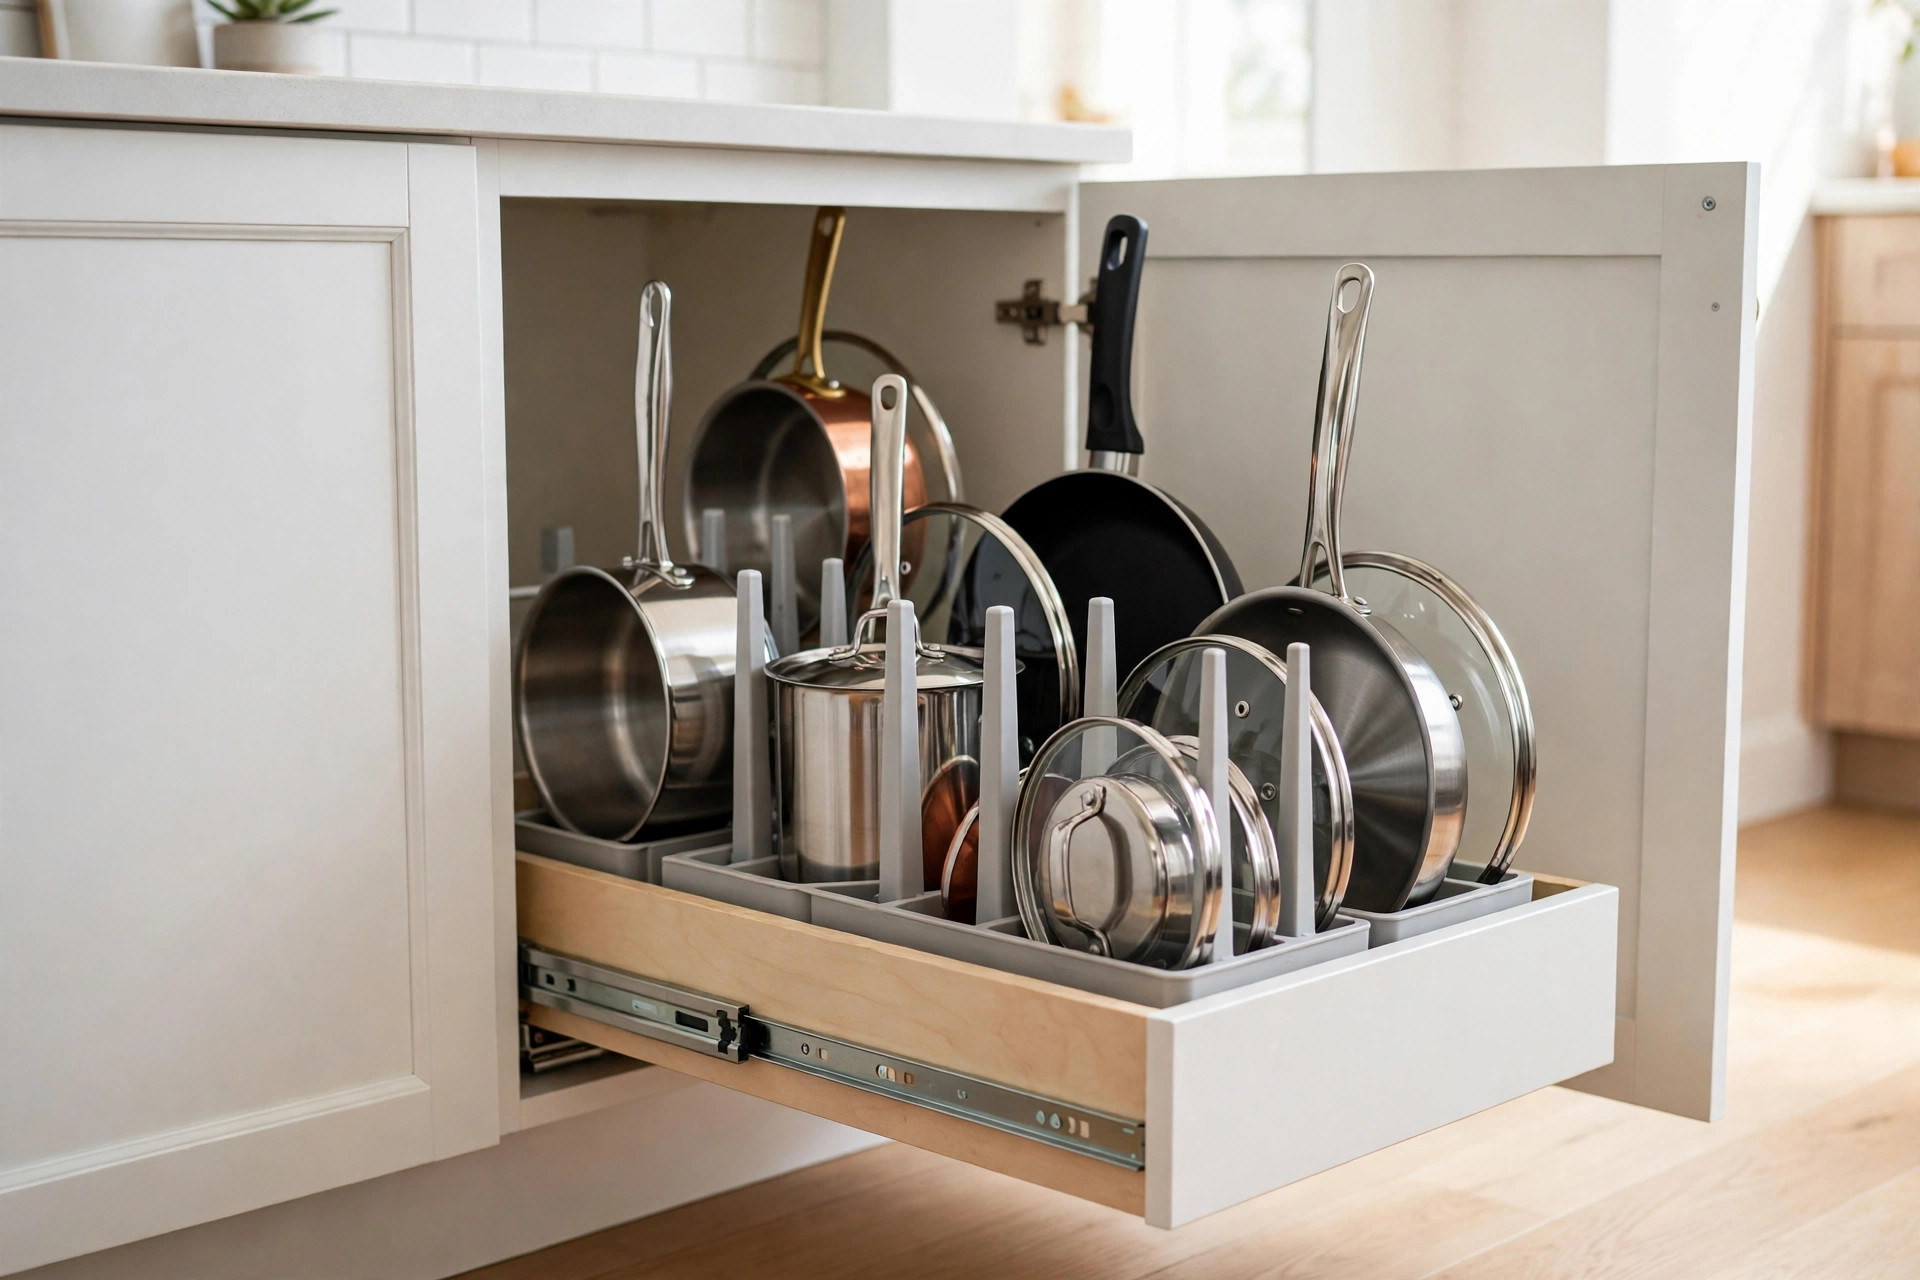
Base cabinets are deep, dark, and low — the worst storage in the kitchen. A pull-out wire organizer mounts to the cabinet floor and slides the whole contents out to you, so pots at the back get used instead of forgotten. It is the closest thing to a drawer conversion without replacing the cabinet.
Pull-outs cost about $40 to $120 depending on width, and fitting one takes a screwdriver and about half an hour. Measure the door opening, not the cabinet interior — hinges steal width. If a full pull-out is beyond budget, deep drawers nearby can take the pots instead; our guide to small kitchen drawer organization ideas that end the jumble shows how to make drawers carry that load properly.
6. Vertical Dividers for Trays, Boards, and Lids
Baking trays, chopping boards, and pan lids are flat, heavy, and miserable when stacked — you always need the one at the bottom. A vertical divider rack files them upright like books, so each one slides out alone. A 10 to 12 inch rack inside a tall cabinet or deep drawer transforms the most annoying pile in the kitchen.
Divider racks cost about $12 to $28. Keep lids with their pans' zone, not in a separate mystery cabinet, and leave one slot empty so the file never jams tight.
7. Stackable Bins for Packets and Small Boxes
Loose packets — gravy, stock cubes, spice refills, drink sachets — defeat shelves because they slide, slump, and hide. Two or three small stackable bins, each labelled by type, turn that chaos into a tidy stack you can lift out in one hand.
Clear bins cost about $10 to $20 for a set. Keep bins shallow; a deep bin becomes a dig-pit within a month. This is also the right home for the duplicate problem: when the bin is full, you stop buying the thing.
8. A Lid Holder on a Door or Wall of the Cabinet
Pot lids deserve their own line because they waste more cabinet space than any other single item, usually lying flat across the tops of pans. A dedicated lid rack — mounted on a door, or standing inside the cabinet — lines them up vertically in about 3 inches of depth.
Lid racks cost about $10 to $24. Pair the biggest lids with the pans you use daily and store rarely used specialty lids higher up. Your pot cabinet will suddenly fit the pans it was always supposed to hold.
9. U-Shaped Shelving Under the Sink
The under-sink cabinet is deep but blocked by pipes, so bottles cluster at the front and the back rots. A U-shaped or two-tier under-sink shelf wraps around the plumbing and restores the back half for cleaning supplies, bin bags, and spare sponges.
These shelves cost about $15 to $30 and adjust to fit most pipe layouts. Keep only cleaning items here — never food — and put a washable mat underneath, because this is the cabinet most likely to see a slow drip.
10. Mug Hooks Under the Upper Cabinet
A row of hooks screwed into the underside of an upper cabinet gives mugs a home that uses zero shelf and zero counter. Four to six hooks handle the daily mugs; the cabinet shelf above is freed for glasses and bowls.
Hook rails cost about $8 to $18. Check the cabinet base is solid enough to take short screws, and hang mugs by size so the row looks intentional. Renters can use the same idea inside a cabinet door with adhesive hooks instead.
11. Decant Staples Into Matching, Labelled Jars
Flour, rice, pasta, and lentils stored in their original bags waste space and spill. Decanted into matching square jars, they stack tightly, pour cleanly, and show their levels at a glance, so you stop buying duplicates of things you already own.
A starter set of jars costs about $20 to $45. Square jars genuinely store more per shelf than round ones. Label with the contents and the date you opened it, on the lid, where you will actually see it. If you prefer open storage for the prettiest pieces, our guide to small kitchen open shelving ideas that stay tidy shows how to do it without the dust-and-clutter trap.
12. The Top Shelf Rule: Rarely Used, Light, and Labelled
The highest shelf in every cabinet should hold only light, rarely used items — the big serving bowl, the spare glasses for guests, the seasonal bakeware — in one labelled bin per cabinet. Heavy items up high are a lifting hazard, and unlabelled bins up high become archaeology.
This rule costs nothing and finishes the system: every shelf now has a reach logic. For a broader look at how built-in cabinet storage is planned in new kitchens, the Lily Ann Cabinets guide to small kitchen storage covers drawer bases, toe-kick drawers, and tall pantry cabinets if you ever do remodel.
The One-Cabinet-at-a-Time Method
Do not empty the whole kitchen at once; that is how organizing projects stall by lunch. Work one cabinet per session, in this order: empty it fully, wipe the shelves, sort into keep, relocate, donate, and throw away, then measure width, depth, and height in inches and note anything in the way — hinges, pipes, a shelf lip. Only then choose the organizer from the list above that fits that cabinet's job. Twenty focused minutes per cabinet, a few cabinets a week, and the kitchen is done without ever being unusable.
Quick Checklist Before You Buy Any Organizer
- Measure the cabinet's inside width, depth, and shelf height — in inches, written down.
- Measure the door opening too; hinges and frames steal more width than you expect.
- Name the cabinet's zone first (cooking, prep, cleaning, food) and buy only for that job.
- Keep daily items between knee and shoulder height; heavy low, light and rare high.
- Start with one riser and one turntable — the two highest-value pieces — before buying sets.
Common Cabinet Organization Mistakes to Avoid
Buying organizers before measuring. Most returns and most junk-drawer organizers exist because the cabinet was guessed at, not measured. Two minutes with a tape measure decides whether a riser transforms a cabinet or jams its door.
Storing by category instead of by zone. All the glasses in one far cabinet looks tidy in a photo and wastes steps every day. Store things where they are first used, even if the categories look less perfect.
Deep bins and tall stacks. Any container you have to dig through will be dug through daily and hated weekly. Shallow, visible, and reachable beats capacious every time in a small kitchen.
Filling every inch. A cabinet packed to 100 percent is a cabinet you cannot use. Leave roughly a hand's width of breathing room per shelf so items slide out without a shuffle.
Final Thoughts
Your cabinets are bigger than they look — they are just storing air. Add a riser where the mugs live, a turntable where the bottles hide, a rack on the door everyone ignores, and zones that match how you cook, and a small kitchen quietly doubles its useful storage for the price of a single meal out. Start with the cabinet you open most, measure honestly, and let each small win fund the next one.


Comments
Post a Comment